Guide
Fits like a glove: quick DIY for concrete flower pots
by Carolin Teufelberger

Don't like your bathroom? Then get rid of the old tiles and put in the new ones. With a little prior knowledge, it's not that difficult.
Personally, I often dislike the bathroom when viewing flats, as so much can be done "wrong" there. Tiles come in so many different shapes, sizes and colours that the chances of my style being met are relatively slim. But as we all know, there's no accounting for taste, so I silently judge other people's aesthetic sensibilities. After all, I'm taking the flat anyway.
There are various solutions. As a tenant, you can put an end to the horror with tile stickers. These can be removed when you move so that nobody can complain. As a new owner, however, you can make short work of it by ripping out the old tiles and laying new ones.
Then, of course, you should also buy the right amount so that you don't have to run to the DIY store again or, in the other case, sell the rest online. To do this, measure your room and then add about ten per cent for offcuts.
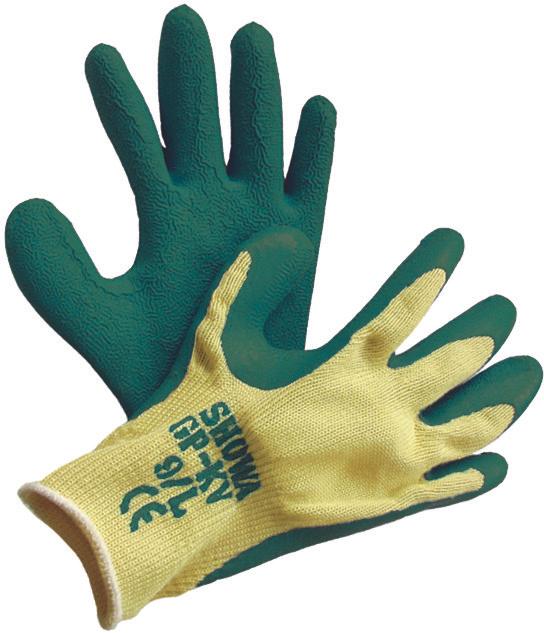
Also important: work safety. Make sure you wear a dust mask, safety goggles and gloves during the demolition work to protect yourself against dust and splinters.
The first step is to bring out the big guns and use the hammer drill. Make sure you use a tile chisel or flat chisel attachment, especially if you don't want to remove all the tiles. Otherwise you'll damage more than you'd like.
So, once you've chosen the right attachment, first tap the tiles with a screwdriver to detect any cavities. If it sounds dull, you have found one and can start carefully with this tile. The whole procedure can also be done by hand, especially for smaller areas. Set the hammer (or mallet) and chisel at an angle of 45 degrees and start tapping.
If only a single tile is to be replaced, the grout must be removed first. The best way to do this is to use a multi-function tool, a drill, an angle grinder or similar with a milling attachment.
Now the tile adhesive needs to be removed. The easiest option here is probably to sand it off.
Consider in advance how your tiles should be arranged. Use your tiled wall as a guide so that your bathroom doesn't look too wild. Now measure your tiles and mark out the first row with a pencil. You can also use a tile witch as a guide. For larger rooms, it is advisable to start from the centre. For parallel laying, which is best for beginners, first determine the centre of the room and then start from the centre along the longer side.
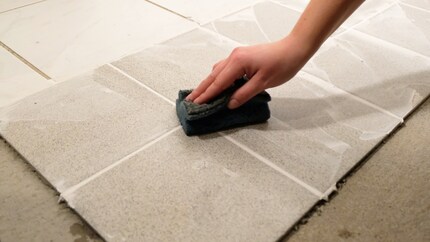
Once all the joints have been filled, wait until the mortar has dried slightly and wipe the tiles clean with a sponge board or a normal sponge.
Finally, wipe the beads of sweat from your forehead, take a step back and admire the masterpiece to your heart's content.
My life in a nutshell? On a quest to broaden my horizon. I love discovering and learning new skills and I see a chance to experience something new in everything – be it travelling, reading, cooking, movies or DIY.
Practical solutions for everyday problems with technology, household hacks and much more.
Show all
The choice of tiles needs to be carefully considered. It's not just the visual impression that counts, but also the area of use. How intensively will the tiles be used and how much slip resistance is required? Glazed ceramic tiles are probably best suited for the bathroom, as they are dirt and water repellent. The abrasion groups into which ceramic tiles are categorised provide information on how much wear a tile variant can be subjected to. Abrasion groups 1 and 2 are suitable for wall tiles in the bathroom, for example, while abrasion group 3 can be laid on the floor.

3M Comfort fine dust mask 8822
FFP2, 3 x

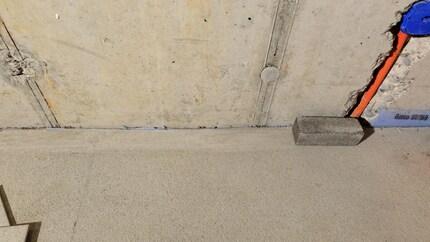
As a general rule, the floor is only tiled once the wall is finished. Once the tiles and adhesive have been removed from your floor, it must now be thoroughly cleaned. This is because dirt, covering residue and loose material must be completely removed so that your tiled floor is even. If the floor is uneven, you can either sand it down a little with a lava stone (for small repairs) or cover it with levelling compound. This is so fluid that it automatically levels the floor.
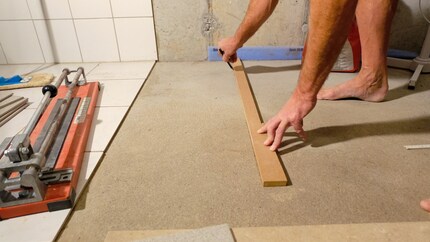
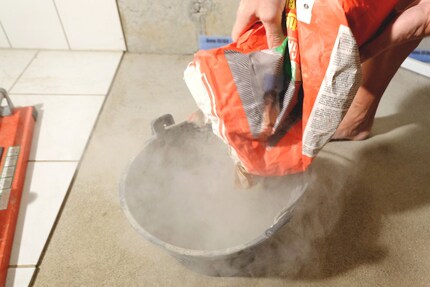
As I am tiling a very small area, I start in the corner. With this method in particular, it's important that you find out the best way to lay the tiles by measuring or laying them out. Otherwise, you'll end up with unnecessary waste and an uneven laying pattern. Now you can finally mix the tile adhesive. It is best to mix this in a rubber bucket, then you can easily break out the leftovers when dry.
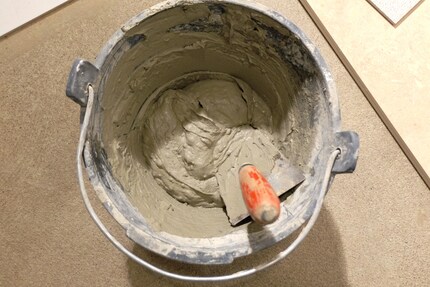
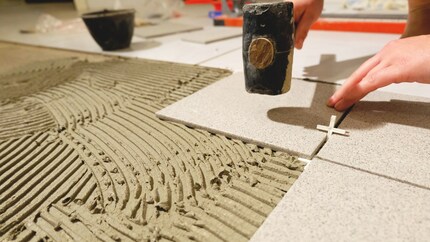
You can apply the tile adhesive in sections. Use a notched adhesive spatula or a notched trowel to spread the adhesive evenly. Then place panel by panel and press down using slightly rotating movements. Employ spacers and/or tile crosses to ensure that the joint widths are even. Now tap down properly with a rubber mallet. Keep checking with the level that there is no difference in height. Corrections can be made while the adhesive is still wet and you can use the first row as a guide for the remaining tiles. A little tip: mix tiles from the different packages so that slight colour or pattern differences are well distributed.
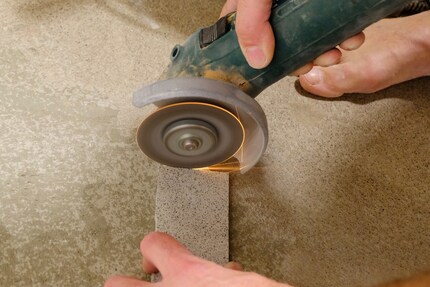
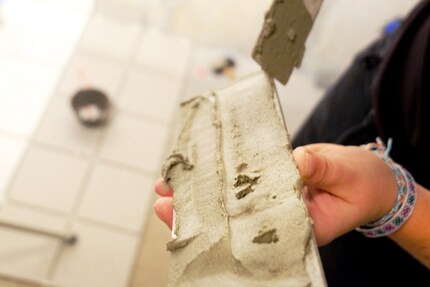
The edge tiles and, above all, the plinths must be cut to size in almost all cases, as the prefabricated tile size is unlikely to fit your room perfectly. Straight edges are best cut to size with a tile cutter. For recesses and corners, an angle grinder (also known as an angle grinder) is ideal. You also apply the tile adhesive to the back of the plinth joint and not to the wall.
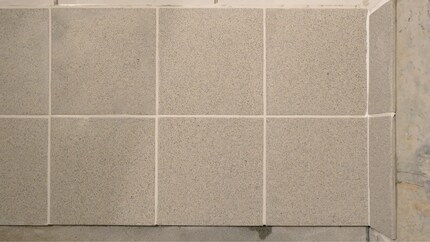
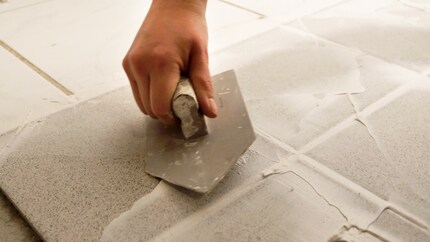
Once the tile adhesive has hardened, the tiles can be grouted. The grout should match the tile adhesive. So if you have used flexible adhesive, you should use flexible grout for this step. Mix the grout together in the specified ratio and pour it onto the floor section by section. Use a tile rubber (in the best case) to spread the grout evenly and diagonally to the joint. Don't use too much mortar or remove the excess as much as possible so that you don't have to spend ages cleaning afterwards. And don't grout the joint between the tiled floor and the plinth with tile mortar.
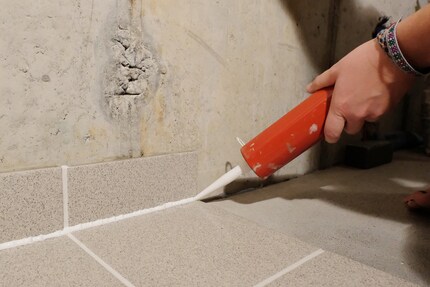
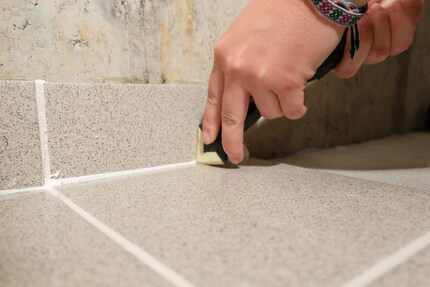
Now it's the turn of the empty joint at the plinth. It is filled with silicone. To do this, clamp the cartridge into the press and inject the mixture slowly but sufficiently. The silicone should squeeze out of the joint properly. For the next step, get some soapy water made from normal dishwashing liquid and spray your fingers vigorously with it. The lye will prevent the silicone from sticking to your hands. First press the compound into the joint with your index finger, then you can smooth it out with a joint smoother. Spray this thoroughly with soapy water first. If necessary, wipe over again with your finger.
