DIY chest of drawers made from wooden crates
Need more storage space? Then grab a cordless screwdriver and paint and build your own chest of drawers. All you need are two wooden boxes as a base.
Bills fly around, plants don't have a nice place, bits and bobs are scattered around: I have potential to optimise my storage space. I need a small chest of drawers. But instead of buying one, I prefer to make one myself according to my own ideas. For this I need:
- Two wooden boxes
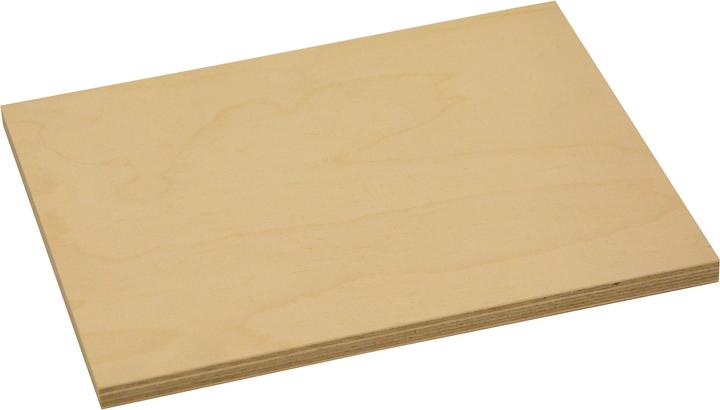
- Plywood
- Sandpaper or sanding block
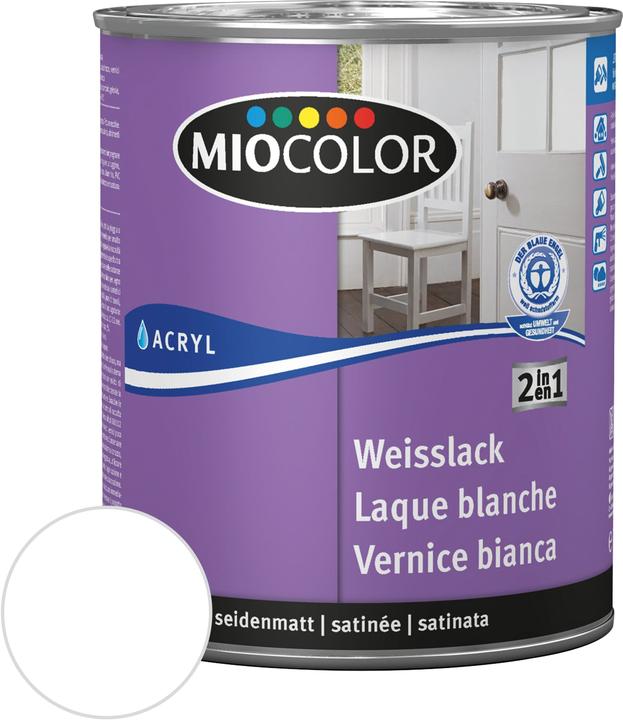
- Acryllack
- Farbroller und/oder Pinsel
- Tischbeine
- Flachverbinder und Schrauben
- Rechargeable screwdriver
A new coat of paint
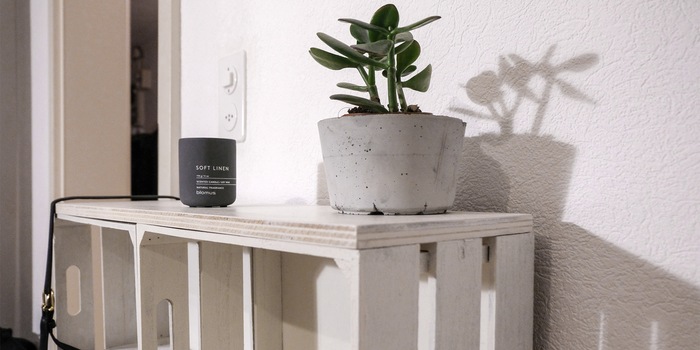
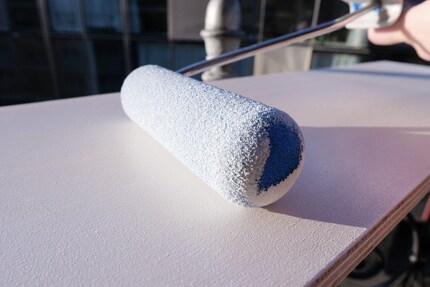
My wooden boxes measure 35 x 25 x 20 centimetres. For the chest of drawers, the openings should face forwards and the plywood panel should be screwed on top as a storage surface. This means for the dimensions of the board: twice the length times the height, in my case 70 centimetres by 20 centimetres. I have it cut to size at the DIY store as I don't have the right tools or the necessary space at home. Once there, I sand the board into shape by hand. I then paint it and the two boxes with a 2-in-1 (primer and paint) acrylic paint in a creamy white colour and leave everything to dry thoroughly.
Waiting is not for me, impatience gets the better of me, which is why I screw everything together after just an hour or so. Didn't have a lasting effect on the end product in my eyes. Anyway, I fix the boxes at the bottom (from the perspective of the finished chest of drawers) with flat connectors and screw them together on the inside. Make sure that your screws are not too long, otherwise unsightly and dangerous points will stick out. As soon as the boxes are firmly held together, I mount my plywood board. To do this, I screw in the screws from inside the box. This way, nothing is visible on the storage surface later on.
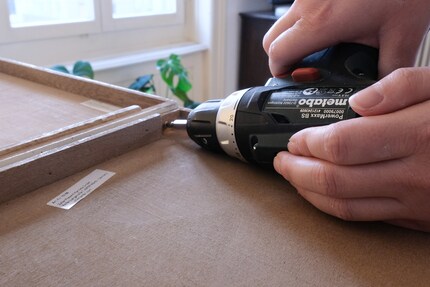
The box is ready
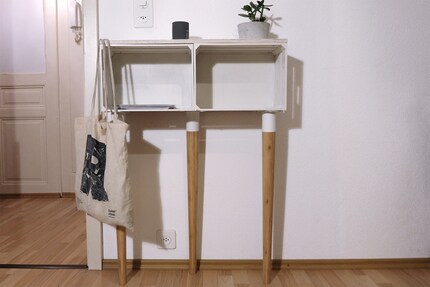
Then it's down to the feet. I had to get some ultra-short screws (10 millimetres) for this, because the slats of the boxes hardly feel thicker than a sheet of paper. What's more, my chest of drawers only stands on three legs, so the 20 centimetres in depth were unfortunately not enough for four.
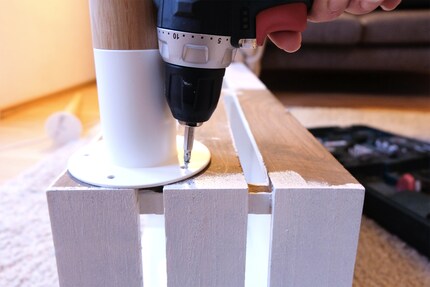
This was by no means the only problem, by the way. My boxes don't believe in collectivism and aren't exactly the same size, which I had to compensate for somehow when screwing them together. What's more, I originally didn't want to paint the boxes at all, but I didn't like the colour in person any more. I spent half an eternity looking for the table legs as I couldn't find any nice ones either at Galaxus or in DIY stores. Oh yes, of course I didn't have a bit in the right Torx size for my small screws either. That's a little insight into the hurdles of DIY. Nevertheless, it was fun and I like the three-legged chest of drawers. If you're going to do it yourself, make it really individual! 😉
My life in a nutshell? On a quest to broaden my horizon. I love discovering and learning new skills and I see a chance to experience something new in everything – be it travelling, reading, cooking, movies or DIY.
Practical solutions for everyday problems with technology, household hacks and much more.
Show all