

A snail against snails
Corten steel is weather-resistant and deters snails. Perfect properties for the garden. The rusty material is particularly attractive as a herb snail.
I'm once again at my colleague Karina's house. Having already remodelled her house, it's now the garden's turn. While the horticulturalists take care of the heavier stuff, we're putting in a herb snail. Karina was already talking about it before she tore down the first wallpaper in the house.

The anticipation quickly turns to confusion. The packaging contains flat sheets. Do we have to bend them ourselves? No, because as soon as we remove them from the packaging, the individual parts bulge out. These are made of weatherproof Corten steel. The material has two special features: Moisture causes a rust patina to form and it protects against pesky snails. The minimal amount of copper oxidises through the snail slime and irritates the creepy-crawlies.
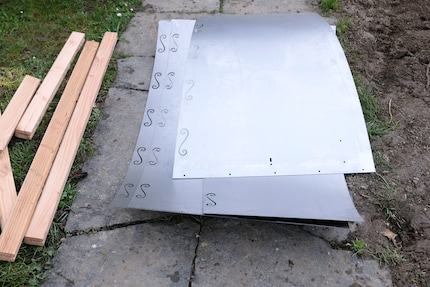
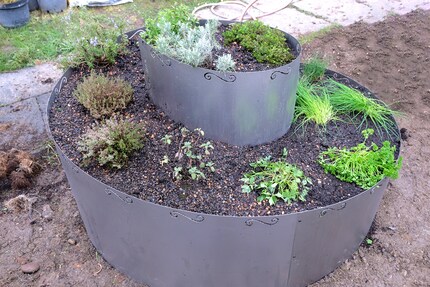
At the moment, however, the sheets are still shiny silver and need to be formed into a spiral. This is easy, but requires space. It's best to assemble the thing right where you want it to end up. Start with the largest part and screw on the second largest. The holes are pre-drilled and the nuts and bolts are included. You have to get the Allen key and spanner from your own arsenal.
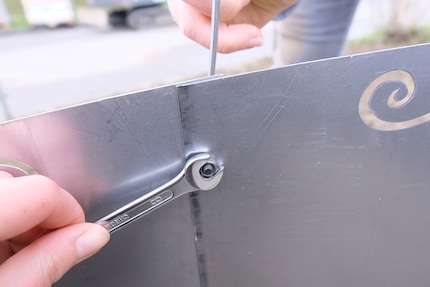
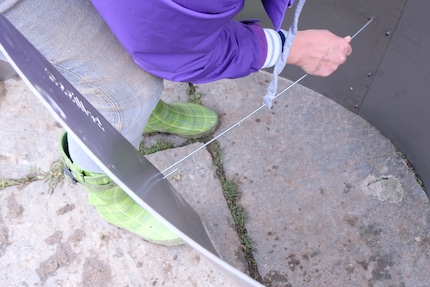
Once the first two plates are connected, take the stainless steel rod supplied and hang it between the two parts. This keeps them fixed in a semi-circle. Then screw on part after part. Bend the last and smallest plate into shape so that you can screw it to the first plate. The assembly takes less than half an hour.
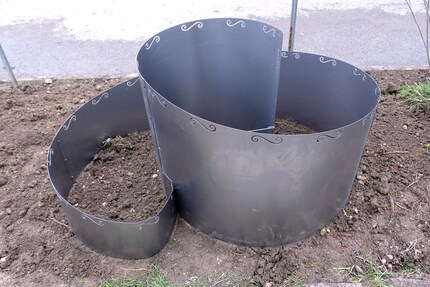
The most labour-intensive part comes next: 900 litres of soil have to be poured between the thin walls. That's almost 23 40-litre bags, which we heave up and empty by hand. Karina and I use peat-free trough soil with a strong structure and enrich it with nutrient-rich humus at the bottom. However, you can easily use peat-free universal soil.
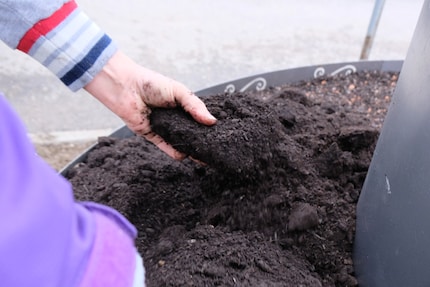
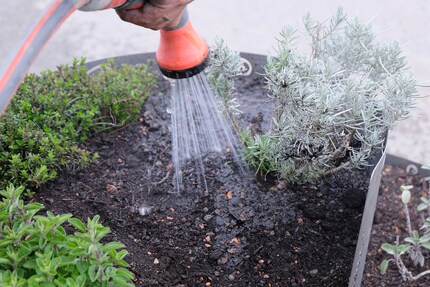
Now you don't just plant herbs at random, you need a system. The auger is designed so that drought- and heat-loving herbs are planted in the upper section. The further you work your way down, the more moist the soil becomes, as the irrigation water runs downwards. If you don't immediately know which herbs to put where, you will find a planting suggestion in the instructions. We used this as a guide. We plant curry herb, savoury, oregano and rosemary at the top. Then thyme, sage and lovage follow. In the humus-rich lower section, we then plant lots of chives and a little parsley. Tear the root balls of the seedlings a little to signal to them that they can spread out more from now on. Once all the herbs have been planted, you need to water them really well. Watering helps the plants to anchor themselves better in their new location.
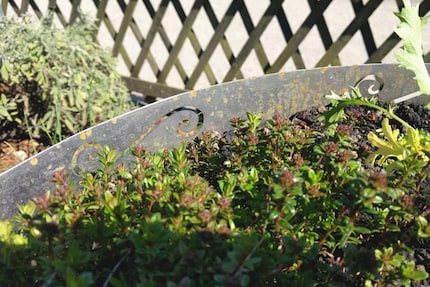
Now you just have to wait for the snail to rust due to the weather. This can take anywhere from a few days to weeks, depending on how damp it is outside. If you don't want to wait that long, you can speed up the process by using a mixture of vinegar, salt and water.
My life in a nutshell? On a quest to broaden my horizon. I love discovering and learning new skills and I see a chance to experience something new in everything – be it travelling, reading, cooking, movies or DIY.


