
The black gold of the garden - setting up a compost bin
You need to learn how to compost. Find out here what you need to pay attention to when setting up a compost bin and why the resulting soil is so valuable.
The black gold of the garden
Every household has green waste: in the kitchen, there's vegetable and fruit waste - in the garden, dead leaves and grass cuttings. Everything is organic and eventually decomposes - so it shouldn't be disposed of with the rest of the household rubbish. The decomposition process requires oxygen, water and heat. If all three factors are present, fungi, bacteria, insects, worms and other micro-organisms can transform the greenery into valuable compost.
When compost is added to the soil, nutrients are brought to the soil. The soil absorbs and stores rain and watering water better. There's no need to add extra fertiliser. The bugs in the compost ensure that the soil is well aerated. This promotes sustainable root development and makes the soil highly fertile.
The right bin
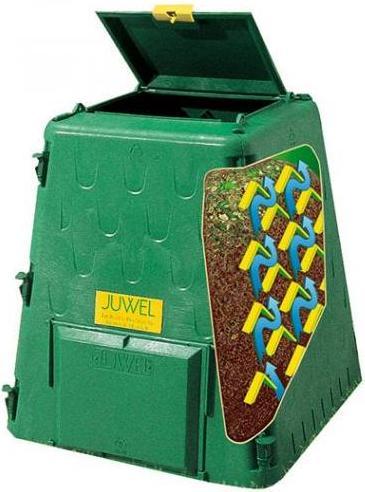
The bin should be suitable for the size of the household, have a lid for moisture regulation and provide good insulation (double-walled or thicker plastic). With a well-insulated compost bin, the decomposition process can take place well into winter and compost is obtained more quickly.
The right time
The autumn months are ideal for installing a compost bin. You then have plenty of dead leaves and grass cuttings, which is perfect for getting started.
The right place
The location doesn't really matter. It should be lightly shaded, sheltered from the wind and easy to reach with the wheelbarrow.
The various stages of setting up
Using compost soil
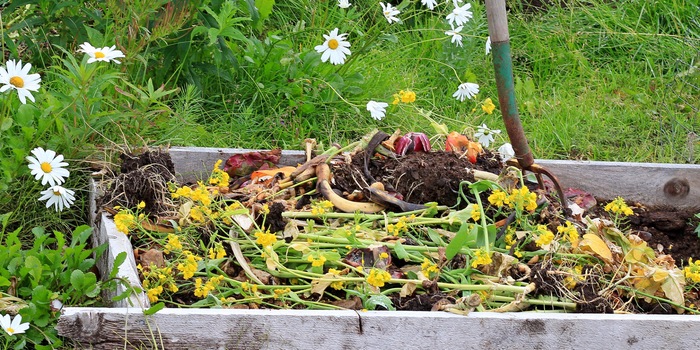
The compost should be spread in late winter or early spring. It should be spread evenly over the surface of the soil, if possible after scarification. Thanks to the holes, the compost mixes well with the rest of the soil. A layer of 1 to 2cm is enough for the whole year.
Do not put in compost
A lot of kitchen waste can be used for compost and slows down the filling of bin bags. But there are still a few foods that don't belong there:
- mouldy or rotten food, or plant remains
- citrus peels and banana peelings
- cooked foods and especially meat scraps are rat magnets
- weed seeds such as buttercups
- leaves that decompose such as cherry laurel or chestnut
What to do when the smell is very unpleasant
A well-kept compost heap hardly ever gives off unpleasant odours. If the compost really doesn't smell good, all is not lost. But you need to take action (before you get the neighbours on your back).
- Make sure it's well aerated: check that the air slots are clear and mix the contents well.
- Dehumidify the contents by adding dry waste such as offcuts or straw.
- If it's really unbearable, put a protective layer of soil, it's effective.
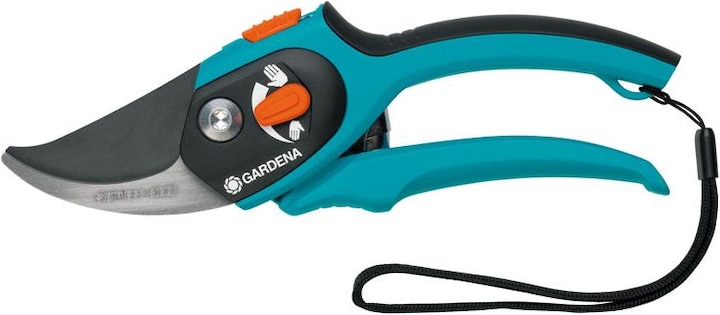
These products will be very useful for your future compost:
Learn more about the last jobs to do in the garden before winter arrives:
I draw inspiration and energy from nature – whether I'm hiking, skiing in the mountains or travelling to new places. I also have a passion for photography, music, TV series and good food.
Interesting facts about products, behind-the-scenes looks at manufacturers and deep-dives on interesting people.
Show all


