
Guide
DIY: Wear jewellery more individually
by Pia Seidel

Playful jewellery will brighten up any outfit. Especially if you design it yourself. A simple method turns beads into flowery earrings or necklaces.
Instead of constantly buying new clothes, I prefer to conjure up new looks with DIY jewellery. This season, I'm really into bead embroidery - also known as beading. After making a glasses necklace and creole pendant, I'm now turning my attention to earrings and necklaces. A method can be used for both that requires no prior knowledge and only a few accessories. The best thing is: whether you're at the spa or at home - you can make the jewellery anywhere once you've put together your kit.
The first design consists of two flowers made up of differently coloured and sized beads. For the large flower, I chose 7 purple beads per petal with a diameter of 4.5 mm. For the small one, I use 10 white beads of 2.2 mm each. Both flowers have a total of 5 petals.
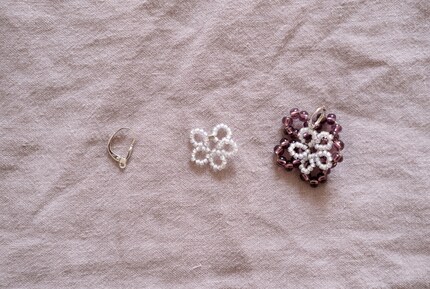
There is no right or wrong number of beads. If you want statement earrings, go for more than 7 or 10 beads per petal. As these beads are very light, at least the weight won't stop you from thinking big. The same applies to the colours of the beads. To create a contrast and to be able to combine an outfit easily, I choose a dark and light colour: purple and white. If you prefer a minimalist design, opt for a monochrome look instead. This emphasises the shape without adding too much bulk. The crimp beads and earrings in my design are silver. But there are also gold versions.

Before you start, it is worth spreading the beads on two plates so that you can grip them better. Cut about 30 cm of wire for the first flower and then string a crimp bead and 7 large beads. Crush the crimp bead with the round nose pliers so that you have a knot. To form a flower, pull the wire through the first bead again in the opposite direction.

If you now tighten everything firmly, a round, hollow circle of beads will form. This represents the first petal. Repeat the same process four times so that you end up with 5 petals. As an alternative to wire, you can also use nylon thread, which can simply be threaded through the beads with a needle. Compared to wire, it is more flexible and transparent.
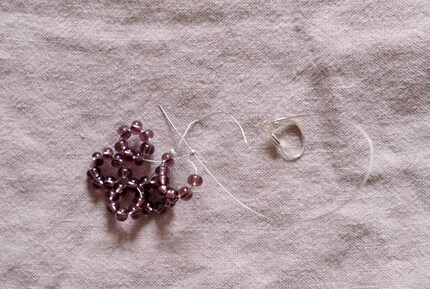
Add a crimp bead and the earring at the end. Then thread the wire through the crimp bead again so that the earring is attached to the flower and crush it. You can thread the excess piece into one or two beads and cut it off using the cutting pliers.
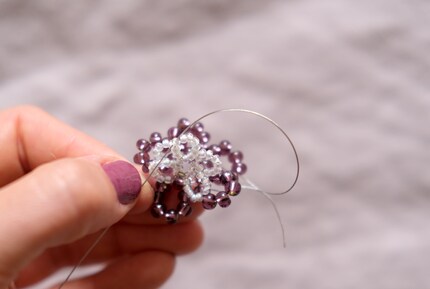
Then finish the small, white flower. Thread on another crimp bead and 10 small beads for each petal. When you have reached the last petal, use the wire to attach the white flower to the purple one. Pull the wire through the flowers several times so that the two parts become one whole. There is no recipe here. I just made sure that the wire remained as invisible as possible when "sewing them together". Et voilà - the first flower earring is finished. Repeat the process for the second one and you've created your own earrings for summer.
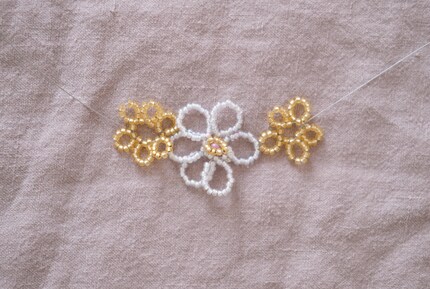
The flowers in the first design can also be made into a necklace if you make lots of flowers and tie them together at the end. All you need is more wire, beads and a clasp with a ring instead of earrings. This way, you can attach the wire to both ends using two crimp beads and the necklace is complete.
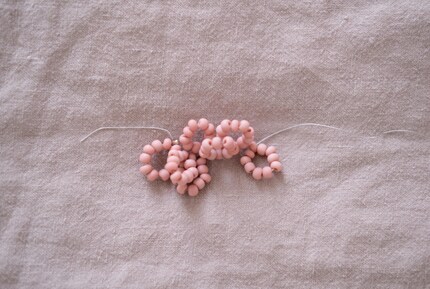
If this variation is too flowery for you, there is a second design that works using the same method: instead of stopping after five petals, keep going. Form as many loops in a row until you have a chain, using at least 60 cm of wire. If this is not enough, add a new piece using crimp beads.
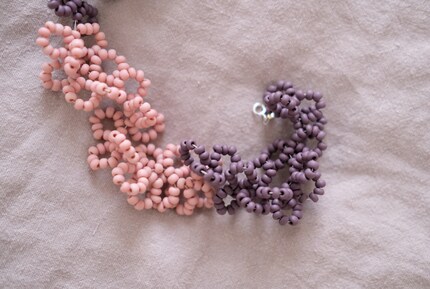
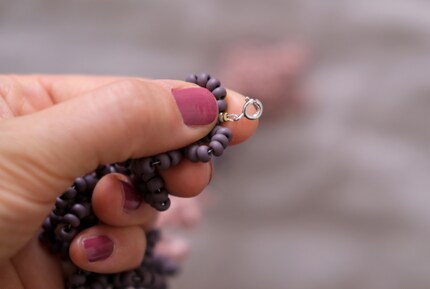
Once you are happy with the length, string two crimp beads and the two parts of the clasp at each end. Insert the wire into the crimp bead again in the opposite direction to the knot and crush it with the round nose pliers. Insert the remaining piece of wire into some of the nearby beads and cut off the rest with the pliers.
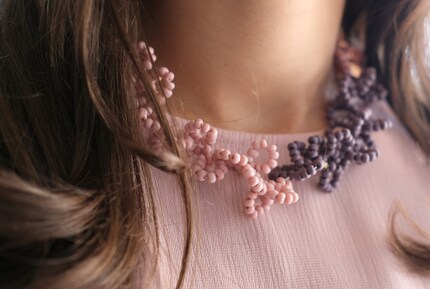
To add variety to the necklace, I mix in a second colour. I used 4.5 mm beads for this necklace. You could even use larger ones to get there faster. Unless you have the patience of a saint and are already a beading pro. Then fine necklaces made from the 2.2 mm beads can also be very beautiful - as long as you like it!
Like a cheerleader, I love celebrating good design and bringing you closer to everything furniture- and interior design- related. I regularly curate simple yet sophisticated interior ideas, report on trends and interview creative minds about their work.
Practical solutions for everyday problems with technology, household hacks and much more.
Show all