Laminate flooring - instructions for correct installation
Laying laminate flooring can be very easy if you just know how. That's why you'll find the right instructions here on how to lay your laminate flooring in 10 steps.
Proper preparation is important
Laminate needs approx. 48 hours to acclimatise before installation. You can store the panels horizontally and unpacked in the room provided
. You can easily calculate the number of laminate packages required here with the product calculator.
An important prerequisite for the installation and long-term value retention of the laminate flooring is a room climate of approx. 20°C and a relative humidity of 50-70%.
Please ensure that the subfloor is clean, level and dry. Use a water level to check the floor for unevenness. Use a levelling compound to level out any unevenness over 2 mm in height. Use the self-levelling compound to create an even subfloor, which you then allow to dry. When laying on mineral subfloors, such as concrete, cement screed, anhydrite screed and stone tiles, etc., a moisture measurement must be carried out. A carpet would have to be removed before installation!
A vapour barrier film is used to protect against moisture above hot water underfloor heating systems or on screed floors. To do this, roll out the film in the intended longitudinal direction of the laminate and cut it to size. The film must protrude 10 cm from the top of each wall. Allow the individual film strips to overlap by approx. 20 cm and fix the seams with adhesive tape.
Now lay a layer of cork or felt directly over the vapour barrier film as impact sound insulation.
Alternatively, you can also use the combination mat from Egger, which is both an impact sound and vapour barrier fleece.
Underlay mats with a thickness of 1.5 to 3.0 mm are very suitable for sound reduction.

Laying laminate - step by step
Step 1
Start in the far left corner of the room. Use a saw to cut the tongue or groove on the long side of the panels
for the first row of panelling. You can use a jigsaw or circular saw for this.
Step 2
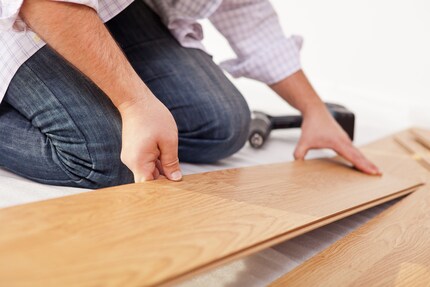
Place parallel to the incidence of light. Lay the trimmed sides towards the wall and click them into each other at the ends.
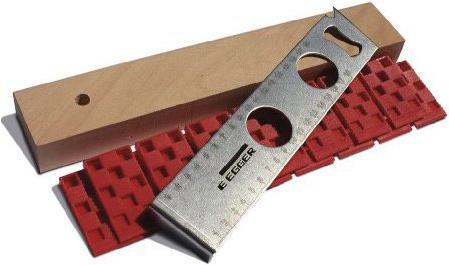
Spacer wedges serve as spacers between the panels and the wall. This ensures expansion joints of approx. 8-10 mm to the wall.
Step 3
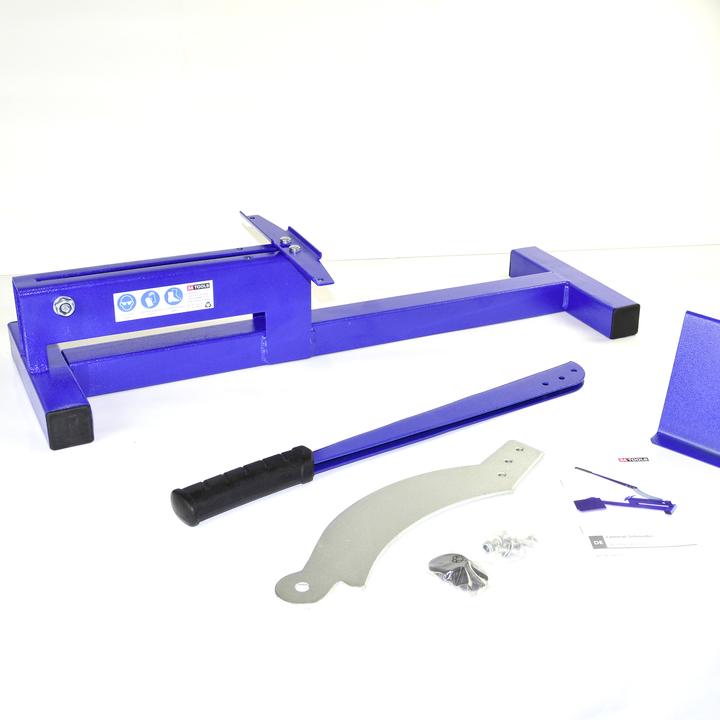
The last panel in the row usually needs to be shortened. The last panel in a row is rotated 180°, placed against the wall and sawn off along the edge of the penultimate panel. The last panel piece must be at least 20 cm long. This step is very easy with a laminate cutter.
Step 4
Start the next row of laminate with the leftover piece from the first row, provided the piece is at least 20 cm long. Place the sawn edge against the wall. The rows should be at least 40cm apart. Use spacers to walls, posts, etc. to maintain a gap of 8 to 10mm.
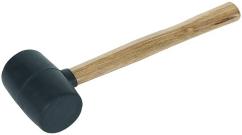
Lay the panel very close to the intended position and lock it in place with a hammer and tapping block. Knock in the panels first lengthways, then crossways, making sure that there are no gaps when knocking in. Megafloor/Euro Click laminate flooring does not require this step.
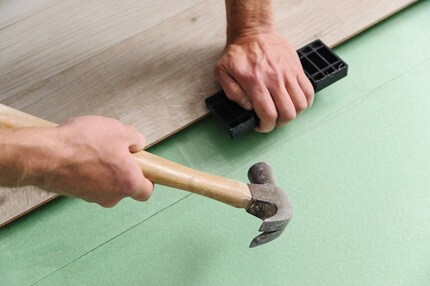
Use the pulling iron to firmly join the end pieces.
Install all subsequent rows in the same way, also securing the end pieces to the wall with spacer wedges.
Step 5
You usually have to cut the last panel lengthways. To do this, determine the required width (including the distance joint) and saw the panelling to size. The crowbar helps you to fit the panels.
Step 6
For laying on heating pipes, mark the drill holes on a piece of laminate and saw out the area with a Forstner bit. You can simply saw out the piece around the holes and then glue it back in place. You can use a rosette for the drill hole.
Step 7
In order to be able to slide the laminate under the door frame, the frame usually has to be shortened by one board height plus insulation. Cut the frame along the panel using a handsaw or multi-tool.
Step 8
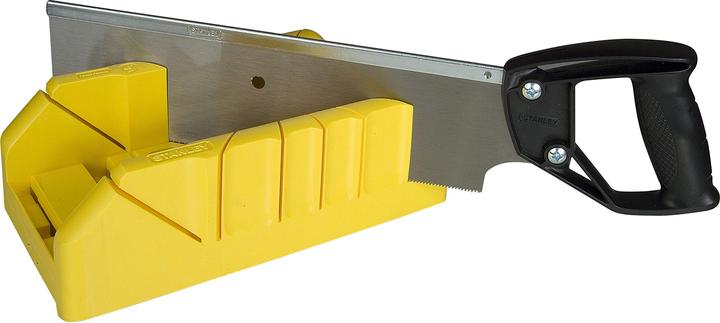
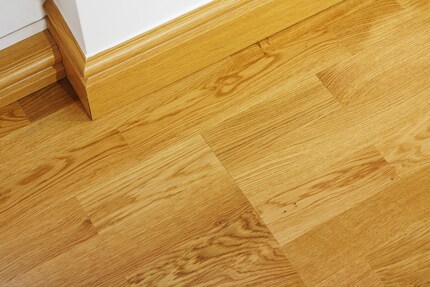
For the wall connection, first cut off the protruding vapour barrier film using a cutter knife. Then attach the matching skirting boards. Use a mitre saw to cut the skirting boards to the exact angle.
Step 9
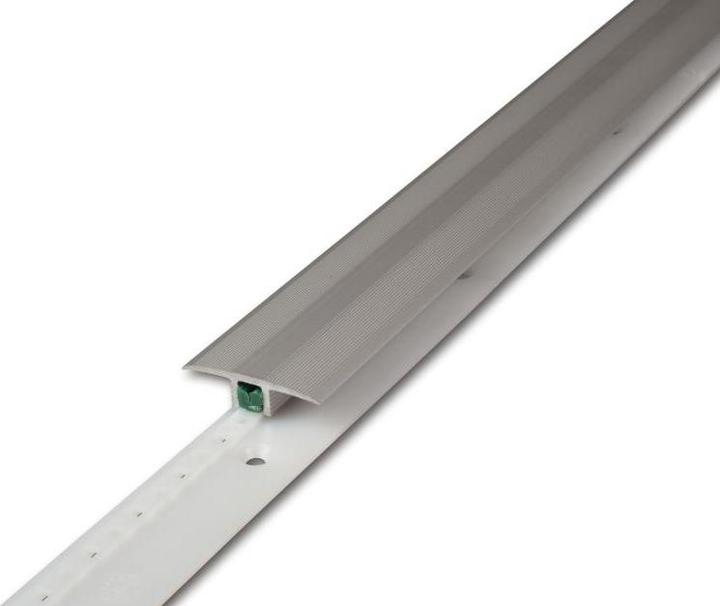
Transition rails conceal the transition from the laminate to the carpet and spacer joints. The mouldings are screwed into the floor.
Step 10
Your laminate flooring is now correctly and beautifully laid. [[image:5595538]]
Photo: EGGER Retail Products GmbH and Co KG
General information about laminate can be found here:
Whether on the bike, to explore new trails off the beaten track, or just to stretch my feet up in the air - I prefer to spend my free time outdoors in nature. This is a great balance for me. But it's also a lot of fun for me to do a DIY project. In such projects I can refresh or further deepen my knowledge of the building sector. Some funny projects have already been created!
Interesting facts about products, behind-the-scenes looks at manufacturers and deep-dives on interesting people.
Show all