Homemade candles – testing Rico Design’s wax moulds
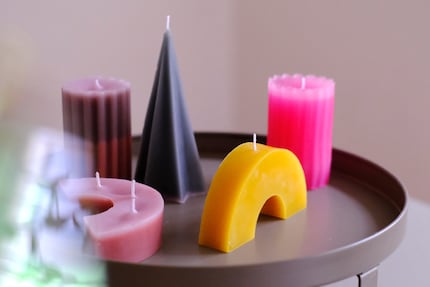
There are many ways to make your own wax sculptures. I chose one of the simplest – wax moulds by Rico Design. Here’s how my candles turned out.
Over the years, I’ve tried several techniques to make my own candles. Pouring leftover wax into ice cube moulds or twisting stick candles to make them look more interesting, for instance. I recently tested the silicone moulds by Rico Design and couldn’t be happier with the result.
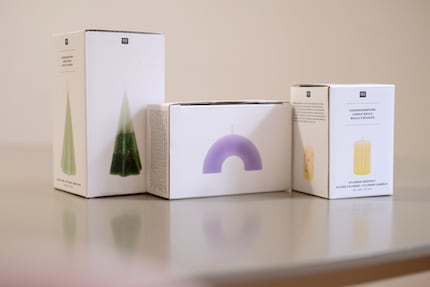
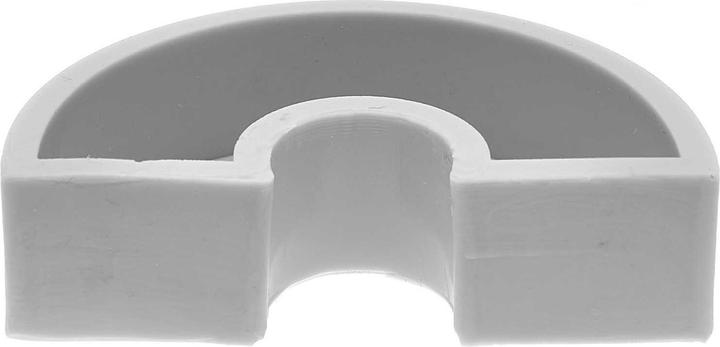
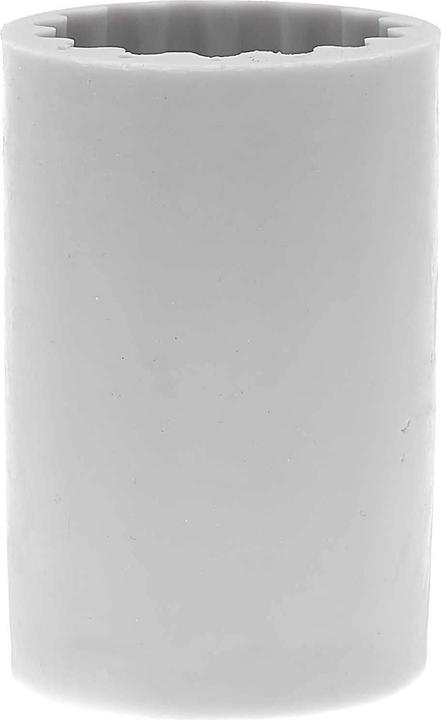
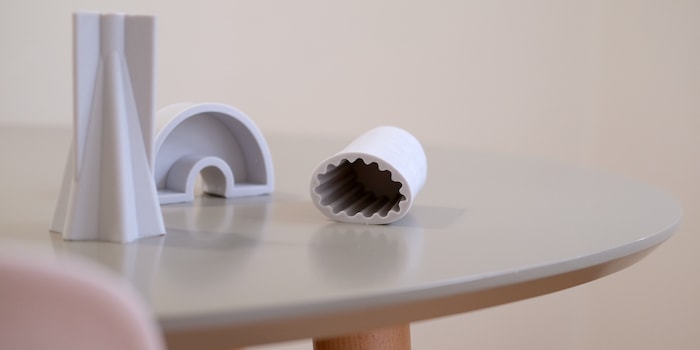
The European brand uses particularly thick and flexible silicone for its DIY products, which is of higher quality than moulds by other manufacturers. The quality difference pays off – from preparation to the finished candle.
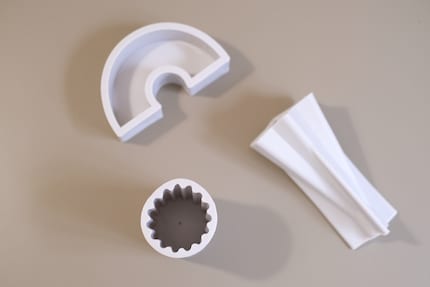
Preparation
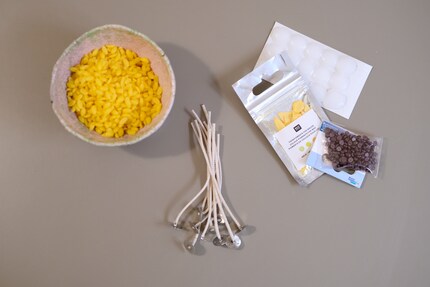
In addition to the moulds, I used the following items to make my candles:
- needle
- wicks
- wick holder
- adhesive wax plates
- wax
- wax dye
- table cover
- milk pot
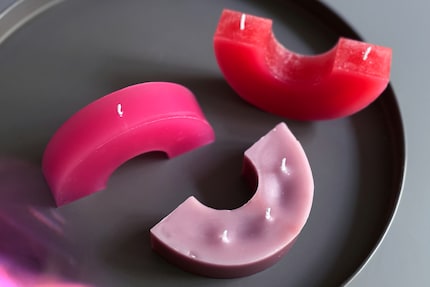
Each shape offers several options for placing the wick. Let’s take the arched candle as an example: you can place the wick on the flat side, on the arch or at its ends.
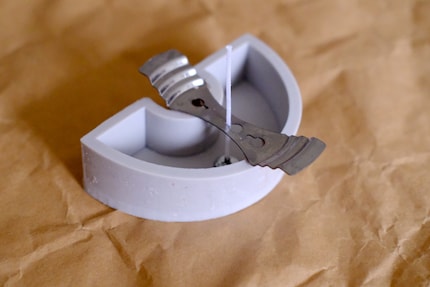
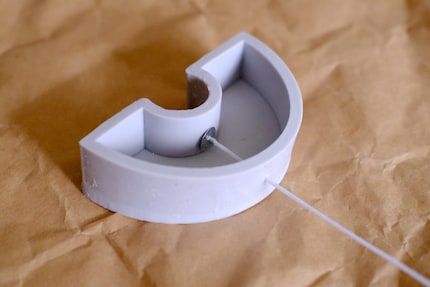
Depending on how I want to position the candle later, I use one or more wicks. Some options require me to pierce a hole into the silicone mould for the wick. Use a needle and make sure the hole is as small as possible so the liquid wax won’t seep through it.
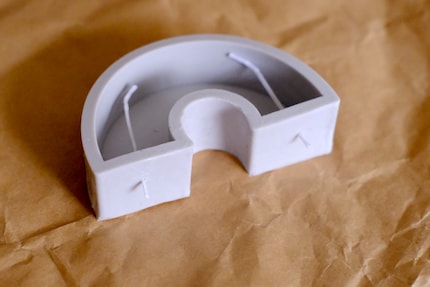
By stretching the silicone slightly, you can enlarge the hole and easily pull the wick through. This doesn’t change the mould. You can continue to use it for all positioning options.
To attach the wick exactly where I want it, I use a wick holder, as its weight and openings make it easy to place the wick. Toothpicks and a steady hand would also do the job. I also like to use adhesive wax plates to make sure the end of the wick is in the right place and stays there. You might even have to stabilise the mould itself. If you do, you’ll have to get creative.
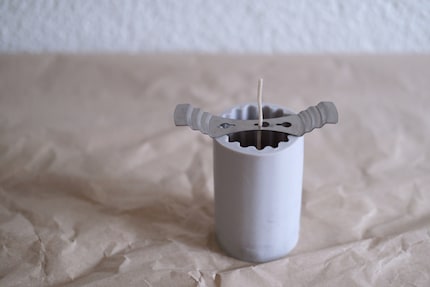
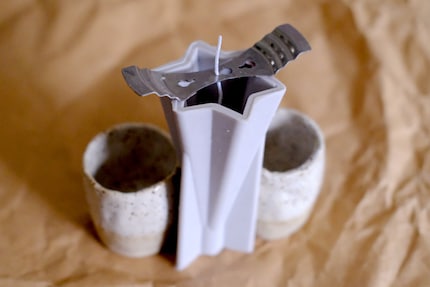
I like using pre-waxed wicks because it saves me time and effort. You could do this yourself by heating wax and dipping the wick into it for a second. Make sure to get the length of the wick right – it should stick out from your mould by at least one centimetre. This is to make sure you can easily light the candle later.
Making the candles
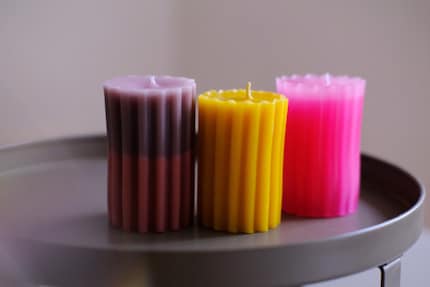
I use a milk pot to heat and pour the wax, as its pouring lip makes it easier to pour the liquid wax in a precise way. However, I cover the table with paper just to be on the safe side. I try out the moulds with three types of wax: beeswax, paraffin wax and leftover wax I don’t know much about. I use the leftover wax and the beeswax as they are and dye the praffin wax pink.
Colours and layers
I filled some moulds to the top with one colour; others I layered with several colours. I always waited until one layer had dried and cooled down before adding a new one. If the wax is still liquid, the colours will mix. This could also look pretty, but it wasn’t the look I was going for.
Removing them from the mould
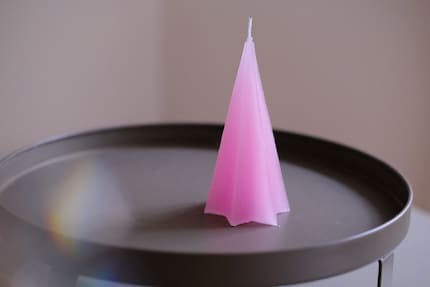
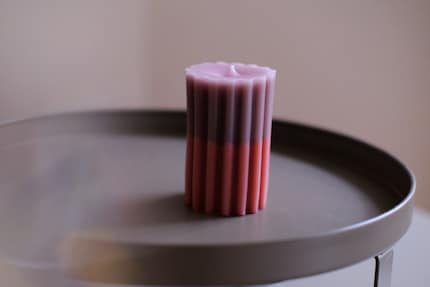
The thick silicone definitely proved an advantage when I took out the moulded candles. If the material’s too thin, the candles might crack when you unmould them. If it’s too hard, they’ll probably get stuck. I know this from disappointing experiences with cheap moulds.
Finishing touches
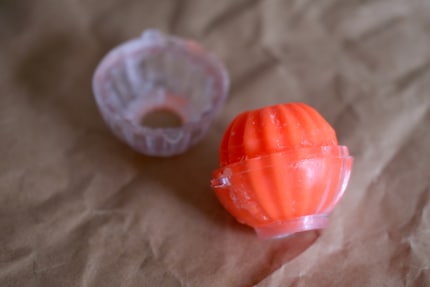
Regardless of the type of wax or mould, the result sometimes isn’t even once it’s dried but sinks in slightly in some places. I fix this by filling some wax into the hollows afterwards. Here’s my top tip: always keep some of the wax so you can heat it up later to fill any hollows.## Cleaning the mouldsAfter removing the finished candles, the moulds are clean except for where I accidentally poured in too much wax. I remove these wax residues by pouring hot and then cold water over the mould. This rinses away the wax and leaves the mould looking like new. Alternatively, you can get rid of wax residues with a dry, rough sponge.
My verdict
At 20 to 36 francs each, the Rico Design moulds are more expensive than many others. But they last longer, too. While other moulds are made of plastic and are temperature-resistant, too, they’re not flexible and tear-resistant enough to get the finished candles out easily. These Rico Design moulds retain their shape even after using them several times. Their thick outer walls make it particularly easy to hold the wick in place. And I’m so happy with the result that I’d like to buy all moulds in Rico Design’s range.
Like a cheerleader, I love celebrating good design and bringing you closer to everything furniture- and interior design- related. I regularly curate simple yet sophisticated interior ideas, report on trends and interview creative minds about their work.
