
Guide
DIY coasters: making new patterns with polymer clay
by Pia Seidel

Don't waste your time making homemade biscuits that will end up in your stomach! Instead, cut out shapes from Fimo modelling clay to make objects that, by the way, are perfect as gifts!
TikTok isn't for me. But since I discovered Fimo tutorials, things have changed. The "polymerclay" tagline brings together lots of videos of people making earrings and so much more with this very special clay. How soothing, I find, to see how this colourful mass is kneaded, rolled and shaped. By the way, I've learned a lot about this oven-hardening modelling clay, which is baked just like the one used for Christmas biscuits. After all these videos, I felt like trying Fimo myself.
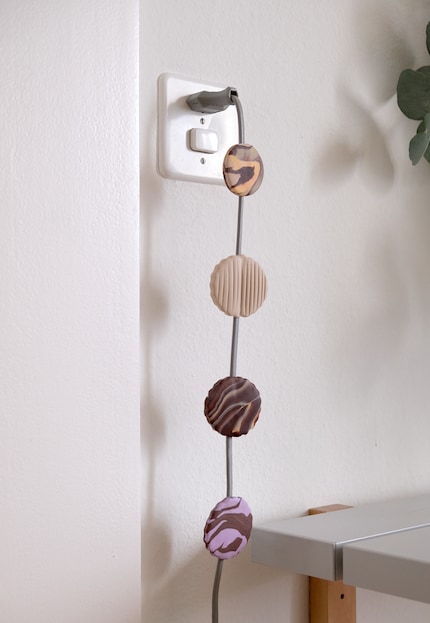
I start with the simplest technique: making circular shapes with cookie cutters. Once cooled when they come out of the oven, these shapes can become decorations for the Christmas tree, walls, towel rails or even objects to embellish cables.
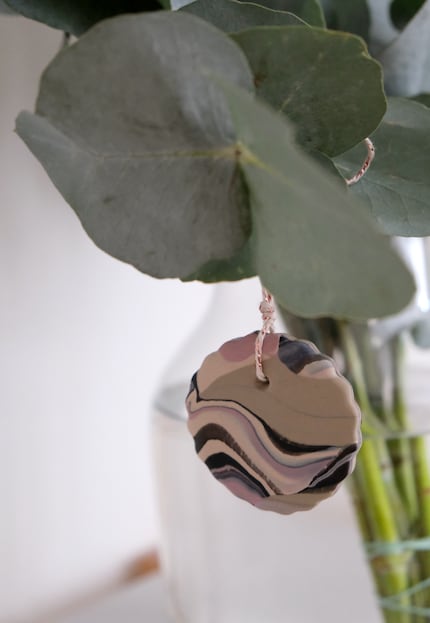
There are different colours and types of Fimo. For beginners, I recommend "Fimo soft", as it's easier to work with. For children, on the other hand, Fimo kids is even more suitable. Advanced users can opt for Fimo professional, a more difficult variant, but offering a wider choice of colours and suitable for detailed work.
Even if the colours glitter or leather look are tempting, I choose the simple pastel shades from the Fimo soft range. Among the cookie cutters, I set my sights on normal circles as well as those with fluted edges. I use two strips per mould. Most of the time, there are leftovers. For comparison, a pack contains two strips. Leftovers can be stored either in the packaging or in plastic film.
The darker the Fimo colour, the greater the likelihood of it bleeding. This is why I decide to cover my table with a cutting mat on which I lay out the greaseproof paper and around which I place my tools.
I first knead each strip individually to soften it and make balls. To roll them out, I use a thin, transparent acrylic roller. A rolling pin would work just as well. But make sure it's clean! The same goes for the work surface and your hands. If you discover any lint in the mass at this stage, then you can easily remove it with a damp wipe.
Next, I place a ball on the greaseproof paper, which I spread to a thickness of around five millimetres. The height can be altered as desired. The important thing is that the modelling dough fills the biscuit tin. Push the cookie cutter in as you would on Christmas biscuit dough! And voilà, the circle is formed. It's up to you to decide what you want to do with it.
A circle can serve a variety of functions with just a few holes. Using a toothpick or thin wooden stick, poke holes in the modelling clay! Choose the size so that you can later thread a ribbon, string or even a thread through it! It's best to punch holes in the modelling clay while it's still in the cookie cutter to avoid fingerprints or distortion.
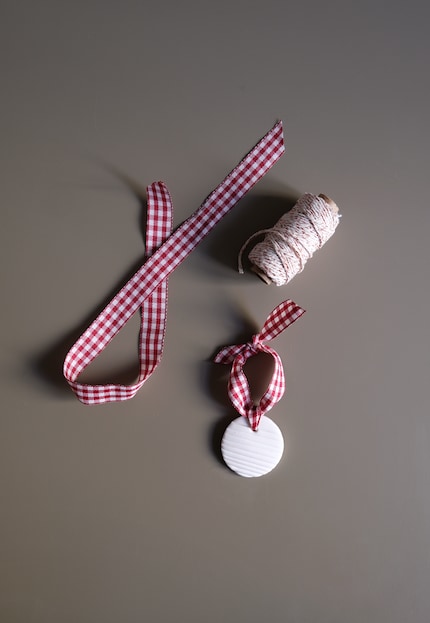

One hole is enough to create a Christmas tree decoration. All you need later is a beautiful ribbon. Choose a Christmas check pattern or simple solid colours that will make the decoration stand out! After the festive season, the same decoration can double up as a keyring.
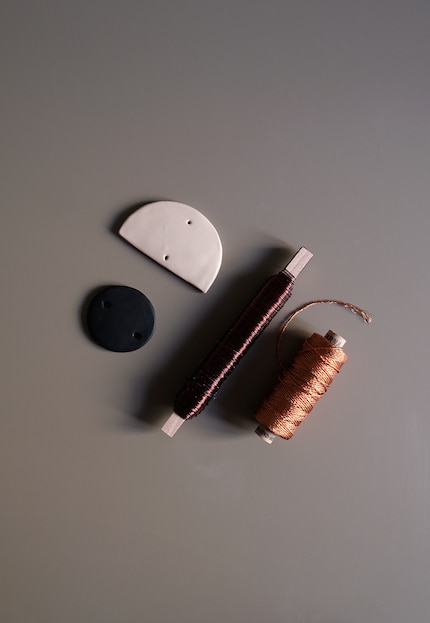
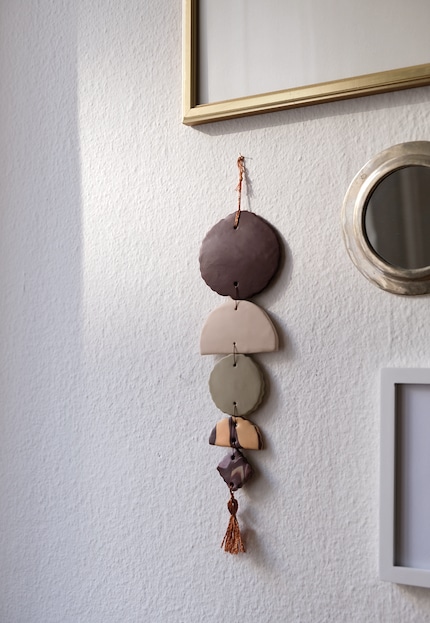
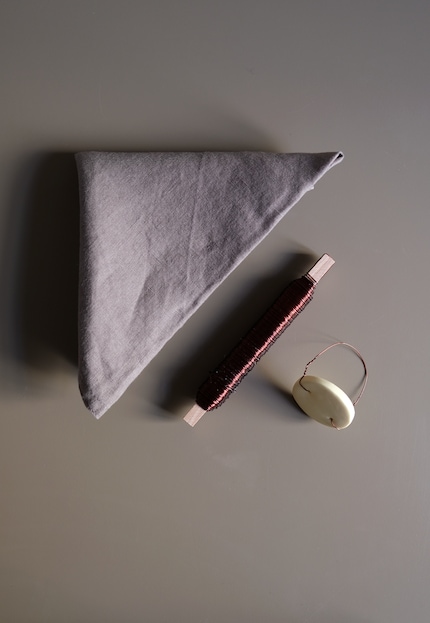
Two holes can link several rooms together and turn them into deco for walls and plants. To do this, use a wire that holds the whole thing together in a stable way! Vary the sizes and shapes! You can make a half circle by cutting the circle in half with a serrated knife. With two holes, you can make a towel ring in no time. To do this, also use a wire to fit flexibly to the cloth napkin.

If you prefer to decorate your cables - which I have already suggested with my colleague Kevin Hofer thanks to the use of a 3D printer - rather than the Christmas tree, then all you need is an opening on the back. I'm going to do the same with the Fimo modelling clay. To do this, gently press on the edge-side cable of the cut circle to mark its width. Then, using a scalpel or a knife, you need to remove a little of the modelling clay, but just enough for the cable to catch on later when decorating.
Whatever the number of holes chosen, the finished shape should be placed directly on the baking paper of the baking sheet immediately after cutting. The aim of this manoeuvre? To avoid unnecessary stains and scratches. If any lint settles on the surface, use a damp cloth on it! Unevenness can be corrected with a rolling pin. In the worst case, start all over again. Fimo can be modelled again and again as long as it is kept airtight.
Heat the oven to 110°C and use an oven thermometer to make sure this temperature is maintained. After 30 minutes in the oven, leave the shapes to cool before working on them, for example with a protective varnish, to give them a shine!
I just cut out the pastry using cookie cutters. Of course, it's just as possible to do it differently: by freely modelling it by hand, cutting it with a scalpel or pressing it into a mould. In a future article, I'll go one step further: thanks to TikTok, I now know how to create marble, terrazzo and stripe effects. So stick around!
Like a cheerleader, I love celebrating good design and bringing you closer to everything furniture- and interior design- related. I regularly curate simple yet sophisticated interior ideas, report on trends and interview creative minds about their work.
Practical solutions for everyday problems with technology, household hacks and much more.
Show all