
Review
Lilo & Stitch reloaded: how much love has Disney still got to show?
by Luca Fontana

You can now make your very own plaster cast versions of the cute blue alien and his girlfriend Angel. But is this Ravensburger DIY set just as magical as the Disney classic? I put it to the test.
Stitch is hitting cinemas – and maybe my bookshelf. Instead of buying a plastic figurine, I want to make the cute little rascal and his pink friend myself: with plaster, a mould and a bit of patience.
The set contains three moulds: Stitch, Angel and one to make a heart, star or rainbow. Plus there are two 200-gramme bags of plaster, double-sided adhesive tape, various paints, a brush, a file and three printed cardboard plates onto which you can stick the finished plaster figures.
I want to make a plaster cast of both figurines. So I attach as much double-sided adhesive tape as possible to one of the two mould halves and then press the two plastic parts together with great force.
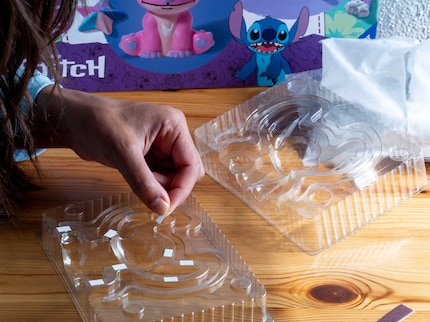
And because Community members melzen92 and Anonymous reported that their mould wasn’t leaktight and the plaster was dripping out the bottom, I made sure to press the two halves together one more time with full force. I want them to hold together really well, because I don’t have the patience for messy plaster. And if you're minding children who are giving this set a go, I recommend you give the halves a good press too before pouring in the mixture. Better safe than sorry.

I mix 200 grammes of plaster with 150 millilitres of cold water in a cardboard cup until I get a smooth and creamy texture. According to the instructions, the mixture should be enough to make one of the two alien figures (either Stitch or Angel) plus the 2D shapes with a heart, star or rainbow. I wait for 90 seconds as specified, then stir again vigorously using the wooden stick and pour the liquid plaster into the Angel mould right up to the top. Turns out one bag of plaster is plenty for two figurines. Looks like a case of buy one, get one free.
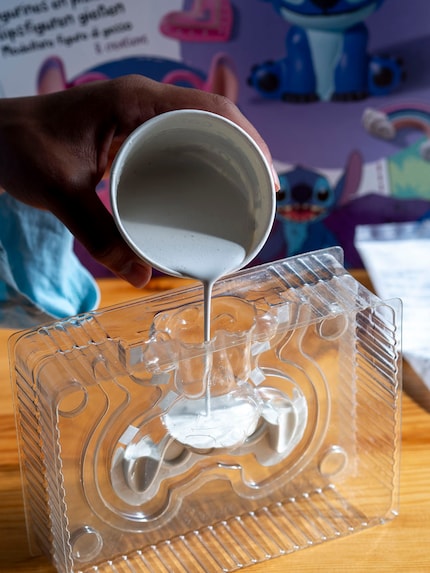
According to the answer to a Community question given by user iternal, reusing the mould shouldn’t be a problem. Provided that you follow the cleaning and care instructions.

After I also filled up the Stitch mould, there’s still plenty of plaster left to cast a heart and the rainbow. I should’ve done them all in one go because the longer the mixture stands, the more gooey it becomes. After just a few minutes, the plaster is almost solid and plops into the heart shape in lumps, and I struggle to fill to the mould to the top.
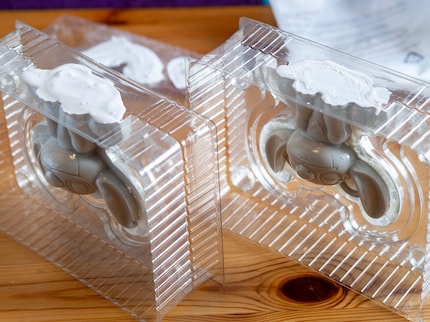
Despite all the warnings in the customer reviews, I was spared a big plaster disaster. The mixture stays put in the moulds without leaking. Relieved about the clean process, I leave the figures in the mould over the weekend, as they need at least 24 hours to harden.
After that, I carefully break the figurines out of the mould. They should be completely dry. Only they’re not. Both still feel slightly damp and I spot a broken antenna on Angel. The instructions don’t clearly state when the figurines should be removed from the mould. It seems, I should’ve taken them out after four hours and then leave them to dry for another 20 hours. Fortunately, Stitch is intact. I try to get rid of the excess plaster with the file provided, but this doesn’t work too well because the plaster is still damp.
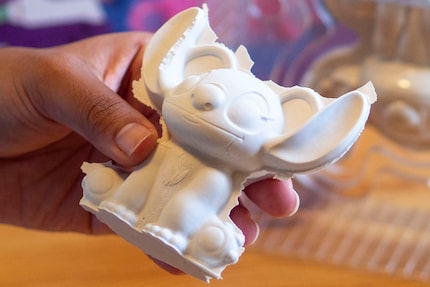
After finishing one figurine, the file’s covered in plaster and lost almost all its rough parts. Fortunately, I have a lightbulb moment. For the second figurine, I work away at the rough edges using a knife and only use the file for some fine sanding. This works much better and I’d recommend doing this from the start.
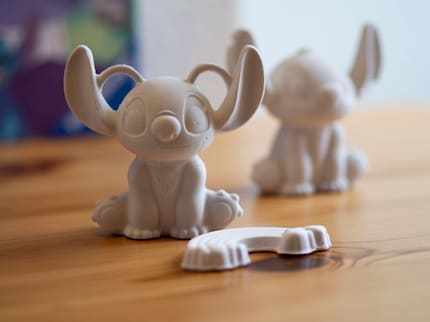
And now for the best part: painting. The set comes with a handful of paint tubs, the contents of which I first stir with a wooden stick. Next, I reach for a largish brush from my craft box, because the one provided is quite small, and start painting the larger surfaces on Stitch. The blue paint is thick and is quickly absorbed. This means I have to work quickly. The paint’s used up really quickly, but the figure still isn’t completely covered. Should I have diluted the paint with water? At least there’s nothing about that in the instructions. I boldly take the risk of adding some water and it works.
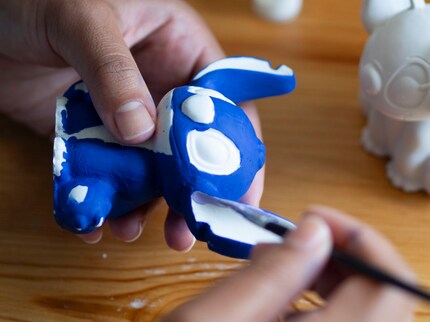
I paint the details in violet. Strangely, this paint is much runnier than blue and easier to apply. There seem to be big differences in consistency depending on the shade. But they all have one thing in common: they’re nice and opaque and quite forgiving when it comes to small mistakes.
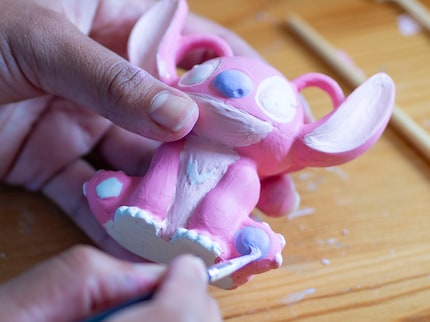
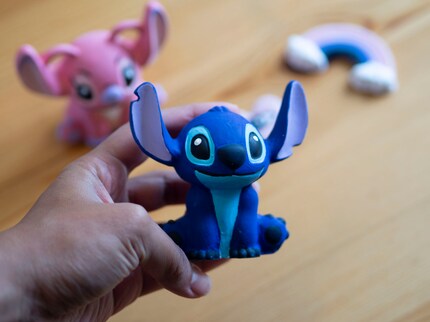
Finally, I dip the thin brush provided in the set in black paint and draw fine lines for the mouth and eyelashes. And suddenly the little figures come to life. A live-action movie adaptation in my home.
Pro
Contra
Painting the walls just before handing over the flat? Making your own kimchi? Soldering a broken raclette oven? There's nothing you can't do yourself. Well, perhaps sometimes, but I'll definitely give it a try.