
Guide
Home Improvement: part 1
by Carolin Teufelberger
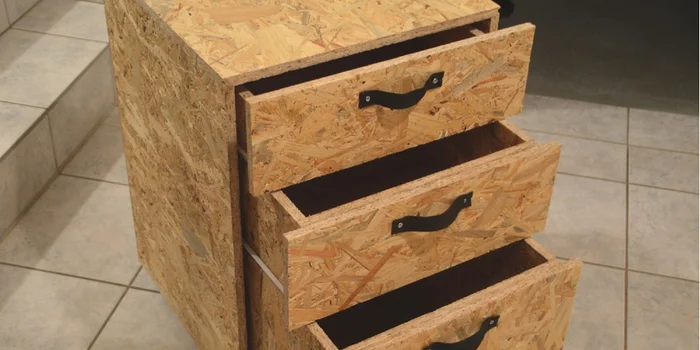

Your own workshop: a DIYer’s dream that you can turn into reality. This series will cover everything from choosing the right room to ergonomic working. And this time, we're finally going to build something.
If you've read and followed along with the first two articles in this series, you should now be the proud owner of a well-appointed workshop. That was just the warm-up, however, as we've now reached the fun part: woodwork. I decided that my project would be making a cabinet for the workshop. You can never have enough storage. After all, your small tools and materials need to be stored where you can easily retrieve them.
A cabinet, then. Not too big, so that it can fit under the workbench with drawers. So that I knew how much wood I need, I had to sketch out my design with approximate measurements. As my drawing skills are akin to a preschool child, I assigned this task to my boyfriend. My cabinet was to be 60 cm high, 45 cm wide and 45 cm deep. This included three drawers in different sizes, which each needed a handle. To stay flexible, I also wanted to add wheels.

My shopping list was as follows:
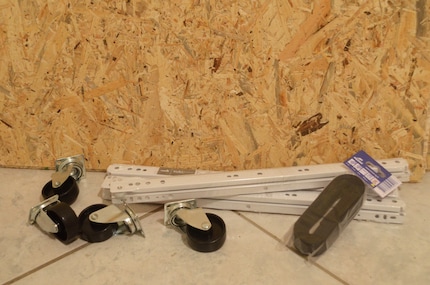
I decided on OSB panels because they're relatively cheap and I think they look attractive. There was a small drawback, though: as they're panels, there were tongue and groove edges that needed to be sanded down. But that was easily done. And what's the strap for, you ask? I made my drawer handles out of it.
Once in my work clothes, I went into the workshop and began to cut the panels to size. I decided to build the actual cabinet first before getting to work on the drawers so that I could make sure that they were a perfect fit. I sawed two pieces to 60 cm x 45 cm (for the side panels) and two to 45 cm x 45 cm (for the top and bottom).
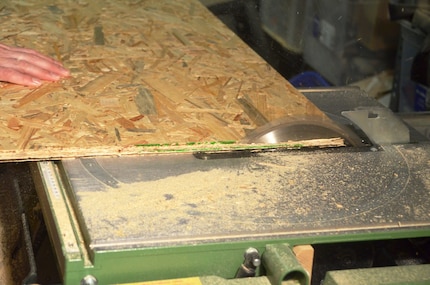
I then set the pieces at a right angle, edge to edge, so that I could mark the points where I would later cut in the corners. Don't forget to number the sides so that you know which edge goes with which. Then I picked up a jointer and positioned it on the markings.
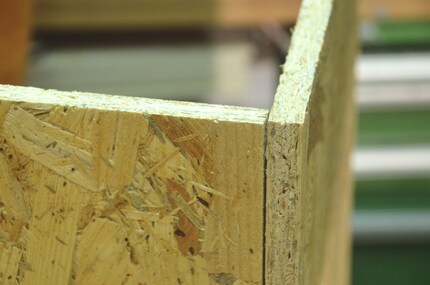
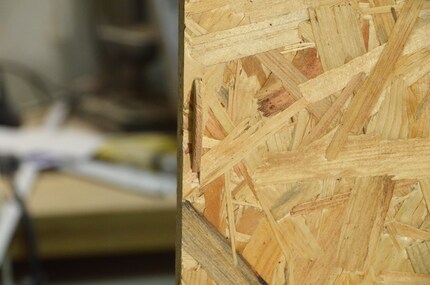
To interlock the pieces, one slot must be made in the edge in question and one on the opposite side. Place the (Lamello) jointer in one side and add some wood glue. Then apply some glue to the edges and place the second piece of wood on top. Repeat with all four pieces of wood. Clamps keep everything together until the glue has dried. It struck me that this stage takes some time. As only three drawers were left at this point and I had an air staple gun to hand, I must admit that I took the easy option.
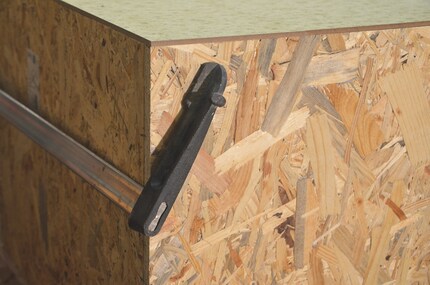
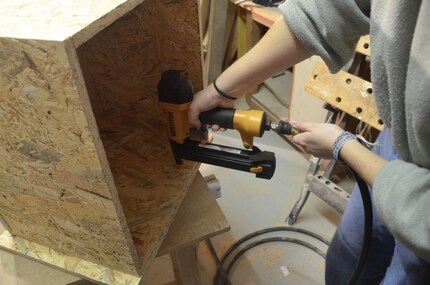
I went for a thin piece of MDF for the back of the cabinet so that the finished article wasn't too bulky. Simply measure from edge to edge and cut a piece to this size. The staple gun comes in handy here too. When it comes to wielding this tool, my skills are as good as Ikea's. Hold it tight, as there is a fair amount of pressure involved, and start by securing the corners. Then, staple down the length as you see fit.
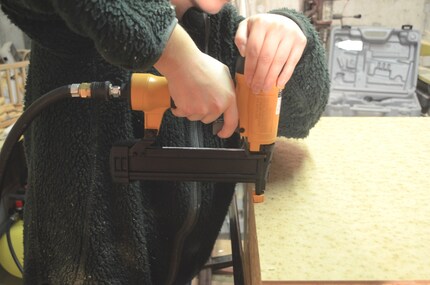
Once the basic structure was sorted, I moved onto the drawers. I wanted the bottom drawer to be a little taller to store larger tools. 30 cm was the magic number. I measured the interior for the width, but remember to deduct the width of the runners. It's best to place them inside for this. I also undercalculated the depth, otherwise the drawers would stick out. As my runners are 40 cm long, I chose the same length for the drawer. I ended up with dimensions of 30 cm x 39.5 cm x 40 cm.
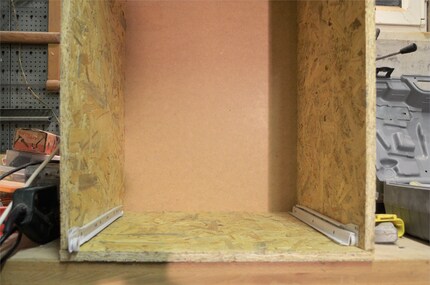
Again, I cut the four sides to size and made a right angle. This time, I went with the lazy option: staples, not glue. Staple together all adjoining edges. It may be a less elegant solution, but I don't mind in this case. It saves a lot of time and it doesn't take away from the appearance of the final product. Nevertheless, it has to hold together, which is what's important to me. And it does. Like the back of the cabinet, I went with MDF for the bottom of the drawer. Secure this with the staple gun.
To make sure the drawer moved smoothly, I had to attach runners to both the drawer and the cabinet. I attached the runners on the inside with the small wheel at the front. Pre-drill the holes so that the screws can be better secured. As the corresponding screws are quite small and short, the holes don't need to be too big. The same goes for the drawer. I attached the runners behind the joint. This time, though, the small wheel was at the back so that the drawer could roll right to the back. Once everything is secured, it's on to the testing phase. If your cabinet passes muster, you can then move on to the other two drawers.
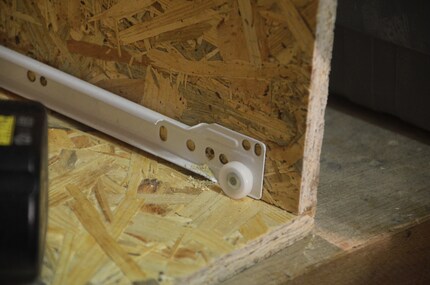
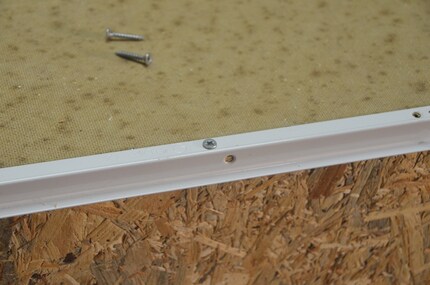
The middle drawer should be 15 cm tall. The depth and width should be the same as the first drawer, as long as your basic structure doesn't look like it's been knocked off-kilter by the wind. The subsequent steps remain the same. Make sure that you leave around a centimetre between the two drawers so that they can open smoothly. I adapted the final drawer as required. The depth and width were the same, but I took 2 cm off the height for clearance.
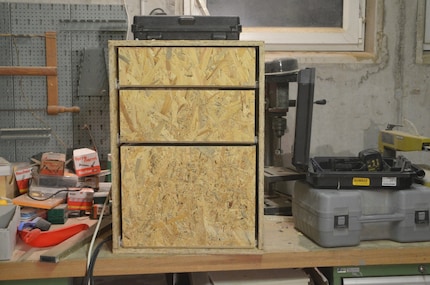
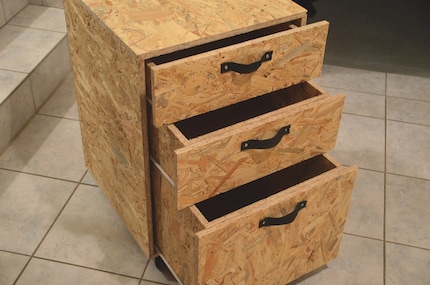
All of the drawers were working well at this point, but the cabinet's appearance left a little to be desired. There were holes on the sides caused by the drawer runners, so I cut three front panels extending to the outer edge of the cabinet and attached them to the drawers. For the bottom drawer, I measured the height from the floor to the top of the drawer and a width of 45 cm. After cutting, the front panel can be stapled to – where else? – the front. Over the course of this project, I've become a big fan of this tool. I had reservations at the start because it didn't feel quite right to take such a shortcut. But it just works.

To position the front panel on the drawer correctly, mark the margins of the drawer on it. Afterwards, you can remove the drawer and place it on the marked spot on the panel. Then do the same for the other two front panels. From experience, I advise leaving a centimetre of clearance.
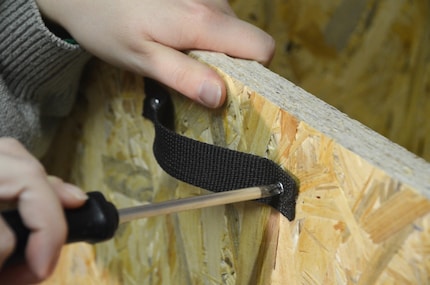
They might look good, but the drawers can only be opened with a bit of fumbling at this point. They need handles. And I'm not talking about standard ones that cost a fortune. I mean handmade ones. Straps are inexpensive and pretty robust. Cut them to the length you need and seal the ends with a lighter. Make a hole on either side with a screwdriver and screw them to the drawer. The strap shouldn't be taut; you should be able to grasp it with your hand.
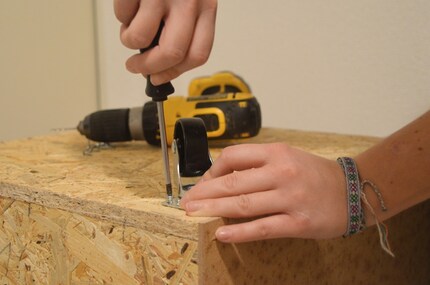
The castors are the finishing touch. Mark the position underneath where the castors should be attached and make small holes for them. Then screw them on and your handmade cabinet is complete.
This cabinet will keep virtually everything I need within easy reach. For even more organisation, you can adjust partitions and repurpose cutlery trays. Or you can leave everything as it is and just throw everything in.


My life in a nutshell? On a quest to broaden my horizon. I love discovering and learning new skills and I see a chance to experience something new in everything – be it travelling, reading, cooking, movies or DIY.
Practical solutions for everyday problems with technology, household hacks and much more.
Show all