
Click parquet is child's play
The Teufelberger family lays parquet flooring and makes mistakes. But rather us than you. Which is why I'm sharing our experience with you and serving you the right solutions on a silver platter.
My brother Nick is now 12 years old and mentally mature enough to behave appropriately. That's why the old children's carpet is being thrown out to make way for parquet. Click parquet, to be precise. But this needs to be laid. Good if you have four siblings and their father used to work for a floor layer. Well, at least one of the siblings is helping out: me. The other sister indulges in wanderlust, the two brothers play dead and don't get out of bed. Too many cooks spoil the broth anyway.
Gild your soil
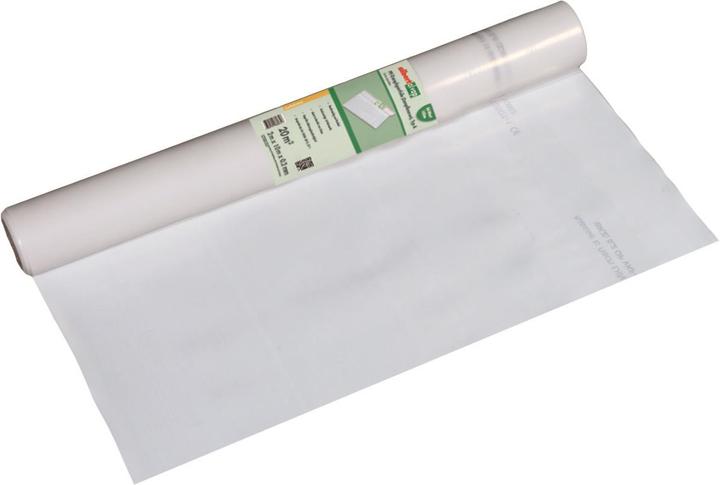
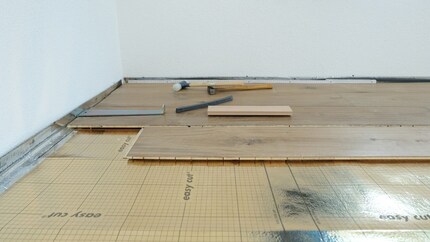
But before we can even think about cutting and laying anything, the floor needs to be gold-plated. In the form of an underlay with a vapour barrier. Of course, other colours are also possible. The individual sheets can be easily joined together using the integrated adhesive strip - almost like an envelope. As we will start laying at the top right, a spacer strip is placed on the right-hand side to help us maintain the distance from the wall.
Short familiarisation period
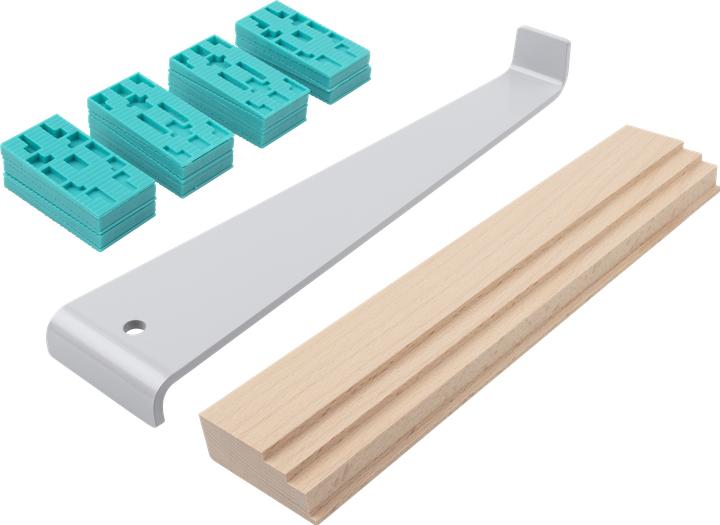
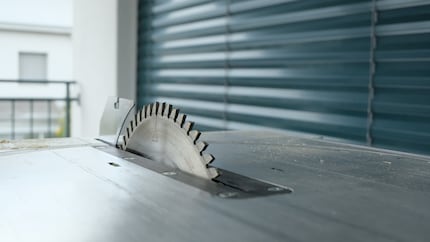
The parquet must then acclimatise. This means placing it in the room two days in advance so that the planks do not expand afterwards. The table saw is also lifted from the basement to the first floor. We also need a hammer, driving wood, pulling iron, inch stick, Winkel und Bleistift. Then you can finally get started.
The planks that mean the world
The first plank is laid in full length. But it still has to be sawn. As this is click parquet, each plank has a kind of groove on one side and a tongue on the other. This has to come off, as the skirting board is not wide enough to cover it later. Now lay the plank with the sawn-off side directly against the spacer strip. The next plank is placed at an angle of 45 degrees and then folded down so that the two pieces join. Make sure that you mix planks from different packs so that patterns and colour gradients are distributed throughout the room. The next plank has to be cut to size as we have reached the end of the row. To do this, turn the plank over with the groove facing the wall and mark the cut point with the square. Attention: As there is no spacer tape on this wall, subtract one centimetre.
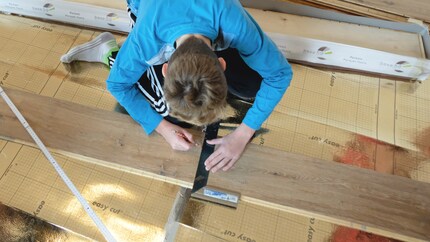
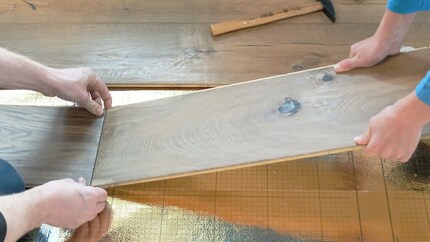
We start the next row by cutting the previous one. The tongue is already gone here, so the plank can simply be laid down. As it is much shorter than the first row, the joint offset should be automatically observed. This states that the joints should be at least 20 centimetres apart. Now lay down the remaining planks in the row and join them together. At the beginning, we joined plank by plank to the previous row. Wrong! At least with our click parquet, it was impossible to join all the planks in this way. That's why we only joined the entire row to the previous row at the end. However, it still stands up a little, which is normal. Simply use a mallet and hammer to hammer them together even more. You should notice when the planks start to sag.
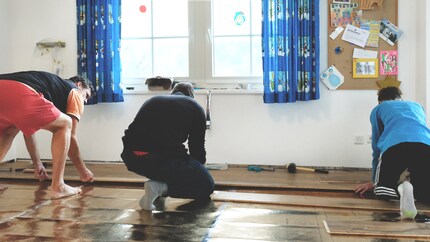
Continue in this style until the wall is no longer straight. And keep wiping with a broom in between to keep the surface even.
Up to the last corner
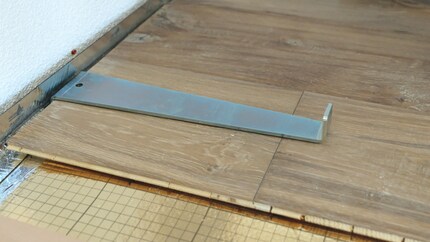
Unfortunately, Nick's room isn't perfectly square, which is why a few start and end boards have to be bevelled. But that's not rocket science either. The angle is used to measure the wall, transfer it to the plank and cut it to size. The trickiest part is definitely the last row. On the one hand, the planks have to be cut to width, and on the other, cut-outs have to be made for the door frame. So everything is measured precisely and a centimetre gap to the wall is taken into account everywhere. We do this step by step. First, the width of the plank is shortened. Only then do we mark the recesses in the door frame and saw them to size. It makes sense to choose the plank lengths so that only one needs to be cut for the door frame. This last row can no longer be hewn into shape with the chisel, this is where the pull bar comes into play. You attach it to the wall side of the plank and hit the opposite side with a hammer.
What also needs to be considered in Nick's room is the door threshold. The flagstone floor in the corridor is higher than the parquet in the room. So we have a difference in level that needs to be ironed out. We made a threshold for this ourselves. To do this, measure the height of the boards and the height of the parquet and transfer this to a moulding or square timber. The width of the wood is determined by the depth of the door frame. We end up with an angled piece of wood that fits into the door frame.
Place your project on the plinth
The floor looks good, but we're still missing the oak skirting boards. I don't want to get ahead of myself, but this is where we had the most problems by far. It still worked well in the normal right-angled corners. Here, the mouldings that meet must both be mitred at an angle of 45 degrees. However, two corners of the room meet at an obtuse angle of 135 degrees. However, the mitre saw (the other side of the circular table saw) only cuts at 45 degrees at most. My father and my friend both start drawing. Will that do any good? With our combined strength, it dawns on us pretty quickly. We start from the secondary angle, which is 180 minus 135, i.e. 45 degrees. Now calculate the bisector, which according to Adam Riese is 22.5 degrees. We need a few attempts until we have cut the angle in the right direction and both skirting boards fit together. That's why it's never a bad thing to have too much of everything.
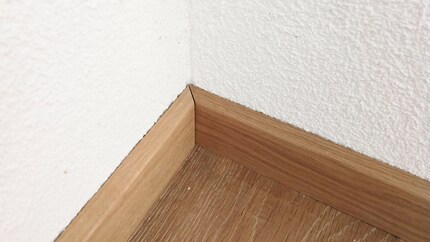
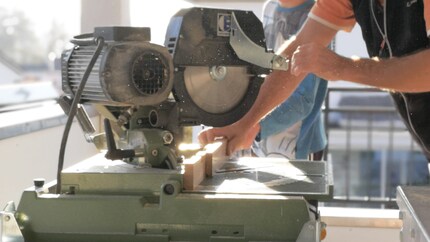
Once all the mouldings have been cut to size, they still need to be attached to the wall. The real idea is to work with an electric stapler. Forget it. Either the pressure is too low or the masonry is too hard, but the nails hang crooked in the wood. So a drill, plugs and screws have to be used. Only under the patio door is it possible with the Bostitch. They were working with wood.
After a day's work, it's done. And I have to say: "It wasn't that difficult!" The biggest hurdles were the skirting boards and the last row of flooring with all the recesses. The laying itself went quickly. After three days, Nick can leave his mattress dormitory in the office and spend his nights without a children's carpet.
My life in a nutshell? On a quest to broaden my horizon. I love discovering and learning new skills and I see a chance to experience something new in everything – be it travelling, reading, cooking, movies or DIY.
Practical solutions for everyday problems with technology, household hacks and much more.
Show all