Gluing eyelashes made easy
Only artificial eyelashes complete a make-up look - at least in my eyes. I used to have a lot of trouble sticking them on, but now it's easy for me. I'll tell you here how and what you can use to make it work.
My first attempts at sticking on false eyelashes back then really backfired. Literally. Today it works with ease. In addition to lots of practice, the following tips and tools have helped me:
Choose wisely
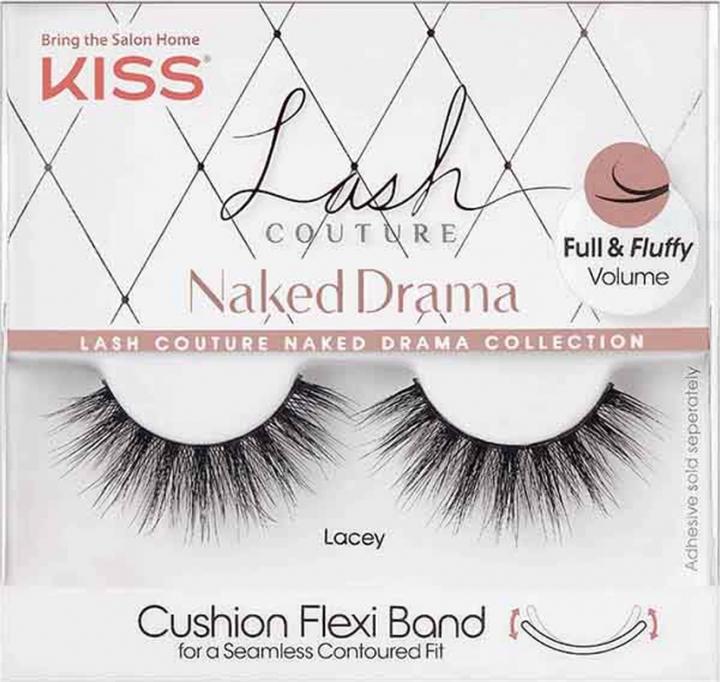
The choice of false eyelashes depends on your make-up look. You can choose between individual lash clusters or full lashes. "Individuals" are particularly suitable if you want to visually fill in gaps in your natural lash line. Alternatively, you can simply use them to thicken and emphasise the outer corners of your eyes. In combination with a subtle eyeshadow, they create a soft "cat eye" effect. With heavily made-up eyes, however, the little helpers quickly disappear. [[productlist:12405768]]
If you want to glue on a continuous lash line, the band to which the hairs are attached is crucial in addition to the shape and style. If the model has a transparent band, you can combine it well with light eye make-up.

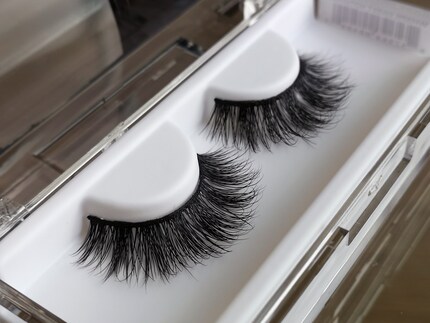
In contrast, striking, thick "fake lashes" often have a wide, black and rigid band. This type of lash is particularly suitable for dramatic looks such as smokey eyes or eyeliner, as the dark band can be easily concealed. However, because they lack flexibility, they are difficult to mould to the shape of the eye and are therefore not beginner-friendly.
On the glue, ready, stop: first comes the mis en place
Before you start, you should make a few preparations. Firstly, you need to remove the lashes from the packaging without damaging or tearing out individual hairs. As these are often well attached, this is not so easy. But there is a trick: press the tip of your thumb into the curl of the lashes and gently roll them outwards. This distributes the pulling force over the entire curl and not on individual hairs.
Lashes with thick bands must be "warmed up" before applying to make them smoother. To do this, hold them with your thumb and forefinger at one end and try to move the band in a U-shape.
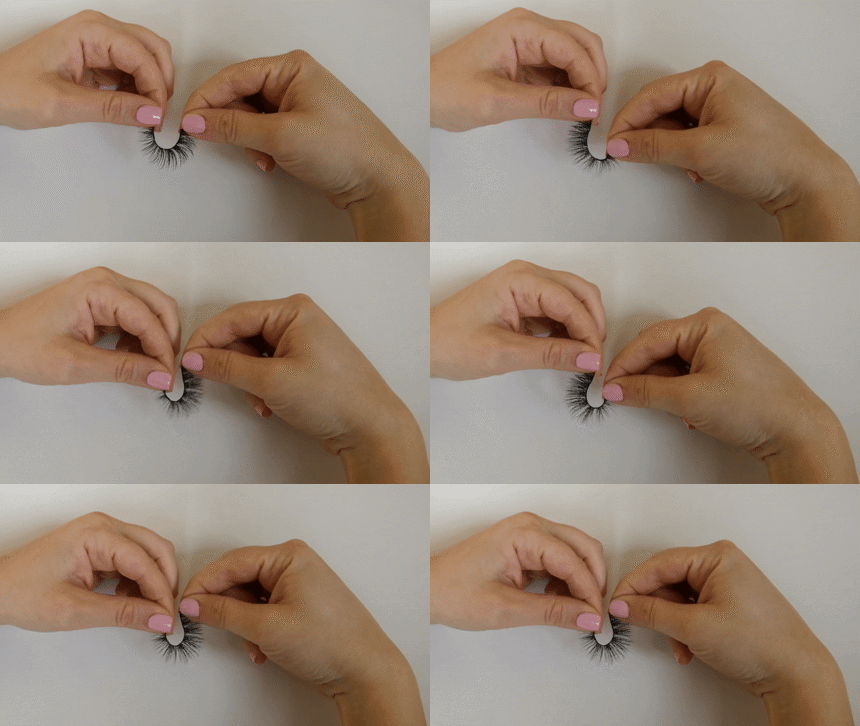
Because eyelashes are usually only available in one size, you need to adjust their length before applying them. Hold them up to your eye. This will quickly show you how much you need to cut off with nail scissors so that they match the length of your eye. It is important that you only ever trim them from the outer end and not from the side facing the inner corner of your eye. This is because artificial models become longer towards the outside and finer and shorter towards the inside. This way, you preserve the natural transition at the inner corner of the eye.
Now you're ready to go.
The happening
Step 1:
Curl your own lashes with a lash curler and apply mascara immediately afterwards. This way, they will blend in more beautifully with the artificial ones later on. [[productlist:9801354]]
Step 2: Many eyelashes do not come with glue. It is therefore advisable to always have one to hand. I would recommend using one with a brush applicator, especially when starting out. This makes it easier to dose and apply the glue. I personally use this one: [[productlist:10227700]]
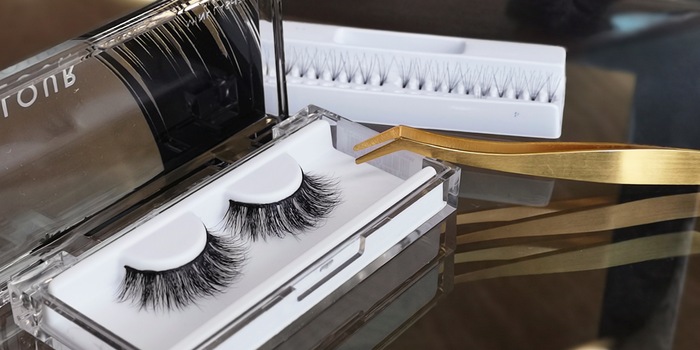
While applying the glue, I hold the lashes in place with lash tweezers. What may seem like unnecessary frills at first glance makes a big difference, especially during application. Of course, you can also apply lashes with your fingers or with ordinary tweezers. However, an eyelash applicator has a precise, bevelled tip that allows you to apply and tweeze effortlessly.
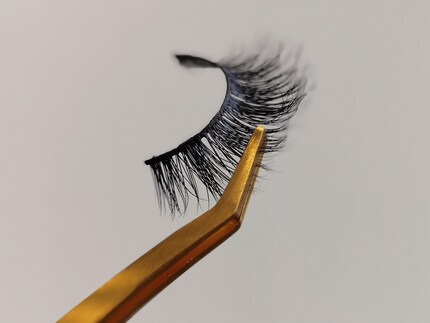
When applying the glue, make sure that you apply the same amount everywhere on the inside of the ribbon. Only a little more at the ends won't hurt, as this is where lashes are most likely to come loose again.
Step 3: Once the glue is on, leave it to dry for 30 seconds. This makes it easier to position the lashes without them sliding around. I first place them in the centre, directly above my lash line, and then pull both ends into place. I then clamp both my own and the artificial lashes between the eyelash tweezers and press a few times. This closes any gaps between my natural and artificial lashes.
Now nothing stands in the way of you and a phenomenal look.
As a massive Disney fan, I see the world through rose-tinted glasses. I worship series from the 90s and consider mermaids a religion. When I’m not dancing in glitter rain, I’m either hanging out at pyjama parties or sitting at my make-up table. P.S. I love you, bacon, garlic and onions.
Practical solutions for everyday problems with technology, household hacks and much more.
Show all