
DIY seat cushion for family outings
A picnic blanket is often too bulky for your hiking rucksack. A compact seat cushion, on the other hand, is ideal. I made my own and from now on they will accompany my family on every trip to the mountains.
At the moment, I go on a trip to the mountains with my family every week. We usually take our own food with us, have a picnic on a blanket and enjoy a small dessert on the mountain pasture. We stop every now and then on the way there and back. The children have a drink, explore the landscape and the ground beneath their feet. They always have a cushion in their rucksacks. This year, however, we have already lost or left two of them. I didn't want to buy new ones, so I made some myself. I'm really pleased with the result: they are quick to make and protect the children's bottoms from getting wet.
What you need for your seat cushion
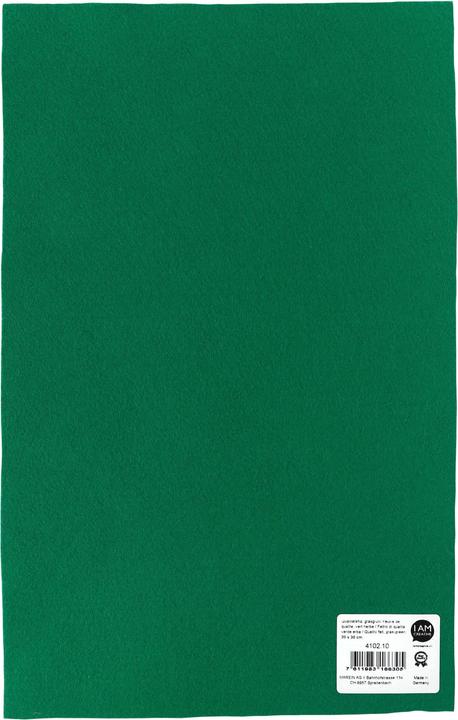
An old yoga mat, which my children last used as a colouring mat, serves as the base. If you like, you can also get a new mat. To make the seat cushion more colourful, you will need several felt sheets in different colours. You can use scissors, ruler, Kugelschreiber, eine sewing machine and a needle for leather or denim fabrics.
Sitting softly in four steps
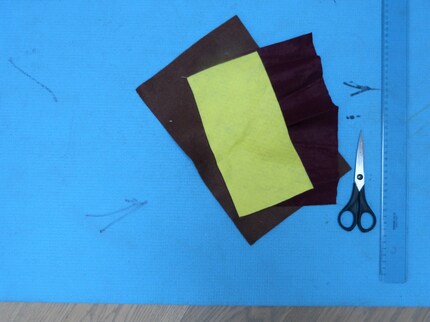
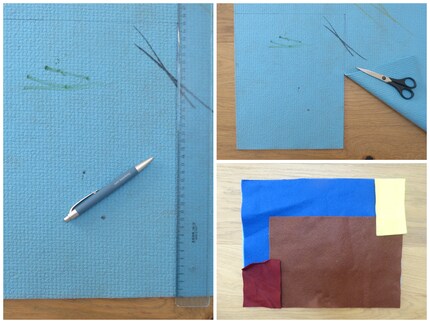
1. The seat cushion has a size of 28 × 35 cm. Mark the corresponding rectangle on the yoga mat with a biro and then cut it out.
2. Use the felt to make the seat cushion cosy on one side. To do this, lay out the coloured felt panels on the front of the cut-out yoga mat according to your taste. You are welcome to cut out circles or squares of different sizes and place them on top to fit.
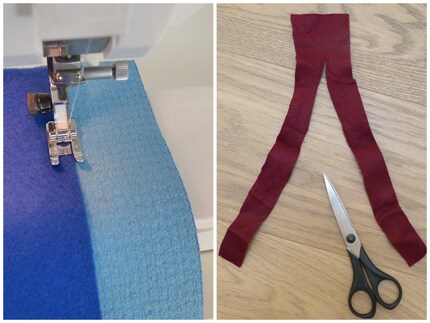
3. Now it's time to use the sewing machine. With a little patience, sew the felt panels to the seat cushion using a straight stitch.
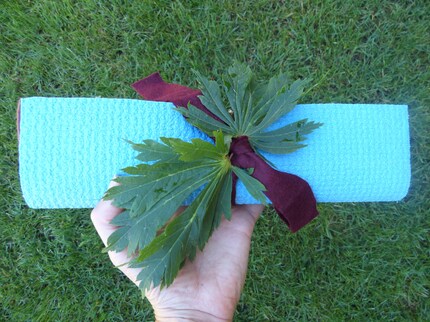
4. So that your child can stow the cushion in their rucksack, you need to cut a felt band to hold the rolled cushion together. As the felt panels are too short in length, you can use the following trick: Cut a piece about ten centimetres wide lengthwise. Cut it exactly in half to about 80 % of the total length. Now you have a long felt band that fits loosely around the roll.
The practical seat cushion is ready! It's great for children as it's light and they can carry it in their own rucksack without any problems.
I'm more of a thinker than a doer. Yet I'm still always active: crafting, sewing, writing to-do lists, daydreaming, counting clouds, digging into soil, comforting my two little ones and collapsing into bed after a long day. If it were up to me, each day would have a few extra hours... I wonder if that would be enough.
Practical solutions for everyday problems with technology, household hacks and much more.
Show all