
Guide
DIY fashion for beginners: making a basket bag
by Vanessa Kim
In the "DIY fashion for beginners" series, Anne and I show you how to sew fashion pieces or rescue clothes. In today's episode: how to sew wrap trousers.
I'm hoping that the summer will last a little longer. My fashion conclusion from the past few weeks: Short is not always the better choice on hot days. A lightweight fabric that sways with your legs as you walk provides a mini cooling effect in high temperatures. That's why I asked my colleague Anne Chapuis to sew a pair of airy trousers with me. The professional suggests a pair of tie-up wrap trousers, a model that is equally suitable for the office and the pool.
What you need:
You will need three pieces of fabric for the wrap trousers:
*You can determine the length according to your personal taste. You decide in advance how much or how long the overlap, the so-called wrap, should be.
For the trouser leg, add + 3 cm at the hem and + 1 cm at the waistband to the predefined trouser length (which is 95 cm for me). In my case, this makes a total trouser leg length of 99 cm. Now you need the width. Calculate this as follows: The waist circumference (75 cm for me) + 6 cm (3 cm on each side) + 10 cm (for the overlap or apron). The latter 10 cm will be subtracted in a later step. Depending on the width of the buttocks, this can be up to 20 cm. In my case, this makes a total of 91 cm.
Our piece of fabric is 95 cm x 91 cm.
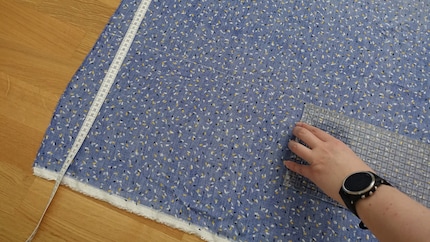
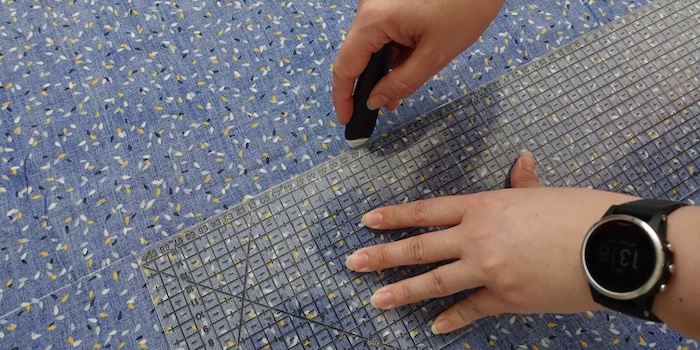
For cutting out, lay the fabric flush on top of each other so that you end up with two pieces of the same size. Fold one of them in half lengthways. Now use a ruler to measure 41 cm down from the waistband (this is half the crotch length) and 10 cm inwards from the side (here you need to subtract the same buttock width as above). Use a fabric chalk to draw a half moon on the fabric in the measured section. Cut this out and repeat the process for the second piece of fabric.
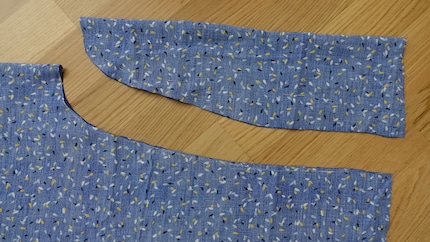
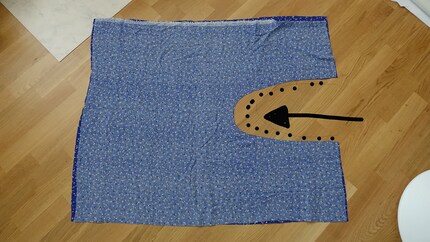
Now attach the two pieces of fabric flush with each other. Use pins to help you secure them. Use your machine to sew along the "half-moon" seam. However, you can also use a conventional sewing machine. For the sake of clarity: the "half-moon" seam is the only place where you sew the two pieces of fabric together.
For the trouser legs, which flap around loosely (this is intentional), serge the sides and fold over the hem of the trousers. Sew the turn-in with a machine. The heavier the fabric, the better the drape. That's why we recommend folding the hem over twice, with a so-called turn-in turn inwards.
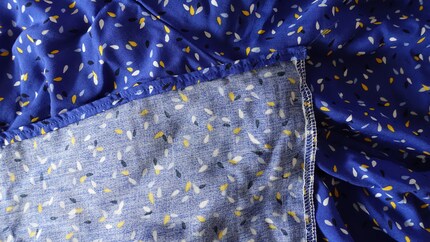
As these are wrap trousers, you will need ribbons to "wrap" them later. The waist measurement is crucial for this. In my case, this is 75 cm (the waistband length) + 30 cm (the allowance for tying the bow). Alternatively, you can use two ribbons of 2 metres each.
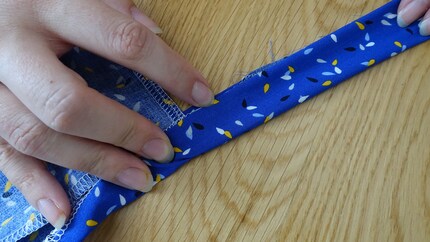
We have opted for a ribbon width of 2 cm. To make the whole thing look nicer, double the fabric. In other words: 2 + 2 (double the width) + 2 x 1 cm for the seam allowance (left and right). Measure these and cut them out of the leftover fabric. Now place the ribbon in the centre of the waistband with the pretty side of the fabric facing outwards, pin the ribbon to the waistband and fold it lengthways. The pretty side should be facing outwards. Your breezy summer trousers are ready to accompany you through the last days of summer and your next beach holiday. [[image:28423958,28423960]]
If you want more fashion DIYs on your radar, follow me by clicking the button at my author profile.
When I’m not exploring the depths of the sea as an open water diver, I enjoy plunging into the world of fashion. On the streets of Paris, Milan and New York is where I keep my eyes peeled for the latest trends. And I’ll show you how to take them from the catwalk to your everyday life.
Practical solutions for everyday problems with technology, household hacks and much more.
Show all