
Guide
Better than biscuits
by Pia Seidel

After achieving effects such as the marble look with the oven-hardening modelling clay "Fimo", I tried out three more patterns. The result: one is simpler and more beautiful than the other.
I am addicted. Addicted to polymer clay. Once you start, there's no stopping you. Because it's fun and the possibilities are endless. At least that's how I feel. On the Tiktok platform alone, I discover new videos and tutorials every day under the hashtag "polymer clay" that tempt me to try it out. There are numerous colours and simple ways to create effective patterns. I have already tested three of them in the last article. Now I'm trying out other techniques for effects such as the animal print and the layered and twisted look.
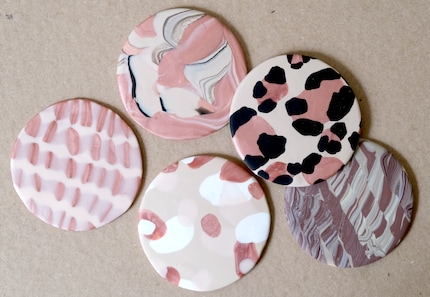
This time, I'm making the circular shapes into coasters. But they can also be turned into jewellery, key rings or whatever you fancy. I use one "Fimo soft normal block" as the base colour for each coaster. You only need small pieces of the other colours. Leftover pieces from other DIY projects are also suitable for this.
Fimo soft is made for beginners because the modelling clay is softer and easy to knead with your hands. Always roll out the modelling clay well before you start shaping. This makes it softer and avoids air pockets. For a coaster, I roll out a surface about eight to ten millimetres high. It is important that I plan a few extra millimetres because the base colour will be rolled out again later along with other pieces of colour.
I use an acrylic roller, which is narrow and transparent. You can also use a rolling pin. Just make sure it's clean. The same applies to your work surface and hands. If any fluff gets into the mixture, you can carefully remove it with a damp cloth.
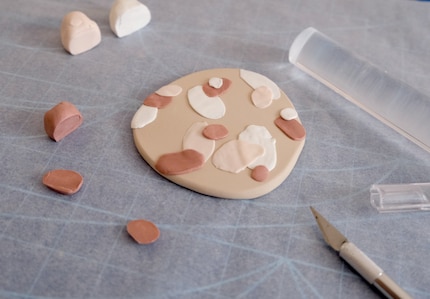
To create the layered look, I use the "Soft Color" set. It contains pastel colours that are rolled out particularly thinly and later become transparent. I choose the colour beige and for the "splashes of colour" I use pastel pink, white and a shimmering rose gold from the "Fimo effect" range. The number of colours is up to you. The coloured pieces should be about one millimetre high before you place them on the base. I make the blobs of colour by forming small balls, cutting off a slice and flattening it again. At the end, I roll over the entire surface until the colours blend together and I have the right height (about five millimetres) for the coasters.
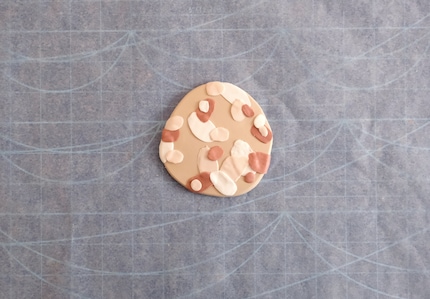
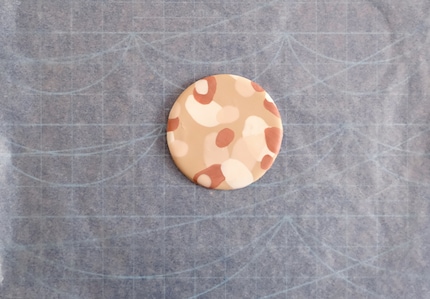
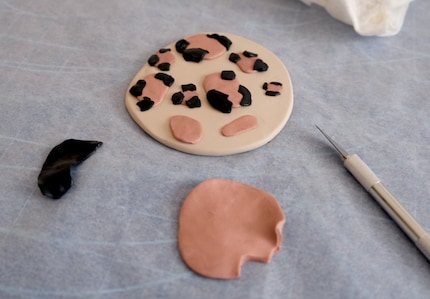
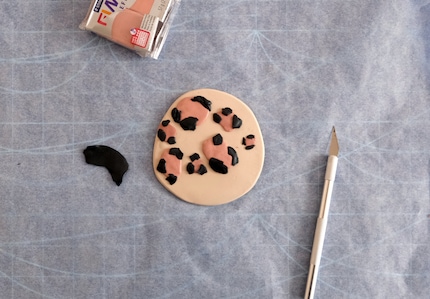
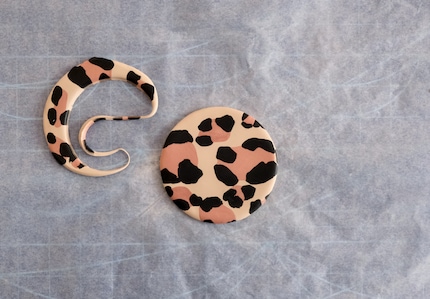
To imitate the fur of a leopard, you need to layer colours. As with the layered look, place the individual pieces on top of each other. I used the colours black, rose-gold and beige and rolled them out as thinly as possible again. This time, I tear off the black parts so that their shape looks imperfect and natural. Here, too, I roll over everything again at the end until the colours are blended.
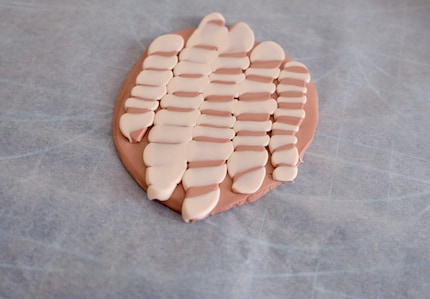
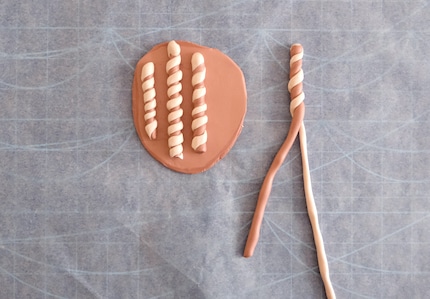
The twisted look is not only popular for candles, but also for polymer clay. It brings variety into play. Simply start by making rolls of each colour as thick as you like. Then twist at least two colours together. Place the spirals on the base, which is around eight millimetres high. Leave some space between the rolls. I choose rose gold as the base tone and as one colour of the spiral and white for the contrast. Now it's just a matter of rolling out until the gaps between the spirals fill in.
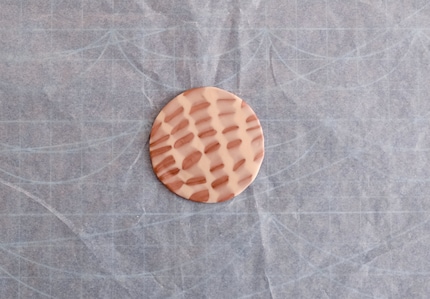
Whether animal print or layered look - when I'm finished with the pattern, I use the lid of a tin to cut out the circular shape. To avoid unnecessary stains or scratches, I place each finished piece directly on the baking paper on the baking tray. If any fluff does settle on the surface, carefully wipe it over with a damp cloth. You can correct any unevenness by carefully rolling the rolling pin over the modelling clay once. In the worst case, start again from the beginning. Modelling clay can be used again and again as long as you store it in an airtight container.
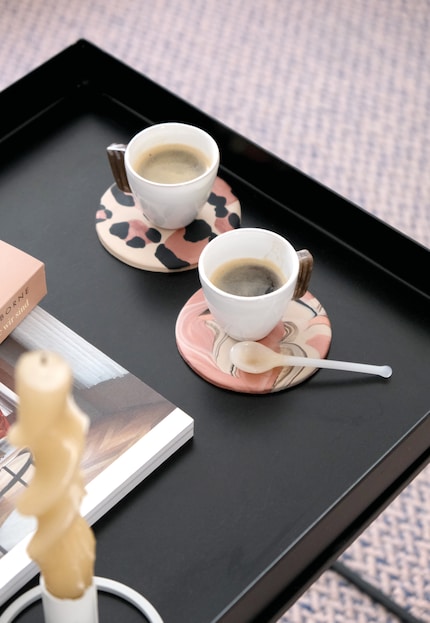
When you're done with your moulds, heat the oven to 110 degrees Celsius. Use an oven thermometer to ensure that the temperature remains constant. After 30 minutes of baking, remove the moulds. Leave them to cool before using them again: Use a varnish to give the objects a shine and protect them from coffee stains. ;)
Like a cheerleader, I love celebrating good design and bringing you closer to everything furniture- and interior design- related. I regularly curate simple yet sophisticated interior ideas, report on trends and interview creative minds about their work.
Practical solutions for everyday problems with technology, household hacks and much more.
Show all