
Colourful do-it-yourself animal
Everyone knows a hobbyhorse, but a hobby zebra? Basically any animal can be transformed into such a hobby animal. Now that spring is coming, it's the ideal toy for outdoors. I'll show you how you can make it together with your children.
From time to time we watch animal programmes at home. A few weeks ago, one such programme showed a large herd of zebras. My son was totally blown away by this sea of stripes and the zebra has been one of his favourite animals ever since. "Mummy, I want to be as fast as a zebra too!" he kept telling me. And so there it was, the idea of a "stick zebra" with which he could run through the meadows and be a zebra himself.
What you need to get
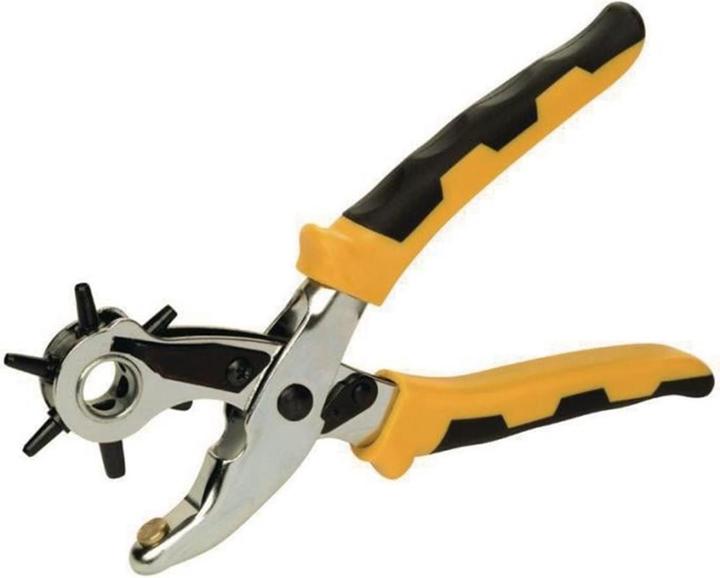
First of all, you need a stick that is the right size for your child. Including the animal head, the stick animal should not be higher than the chin. We make the animal head from vegan and washable paper, also known as SnapPap. Choose different coloured felt fabrics for the mane, a coloured cord for the leash and stuffing wool to fill the animal's head. In addition to this basic material, you will need a large piece of paper, a pencil, a small piece of fabric, a sewing machine, a hole punch, coloured pencils for colouring and glue, as well as a Bostitch.
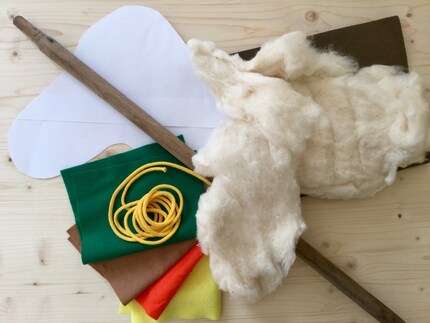
The materials used
In just a few steps to a plug-in animal
1. It all starts by drawing the outline of a zebra head on a large sheet of paper, cutting it out, transferring it to the SnapPap twice with a pen (one for the front and one for the back of the head) and cutting them out.
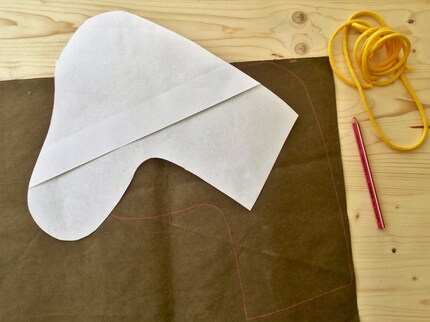
Draw the outline with a template.
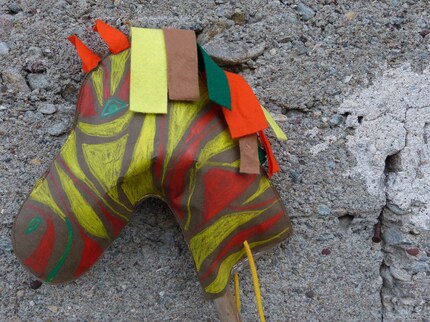
2. Give our zebra a colourful mane and ears. Cut out two animal ears from the felt fabric and sew them to the appropriate height on the outside of each animal's head using a simple straight stitch. Now we need the mane. Cut strips of different widths from the coloured felt fabric. How many you need depends on the size of your animal's head. Then lay the individual strips together and stick them on so that they don't slip when sewing the head halves together. Place the head halves right sides together and sew them together using a straight stitch, leaving the neck open.
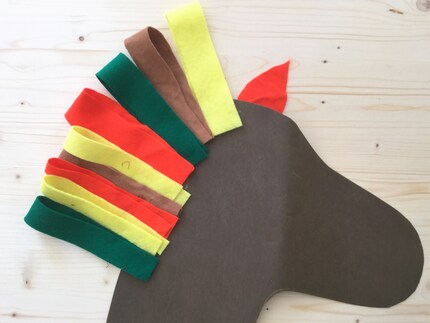
The zebra gets its mane.
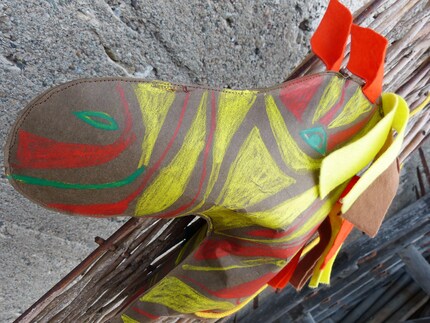
3. Now fill the zebra's head. It is important that you stuff enough wool into it so that the shape of the head is recognisable. For now, only fill half of the head. Now you can paint the zebra head. We used the Woody pens from Stabilo, which are ideal for the wash paper.
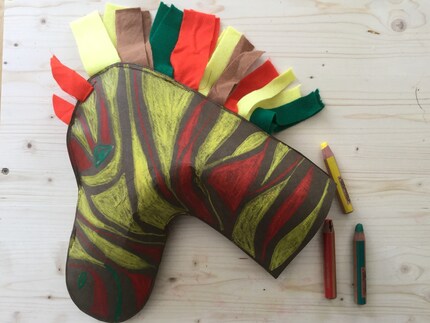
The face takes shape.
4. To prevent the stick from slipping out of the opening later, put a piece of filling wool in a piece of fabric and wrap the top end of the stick with it. Now push the stick into the opening up to the top of the neck and fill the rest of the neck with wool.
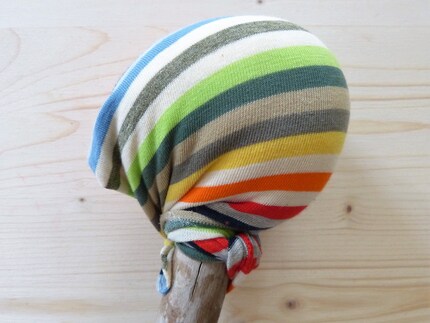
With this trick, the head won't slip off
5. Now it's time for the line. Use the hole punch to make a hole in the lower part of the neck on the right and left. Insert the cord from the outside and tie a knot on the inside. Do the same with the other end on the other side. Now sew this opening closed as far as you can. You can stitch the remaining piece closed with a bostitch.
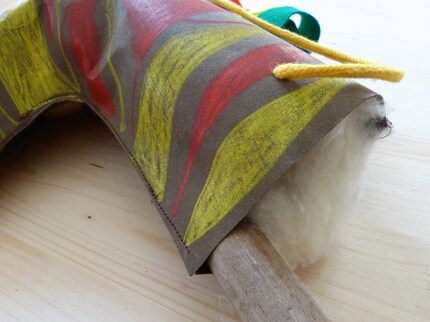
Just staple and you're done.
Crafting with children
I don't know how old your child is, but they can certainly help you with this craft activity. To what extent is up to you. With the exception of sewing the head pieces together, even small children can help. They can paint the head or stuff the wool into it. You are sure to find the right work for your child and maybe you won't end up with a zebra, but a fantasy animal that you create your own name for. It was my first time making something with this fantastic material and I am absolutely thrilled with it. It is robust, waterproof, can be painted and can be transformed into great things. I will definitely be crafting with SnapPap again.
I'm more of a thinker than a doer. Yet I'm still always active: crafting, sewing, writing to-do lists, daydreaming, counting clouds, digging into soil, comforting my two little ones and collapsing into bed after a long day. If it were up to me, each day would have a few extra hours... I wonder if that would be enough.
Practical solutions for everyday problems with technology, household hacks and much more.
Show all