
Brother Cutting plotter ScanNCut DX1000
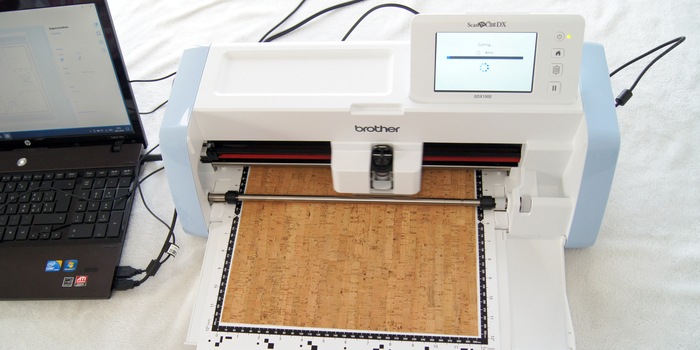
I am absolutely amazed at what a cutting plotter has to offer. As a complete beginner, I was allowed to test it and would now like to share my experiences with you. Of course, nicely packaged in a pretty DIY guide.
When I took this printer-like item out of the packaging, my first thought was: "Oh God, what am I going to do with this thing?" So I did what I always do in such a case: a Pinterest search. I was amazed at what I discovered there. I would never have thought that I could use this plotter to create prints on T-shirts, lanterns, cards and so much more. So now it was just a matter of realising it or - in my case - trying it out.
The best way to learn things is to try them out. Just go for it, that's the motto. That's why I took an unbiased approach to the cutting plotter and started by clicking my way through the programme. Using the touchscreen alone, I was able to choose from so many ready-made options that my test piece was designed in no time at all. When the moment of truth arrived and I dared to make the first print, my whole family stood next to me in anticipation. Everyone wanted to see how the little knife did its dance across the coloured paper. It was extremely fast, extremely precise and above all "bubi eifach". I now understand why all the big plotter fans in the world are so fond of these things. There are almost no limits to plotting and you can achieve great results in just a few steps. And it's all very easy and practical to do within your own four walls.
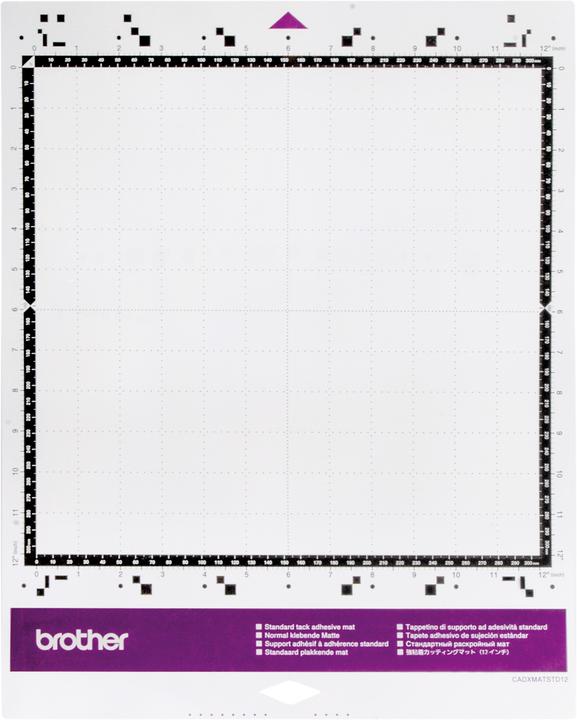
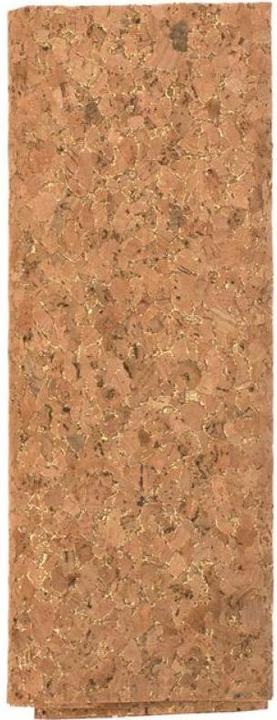
For this DIY, you will of course need a cutting plotter and the matching adhesive mat. The trendy cork fabric and single-coloured yarn are the materials used. With a laptop and the free Brother Canvas Workspace software, you can also create your very own designs.
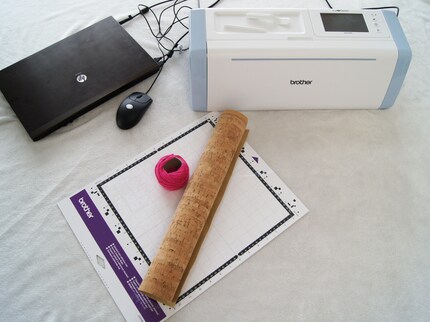

Brother Cutting plotter ScanNCut DX1000
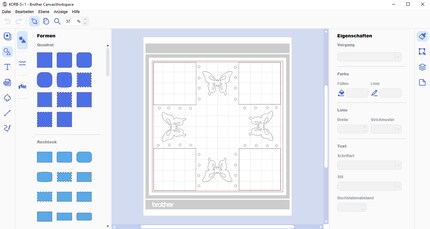
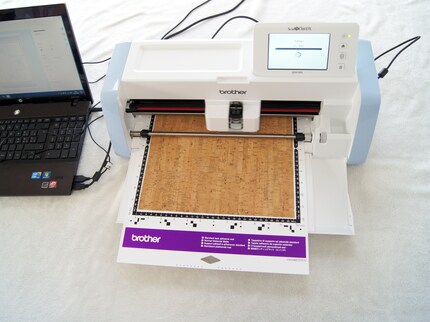
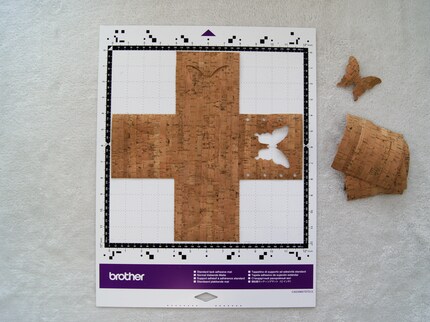
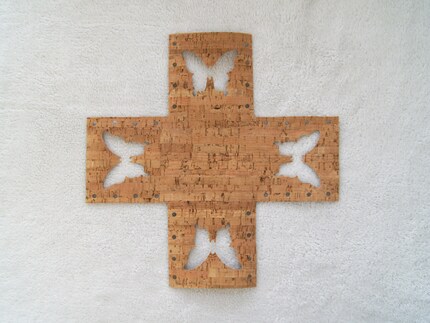
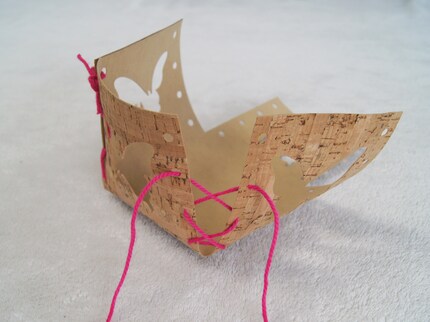
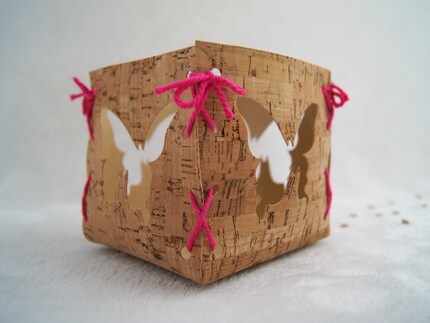
If you like to create your designs on the computer, a cutting plotter is certainly something for you. Unusual and detailed designs are no problem with the small knife. No matter what you have in mind, the cutting plotter can handle it. I really enjoyed the experience and already have new design ideas in my head. But to be honest, I much prefer working with my hands. Even if it's not as perfect by hand as with the plotter. I like traditional handwork better than working on the computer. Nevertheless, I can understand the trend for these "printers", because they can be used to create lots of great things.
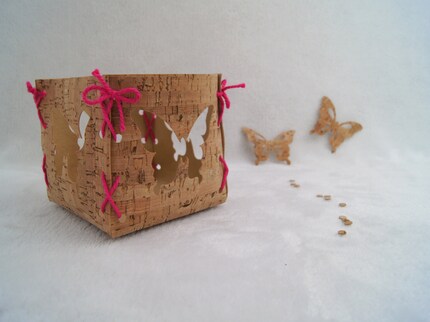
With a wealth of experience under my belt and a pretty addition to my daughter's jewellery range, I'm off to the next project. What do you think of these cutting plotters? Have you ever had the opportunity to try one out or do you prefer making things by hand like me? Let me know in a comment.
My students and also my own children inspire me every day with their irrepressible imagination. I like to document the creative projects that emerge from this on my blog Fantasiewerk. I hope to inspire many moms and dads to craft with their children. <br> <a href="https://fantasiewerk.ch/" target="_blank">Fantasiewerk.ch</a>