
Cricut Joy: My little joy
Cutting plotters and the Cricut brand in particular have taken a shine to me. I therefore absolutely had to try out their new mini version "Joy". That's how my first steps as an inexperienced plotter fanatic went.
I've wanted to try out a cutting plotter for half an eternity. I'm fascinated by everything that's possible with these things. But unfortunately, I always had too much respect for their size and price.
When I was introduced to the small mini version of Cricut a while ago, I absolutely had to have one. It has everything I want to try out and doesn't take up my whole flat. Cricut was kind enough to provide me with a test unit. When the parcel arrived at my house, I felt like a little kid at Christmas. Not only did I receive the Cricut Joy, but also all the accessories!
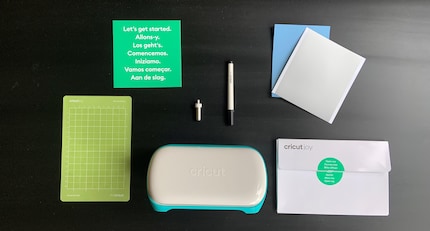
In the box you will find the cutting plotter, a black pen that can be inserted into the device, the documentation with a vinyl pattern and a cutting mat of 11.4 × 16.4 cm.
Installation
On an otherwise boring Saturday afternoon, I set to work. Downloading the Cricut Design Space application goes smoothly. Installation is also easy, as the plotter has no buttons. However, I have to find a free power socket (less easy when working from home). The device connects to my Mac via Bluetooth quickly and without any problems. It suggests that I do a test cut. But as I want to keep the beautiful material (stingy Dutchman, "Yes, it'll be fine"), I skip this step.

First attempt
The most important part of the Cricut Design Space is your "Canvas". This is where your current project is located. To start a project, you can add images from a huge library both paid and free, add lines of text, choose one of ten simple shapes or upload your own images. It's all very simple and user-friendly.
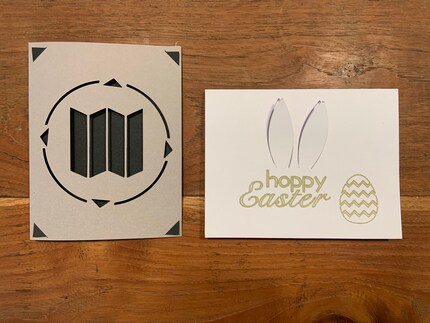
I want to design a greeting card from scratch. There are many pre-designed shapes in the library, but I prefer to design everything myself and let my creativity run wild. That's why I use Apple Pages: more freedom than Cricut Design Space, but still simple enough for me.
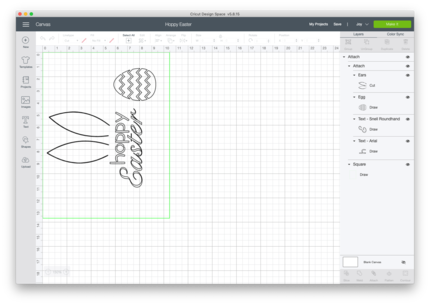
In Pages, I create the silhouette that I want to cut out. You can then import this as an image into your "Canvas". Important to know: Unless you specify otherwise, the app sweeps every shape into the top left-hand corner. Presumably to save material. "Attach" is therefore an important feature: it attaches the shapes to each other. This allows you to determine where your shapes are cut out or drawn.
To make sure that my design ends up where I want it on the map (in the centre), I use a trick. I attach all the shapes to a green box with the exact size of my card. When the machine asks me to insert the green pin, I just let it run without the pin. That way the images are cut out exactly where the design space shows you.
Other ideas
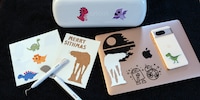
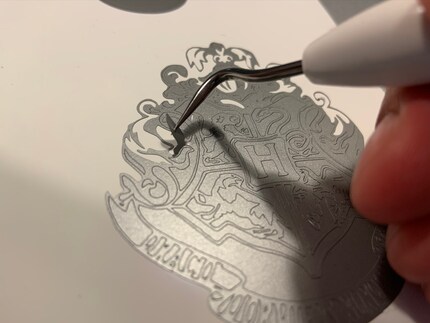
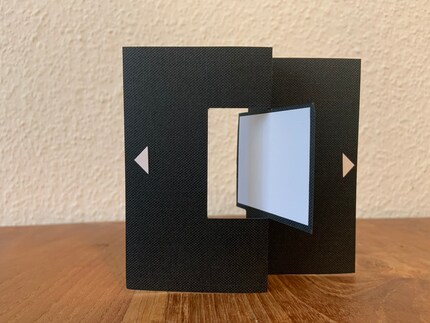
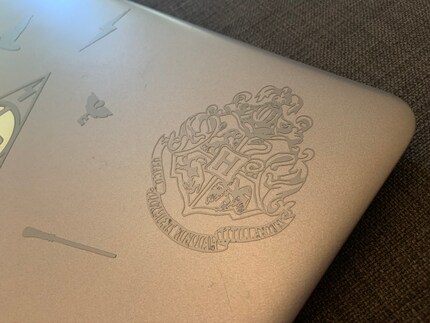
3D cards, personalised placeholders, water bottle and laptop decorations, labels and stickers. The possibilities are endless and I've tried them all. I particularly like my Harry Potter laptop stickers. The only thing I have yet to try is the iron-on film. I like to wear grey, black and blue (sad but true). But my iron-on foil is glittery and sparkly. Maybe I'll make something for my neighbour.
Here's what I think of this thing
I like the little Joy because it's easy to use. The work surface is narrow, but long enough to cut larger designs into strips. I'm particularly impressed with its precision. I've seen card and vinyl details with an area of less than one square millimetre.
However, the software and I have not become best friends. Firstly, you can't draw curved lines. I mean, even Microsoft Paint can do curves, come on. Secondly, it's not possible to fix the design at a specific point. Cricut could have solved that pretty easily, so we don't need the green box trick.
The final and slightly nitpicky disagreement with the software: the cutting area always has a margin of two millimetres. So, like a conventional printer, the cutting plotter doesn't quite reach the edge. This means that the top left-hand corner of your project on the screen has an unusable area of two millimetres. Yes, it's not the end of the world. But with such a small plotter, you're bound to make teeny-tiny projects. Depending on the situation, this can therefore throw a spanner in the works.
Should I buy one?
The small plotter fulfils two purposes. Firstly, it is suitable for those who want to design their own greeting cards or similar and are comfortable with Photoshop, Pages or another graphic design application. On the other hand, it is suitable for people who like a personal touch to home decoration but don't want to design everything from scratch. For this, the Cricut Library offers countless patterns that are available for purchase.
I, for one, had a great time with the little plotter and will definitely be doing a thing or two with it in the future.
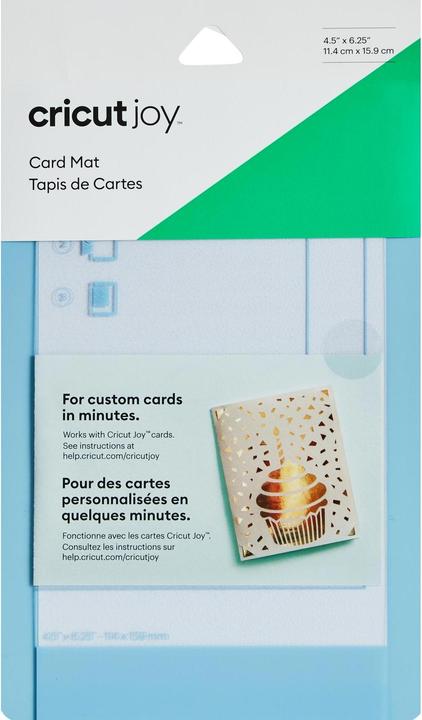
Last but not least: I would really recommend this accessory. The tool kit is extremely helpful for cutting out smaller design elements and removing vinyl from the mat. The blue card mat is a must if you want to design folded cards. It allows you to cut the front of the card while keeping the back protected from the blade.
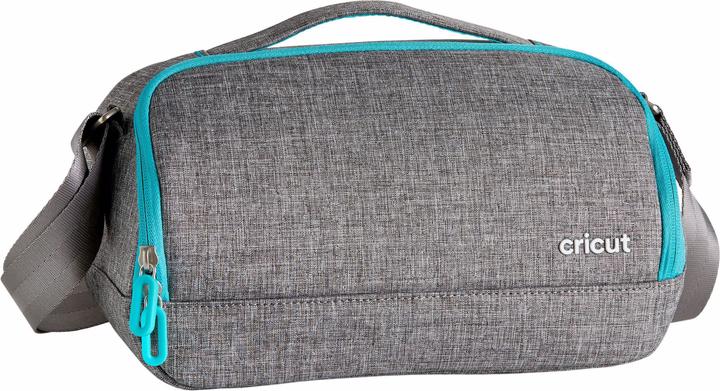
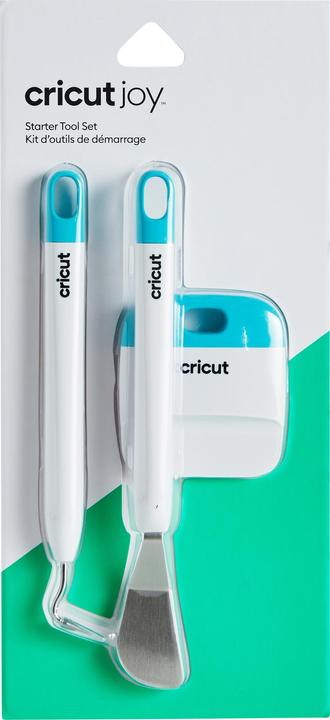
Cricut Tool Joy Starter Tool Set
My first port of call at Galaxus was the toy department. Although I still thoroughly enjoy a good parlour game, I'm now in charge of all things kitchen. This means I get to buy pretty plates and quality knives both for work and play.
