
Make your own "Scandi" wreath
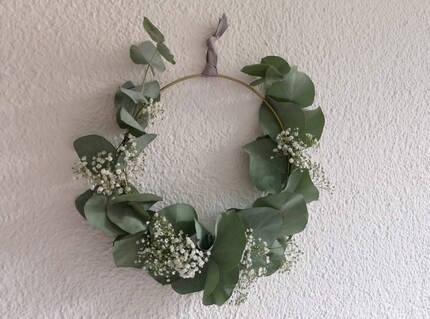
Interior bloggers and stylists from the north are hyping the decorative eucalyptus wreath in all kinds of shapes, so much so that it is now known as the "Scandi" wreath. It is also popular in this country and is very easy to recreate.
Because I've decided to do more with my white walls, I recently bought three metal rings. They form the basis for the popular "Scandi wreath", which is largely made of eucalyptus. It is currently an integral part of interior stylists' trend pictures. Even if I don't follow all the trends, sometimes one or two sneak into my home. Especially those that look fresh and natural and score with simplicity.
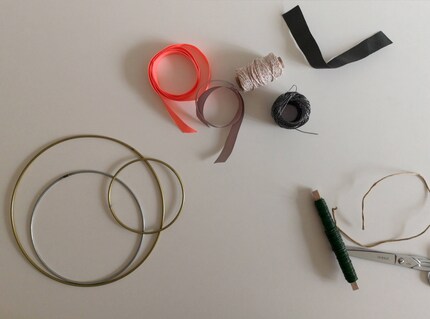
What you need
- Eucalyptus: Two stems that are roughly the same size and roughly the same length as the circumference of the ring
- Gypsophila: One or two stems or other cut flowers that are suitable for drying. I have listed them here for you.
- Variously sized metal or wooden rings from a craft shop or from Ferm Living
- Bow ribbons or string
- A coated or raw metal wire
- Scissors and pliers
Step 1: Attach the eucalyptus
Take a stem and tie the lower part so that the entire length is almost half of a circle. You can cut off the excess part without leaves at the end. The wire too. Then employee your way up through the first half from the bottom (with the slightly larger leaves), making sure that you don't pinch any leaves when fixing it. It is important that you have a front and back in mind. There may be more wire on the back side and less on the front side.
I recommend that you don't tighten the wire too tightly so that the gypsophila has room to grow later. When you are in the last quarter of your half of the circle, you can let the tip of the wreath run free or tighten it up to the last leaf and cut the wire.
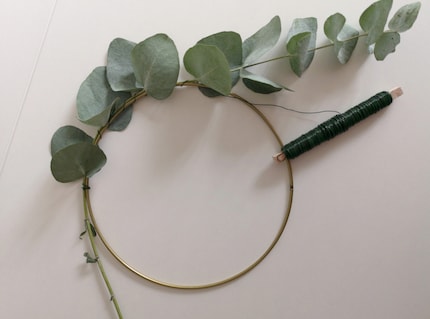

Fix the end of the second stem again with wire and ensure a seamless transition. When you have reached the end of the top corner (with the slightly smaller leaves), cut the wire again.
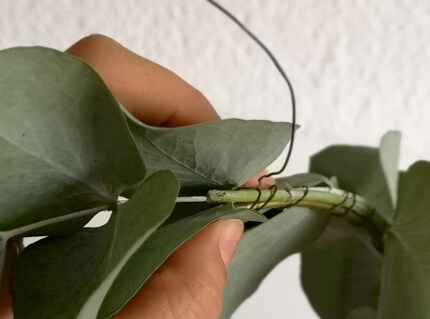
Step 2: Integrate the gypsophila
The openings between the wire and the stem are now the loopholes for the gypsophila. Similarly, start fixing in the lower semicircle with the largest leaves and choose the stems with lots of flowers first.
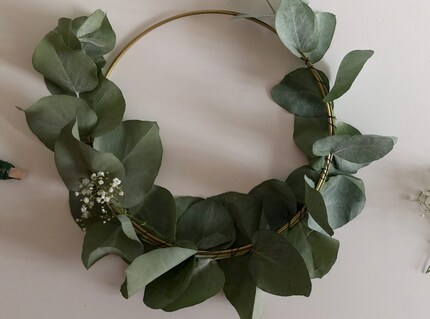
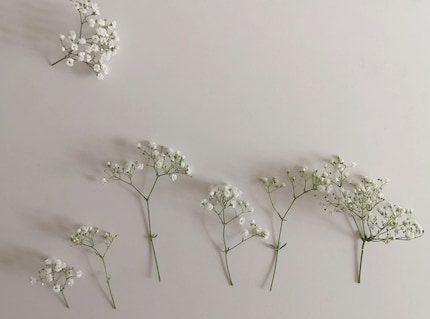
Check the front from time to time and create a harmonious image stem by stem. You can remove any excess stems at the end.
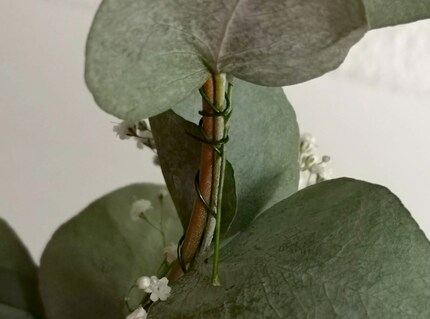
For a nice flow, you can generously incorporate gypsophila at the bottom and let it drip out towards the top. If the structure is harmonious for you, attach a ribbon and optionally combine additional small rings to the wreath.
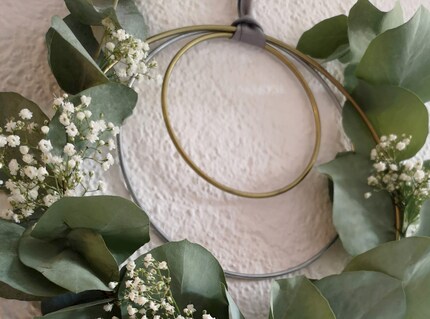
Step 3: Find a place
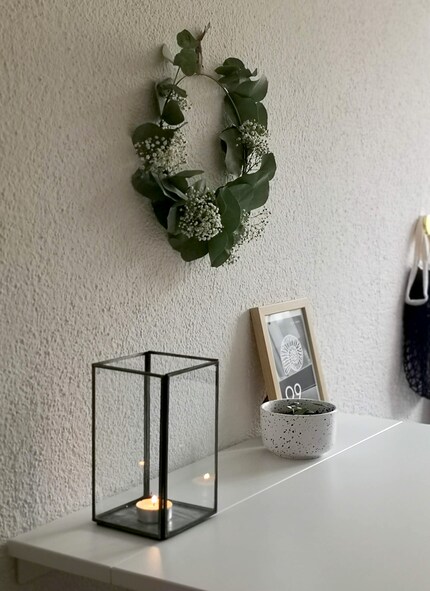
At the end, all you have to do is hammer a nail into the wall, hang it up - et voilà, your Scandi wreath is ready.
Next level
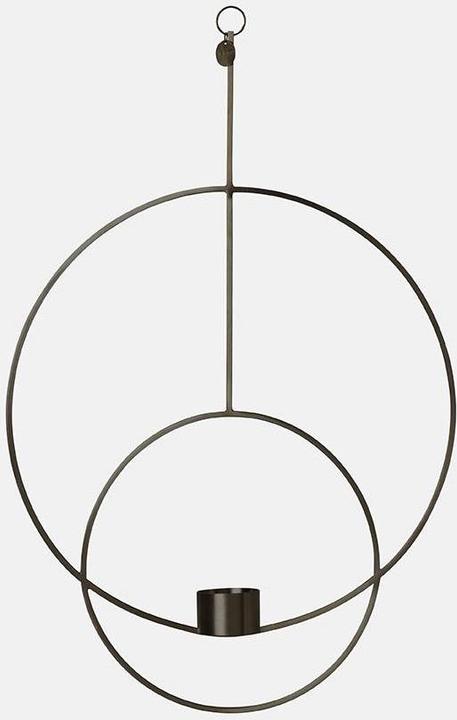
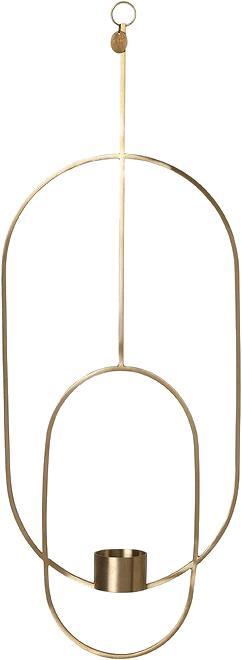
There are rings with candle holders that will take your home decoration to the next level. You can also use them for a wreath and use red eucalyptus, for example, to match the Christmas season.
Follow me for more trends and updates on the topic of living by pressing the black button on my profile. I look forward to your plan.
Like a cheerleader, I love celebrating good design and bringing you closer to everything furniture- and interior design- related. I regularly curate simple yet sophisticated interior ideas, report on trends and interview creative minds about their work.
Practical solutions for everyday problems with technology, household hacks and much more.
Show all


