
Guide
Let's get stuck in
by Pia Seidel
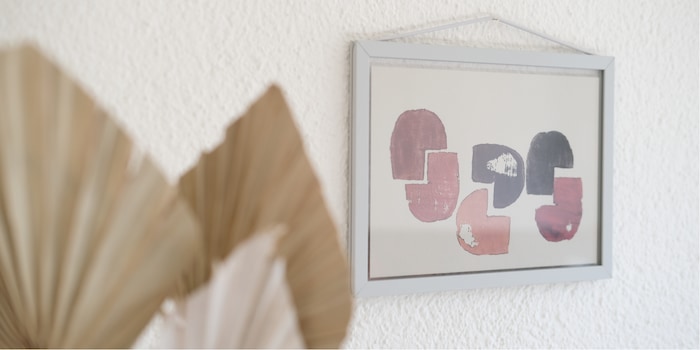
Pictures don't have to be expensive or perfect - whatever you like is allowed. Embellish your walls with your own prints for a change. I'll show you a printing technique for which you already have most of the ingredients at home.
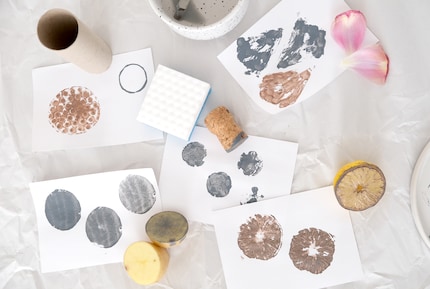
In addition to typical stamping materials such as hard rubber, metal or linoleum, things that you already have in your household are also suitable for the oldest printing process called "letterpress printing": corks, cardboard as well as fruit and vegetables. Or you can find unconventional stamping areas on a walk in nature: leaves can be used for printing if the plants are robust and not too thin. To find out what you like best and which surfaces work, I recommend collecting different things and trying them out at home.
** What you also need for this:**
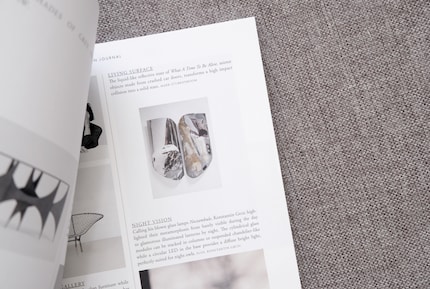
There are many ways to find inspiration. Look carefully at your surroundings or observe the work of artists who have a sense of aesthetics. You can find a wide variety of works in books, magazines or on digital platforms such as Instagram or Pinterest.
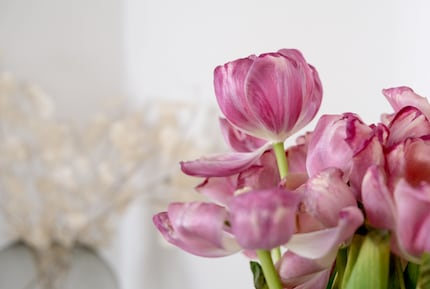
After an initial test, I decide to use potatoes as a colour carrier and look for a motif that I can base on their oval shape. When my eyes fell on the somewhat wilted tulips in my living room, something clicked: My first motif will be a simplified form of a tulip. The second will consist of an oval and abstract shape.
Once you know what you want to design, first sketch the motif on a sheet of paper so that you can better estimate the format for the stamp area. Bear in mind that your print will be mirror-inverted. If you are stamping for the first time and are unsure, it is better to choose a simple shape: With triangles, circles or squares you are on the safe side. Thanks to the different techniques and ways of applying colour, even such motifs become varied illustrations.
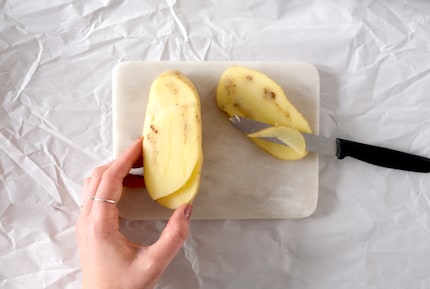
To maximise the surface area, I first cut the potato in half. Then I draw the shape on the surface and carve it into the potato to a depth of about 5 mm. This way, if I make a mistake, I still have enough material left over.
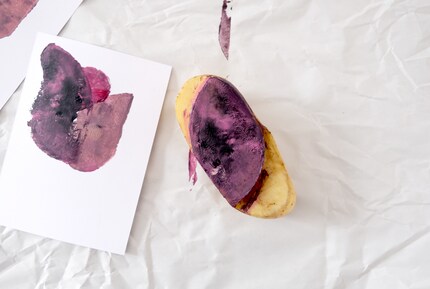
You can apply the acrylic paint in two different ways: either by brushing it evenly over the surface or by dabbing it irregularly over the surface of the carpets. It is worth playing with several colours and mixing them directly on the stamp surface instead of on the colour palette.
I mix my colours in such a way that slight gradients are created and not just a single tone is visible. I also don't use water. I just keep a bowl of water on my work surface so that I can clean the brushes occasionally. I dry them briefly before each new coat of paint so that the colour is as opaque as possible.
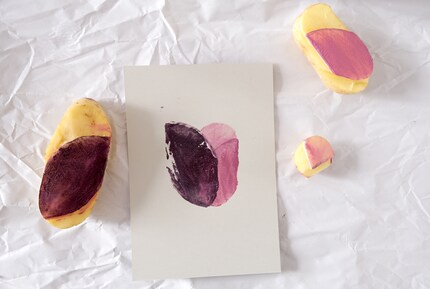
In order to be able to depict my abstracted tulip, I decide on three petal shapes and the order in which they will be printed later: First the smallest, then the middle and finally the largest "petal". I overlap the individual petals a little so that they become one unit.
Overlaying can be a technique that requires sensitivity. When applying the stamp, it is therefore important that you only apply light pressure to avoid slipping. Other ways to add tension to your composition are repetitions. Or the cutting of your motif: To do this, print the stamp on the paper so that it extends beyond the edge of the paper.
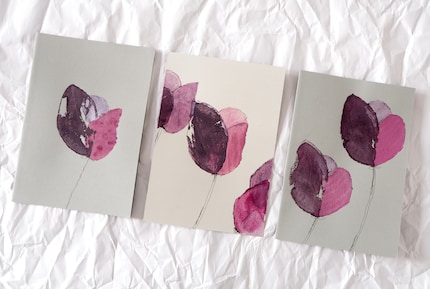
Different types of paper allow your motif and the colours to appear in a different light. On dark paper, it can be particularly beautiful if you work with bright or metallic colours. Make sure that you use opaque colourants and avoid using water so that the contrast is successful.
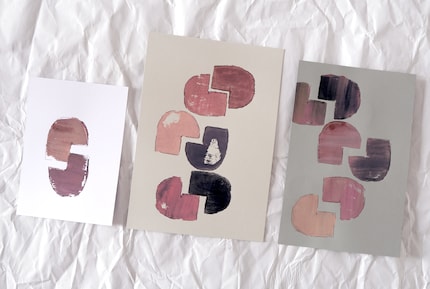
After your prints have dried, you can get even more out of your motifs in a final step: stamp, paint or draw over them again. Add a dot pattern or trace along the new shapes that have emerged by chance. If your paper curls after applying so many colours, weigh it down with books or magazines once it has dried.
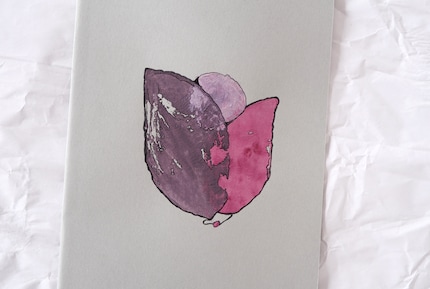
At the end, I use a black pen to draw what I had in mind for my stamp. In the case of the first motif, it's things like the tulip stem and the leaves. No matter which version you choose - remember that the hand print can have "flaws". These make it unique.
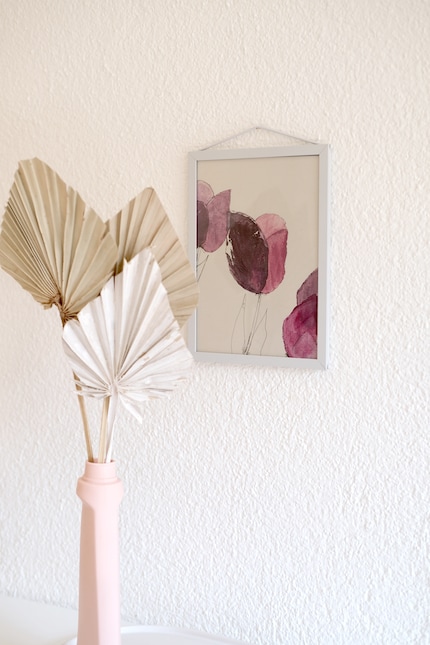
Do you have any questions or have you followed these instructions? Then share your creations with me in the comments column. I look forward to seeing what you come up with.
Like a cheerleader, I love celebrating good design and bringing you closer to everything furniture- and interior design- related. I regularly curate simple yet sophisticated interior ideas, report on trends and interview creative minds about their work.
Practical solutions for everyday problems with technology, household hacks and much more.
Show all