
How to seal drill holes correctly
Whenever I walk through my flat and look at all the picture frames, my heart first fills with love for all the great people and memories. Immediately afterwards, I think of all the holes that need to be filled when I move out of the flat.
It's not just picture frames that beautify the home, but also guitars, shelves and mirrors. The walls were bare for a long time and there was a good reason for that. A normal drilling machine just lets a little plaster trickle down, that's all you can do. Behind that comes concrete, for which tougher weapons are needed: an impact drill. That's what my friend and I used after the white walls got on our nerves so much.
All beginnings are equal
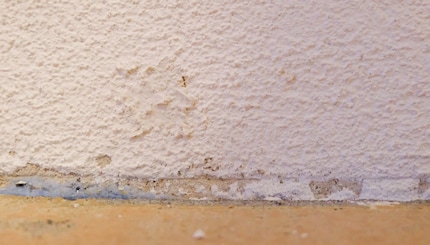
The walls are now beautifully personalised, but full of holes. These need to be made unrecognisable when you move in at the latest. Sometimes you even have to deal with them earlier - if you've made a mistake, for example. But how do you get the holes closed again easily, cleanly, quickly and beautifully? Two methods fulfil these criteria for me.
Every beginning is not difficult, it's the same. If the plug and screw are in the hole, they need to be removed first. To do this, first unscrew the screw slightly with a screwdriver and then pull it out together with the plug using pliers. If there is only one plug in the wall, you can also remove it with a corkscrew. As with the wine bottle, you first have to screw the thing in (until it grips) and then pull it out again with little effort. And if the plug just won't come out, press it even harder into the wall and seal the hole this way.
The hole is now actually empty. "Actually" because there is usually still dust and loose plaster in and around the hole. Go over it thoroughly with a hoover, if possible with a smaller attachment, and this problem is also solved.
Filling in
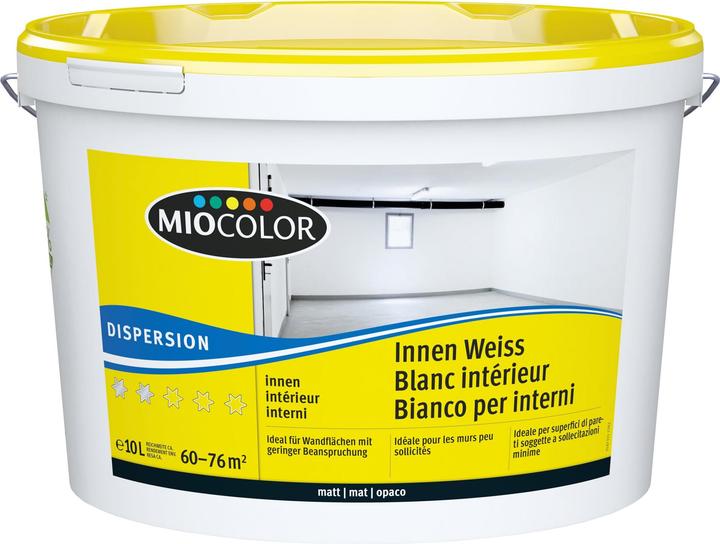
The preparations are now complete and so the path together is now branching out. For the first variant, use levelling compound. To make it really quick and easy, I use the one from the tube. This is a little more expensive than the one you mix yourself, but it comes with a practical spray attachment. You should knead it well before use. Then pour the material deep into the hollow area. The levelling compound may well ooze out a little - in fact, it should - but don't overdo it. Now get a palette knife or a brush (for textured walls), smooth it out and leave it to dry. If your work is a little too uneven, you can sand the area down a little before painting over it. Of course, it is best if you still have remnants of the original wall paint or at least know what it is.


C.K Magma Painter's spatula T5070A 040 (L x
4 cm

Sealing
The second variant is not so different in terms of the method, but the material is. The pre-drilled holes can also be sealed with acrylic sealant. In addition to the sealant, get an acrylic syringe so that you can easily get the compound into the holes. Spray enough into the hole and beyond, as acrylic contracts a little over time. As long as you don't have a completely flat wall, you can spread the mixture with your finger or a brush to give it a little texture. You can achieve an even better plaster texture with crack stop (acrylic with grain). Once dry, paint over with the right colour and the unsightly holes are gone.

Re-drilling rather difficult
The two variants close the holes nicely, but they do not have the same properties as your masonry. Density and hardness are different, which is why re-drilling can be somewhat tedious. If you don't drill in exactly the same place or somewhere completely different, but overlapping, your drill may not hold the track or the hole may break out. I would use two-component glue for this. And if, on the other hand, you don't attach any importance to long-term durability and are just looking for a quick visual solution, then toothpaste will do. This also hardens and can be painted over, but does not fill the hole solidly.
My life in a nutshell? On a quest to broaden my horizon. I love discovering and learning new skills and I see a chance to experience something new in everything – be it travelling, reading, cooking, movies or DIY.
Practical solutions for everyday problems with technology, household hacks and much more.
Show all


