
News + Trends
Create a gallery wall in four simple steps
by Pia Seidel

So that your picture wall doesn't have to be ready from one day to the next, I'll show you a variant where you can add more frames afterwards.
Sometimes I shy away from decisions. I've always wanted to hang pictures on the wall that I've been collecting in a cardboard box for years. Some photographs and illustrations are too good to keep where they won't be seen. That's why I've now put my money where my mouth is and decided on a hanging system that allows me to start with part of the collection. This way, if I want to add new pictures as I go along, I still have room to manoeuvre.
A large white wall can be intimidating: Where does the area for hanging begin and where does it end? As a guide, I choose the sofa in my living room.
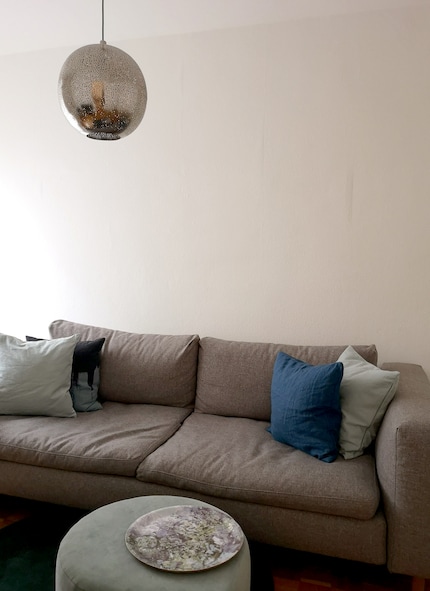
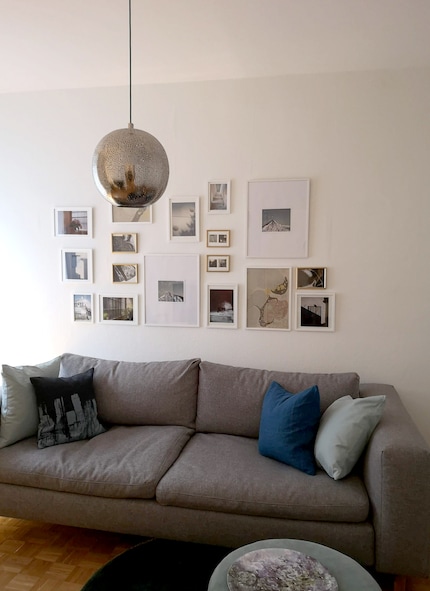
There is no right or wrong when it comes to curation. Opt for similar picture frames if you want the content to take centre stage or mix and match different styles if you want to introduce an additional design element. I choose two subtle variations: White and gold picture frames, playing with different formats and spacing. For some models, I make my own passe-partouts if I'm not happy with the distance between the content and the frame.
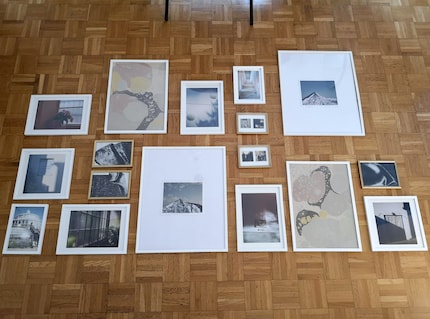
Before I start hammering, I lay out the collection on the floor until it looks harmonious to me. I start by aligning a row of pictures along a horizontal line that is almost as long as my sofa. This makes it easier for me to transfer them to the wall later. Then I continue with all the other frames, alternating the gold ones with the white ones. I arrange some picture frames whose contents belong together together, and others separately. You can find out about other ways to arrange your pictures here:
When hanging your pictures the way I do, make sure that you draw as straight a horizontal line as possible by hand or with painter's tape. Otherwise all the pictures will be at an angle later. I choose the distances from one frame to the next in a similar way: sometimes 4 centimetres, sometimes 5 centimetres. I find that a few irregularities enhance the arrangement.
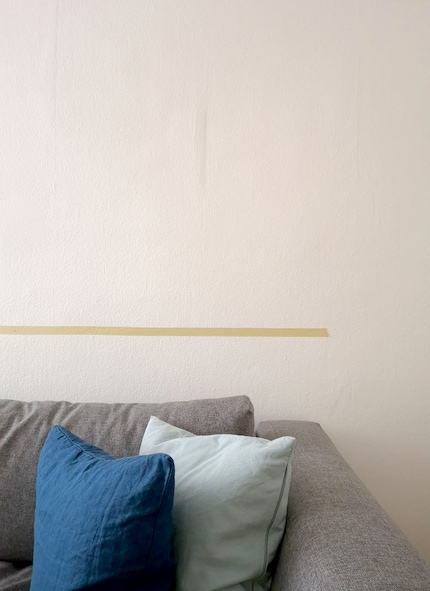
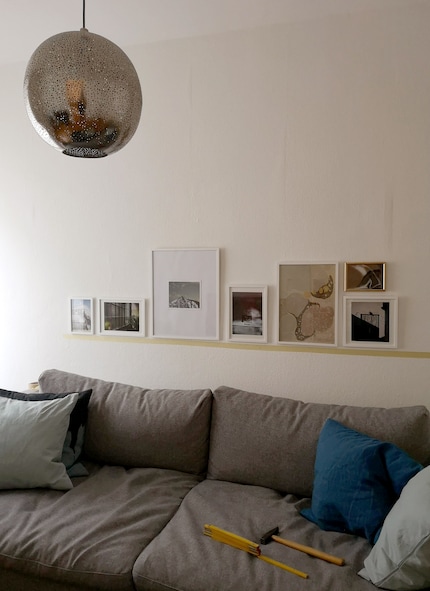
I then work from the bottom upwards and from the centre outwards. My supports are always the edges of the frame that is already hanging in the bottom row. I don't glue on any more lines now, but simply mark the point where I need to hammer in the nail. You can find tips for this here:
For the height measurement, I add the distance between the pictures (4 to 5 centimetres) and the distance from the top edge of the bottom frame to the hook of the top frame. For the width measurement, I use the right or left edge of the bottom row of picture frames as a guide. For example, the two golden picture frames are orientated once on the right and once on the left side of the white frames below.
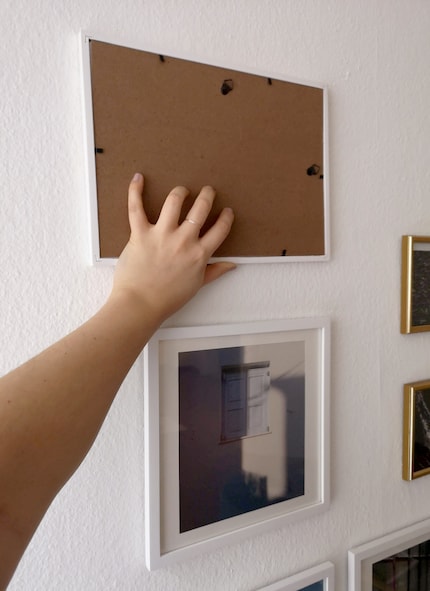
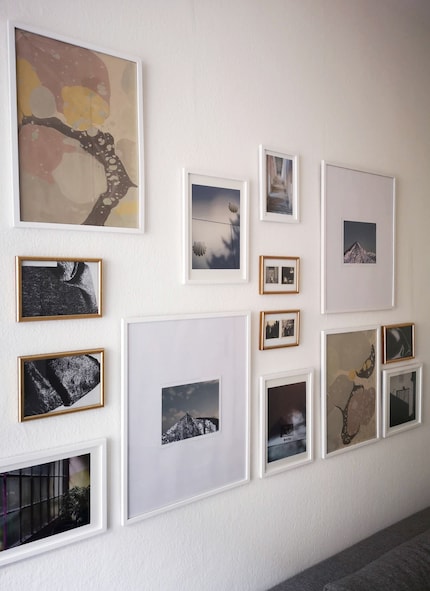
Partially, it works if you press the hook on the back lightly against the wall to mark the spot for the nail. Everything else is decided by eye. You will see that in total, deviations are not noticeable. If in doubt, you can always hammer a new nail into the wall.
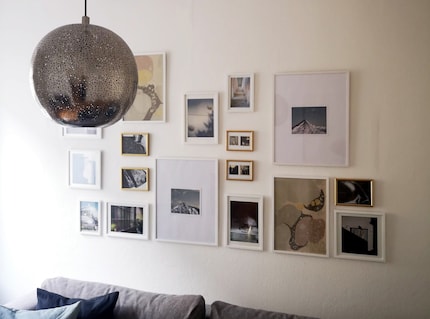
I'm not finished with the picture wall yet, but with this method I have the freedom to add to the right and left as well as the top of the wall as soon as I have more jewellery to show. Do you like what you see? Then start with your artwork and frame it. Here are picture frames that are suitable for this:
Follow me for more interior design ideas by clicking the black button on my profile. I look forward to your plan.
Like a cheerleader, I love celebrating good design and bringing you closer to everything furniture- and interior design- related. I regularly curate simple yet sophisticated interior ideas, report on trends and interview creative minds about their work.
Practical solutions for everyday problems with technology, household hacks and much more.
Show all