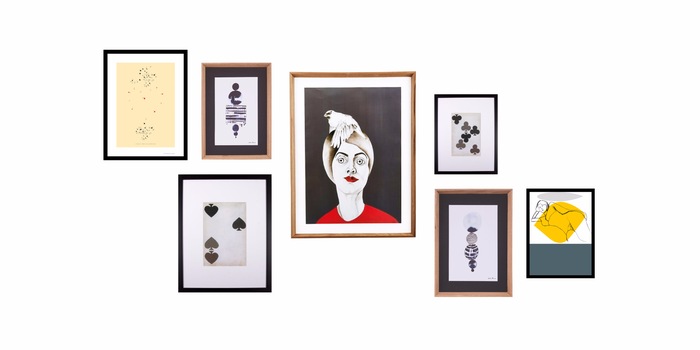
Create a gallery wall in four simple steps
Really like the idea of a gallery wall but reluctant about drilling all those holes? We’ve put together some arranging and mounting tips for you. Be brave and get that gallery look for your home!
Step 1: Find your look
There are so many combinations choose, so it’s important to decide on a style that best suits you photos and picture frames. We’ve picked out our favourite styles – get inspired.
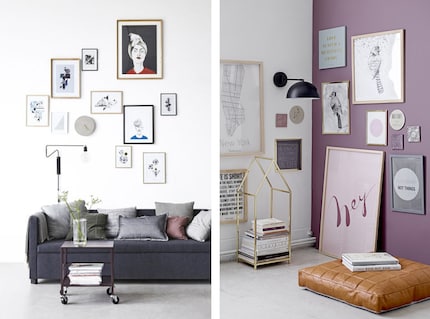
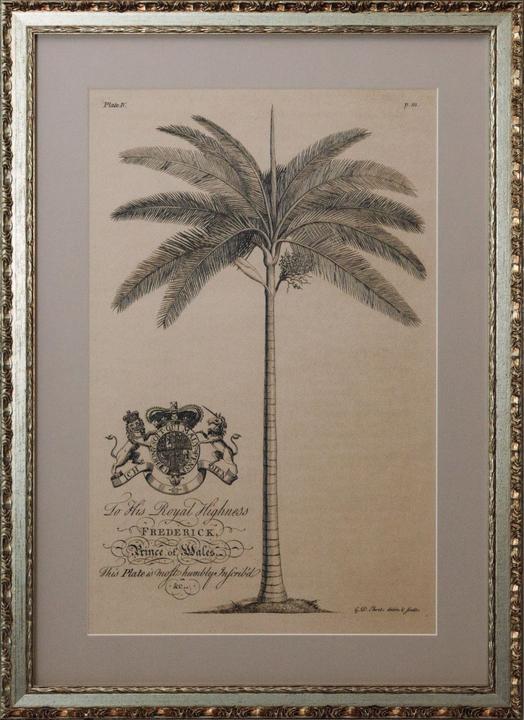
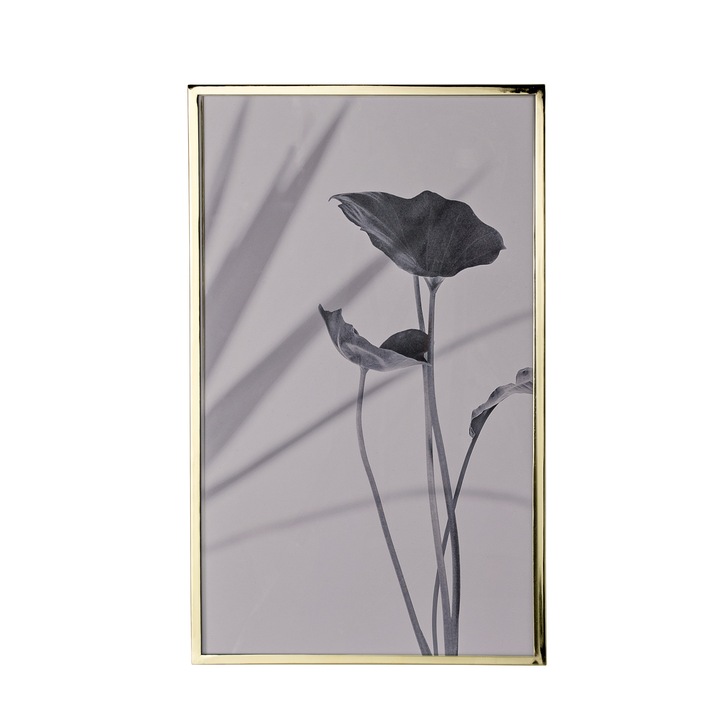
Salon style: Perfect if you wish to combine many different shapes with relaxed gaps. Pictured left: House Doctor. Pictured right: Bloomingville
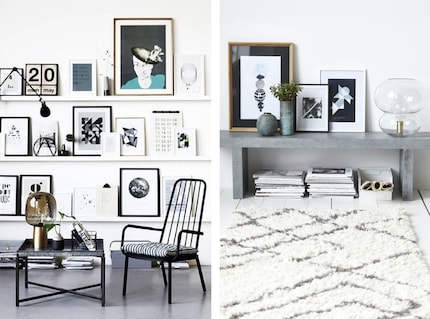
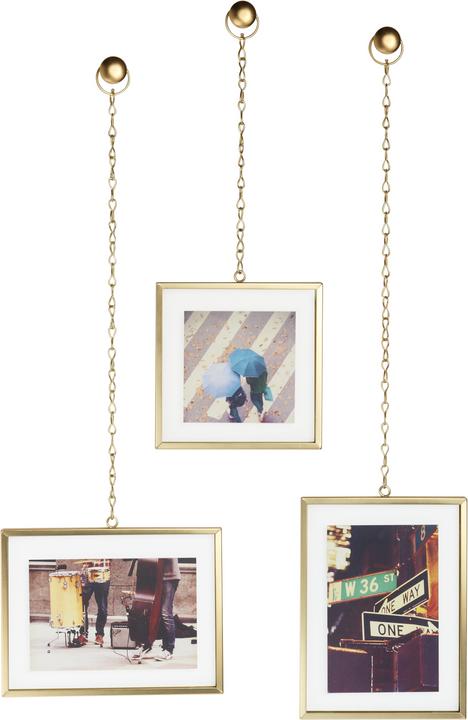
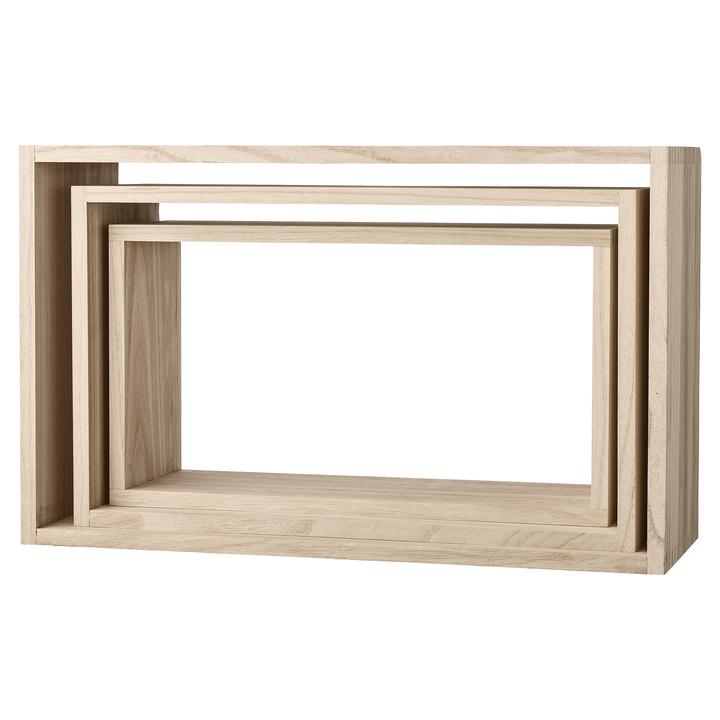
Propped up: If you’re still not happy about drilling holes in your wall, try going for presentation spaces such as picture shelves. Images: House Doctor.

Rows: Vertical or horizontal rows are particularly suitable for the more conservative interior designer or picture series.

Unity: If you perceive your pictures as one big masterpiece, go for the gapless look and hang them up like a puzzle.
Step 2: Dry run
Before taking it to the wall, arrange all your pictures on the floor. Define the gaps and try out different compositions.
Step 3: Fake it
Before drilling any holes, hang up pieces of paper the size of your picture frames and check the gaps, height and arrangement until you’re happy with all of it.
Step 4: Let’s go!
All you need to do now is grab your hammer and nails. Simply place them at the right spot on the paper, remove the template and hang up the real picture and, hey presto, sit back and enjoy your private gallery!
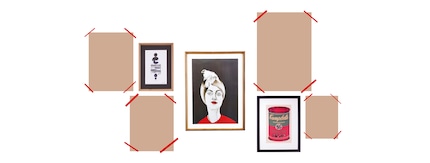
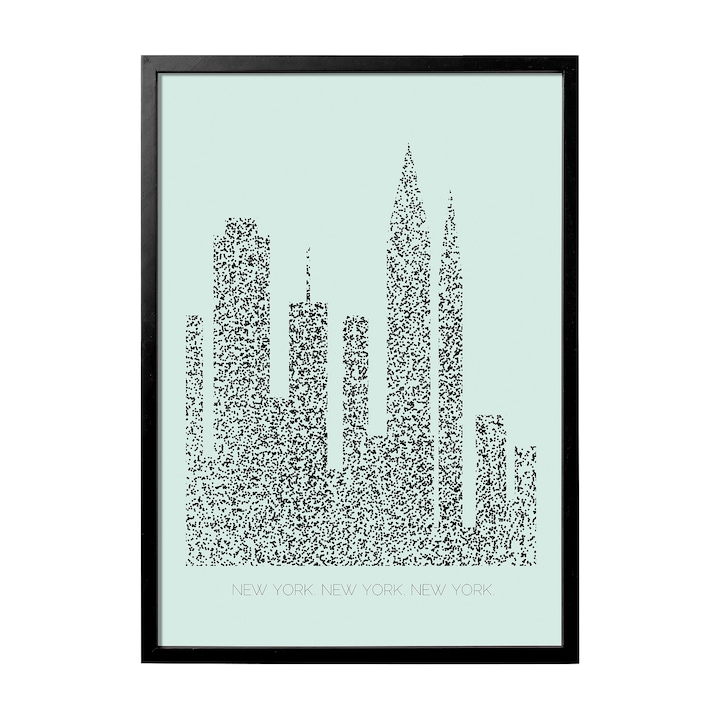
Get the look with these pictures:
See all pictures // See all picture frames
More presentatoin spaces for your gallery:
You might also like the following articles:
Like a cheerleader, I love celebrating good design and bringing you closer to everything furniture- and interior design- related. I regularly curate simple yet sophisticated interior ideas, report on trends and interview creative minds about their work.
From the latest iPhone to the return of 80s fashion. The editorial team will help you make sense of it all.
Show all
