Grasping the world - a sensory game for rainy autumn days
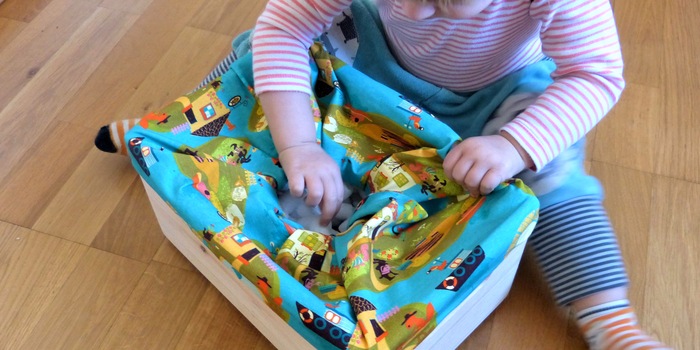
Children's hands are always on the lookout for something new. They want to explore their surroundings and experience adventures. I have created a feel box precisely for these inquisitive little hands.
When I watch my almost two-year-old daughter pick things up and explore them, I am always amazed. Amazed because I admire the dedication with which she explores things. She twists and turns it. She runs her fingers over it to explore its texture. She smells it and brings it to her mouth to explore it with her lips and tongue. She does all of this again and again.
I think that we adults often no longer realise how important the senses are, especially the sense of touch. It is incredibly important for children, because it is through haptic perception that they find access to the world and learn to grasp it. The sense of touch not only protects us from danger, but also has a major influence on how we feel and think. This touch box is designed to help your child develop and deepen their sense of touch time and time again.
The basic material for the sensory box
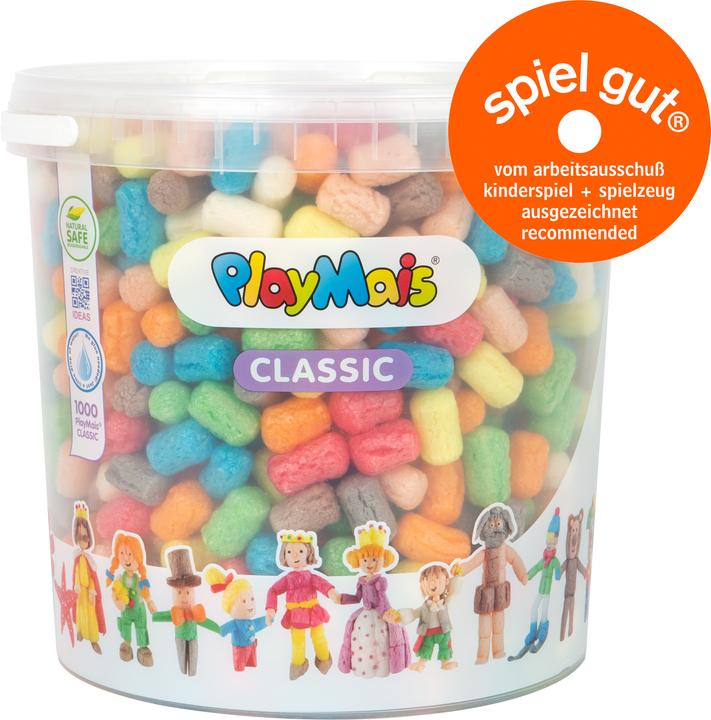
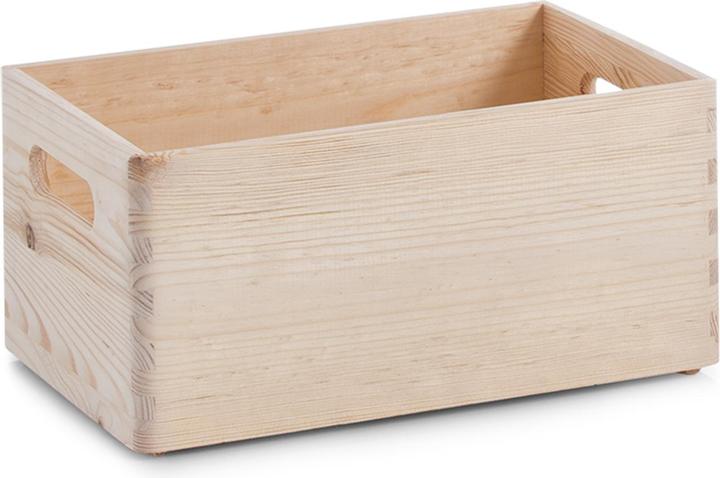
First of all, you need a wooden box. You can vary the size of the box depending on how big the search objects will be. I opted for a box 30 centimetres long and 20 centimetres wide. Use jersey fabric and a metal ring (diameter: 12 cm) to create the opening through which your child can reach in and search for things. The fabric is glued to the box with wood glue and fixed in place with self-adhesive Velcro fasteners. This makes it easy to open the box again afterwards. Use PlayMais as filling material and you will definitely need the search objects.
From the wooden box to the sensory box
On the inside of the wooden box, use a pencil and a ruler to mark the desired distance from the bottom of the box. This will tell you where to stick the fabric. My wooden crate has indentations on the sides, so I start the fabric just underneath so that the holes are covered and the filling and search material cannot fall out.
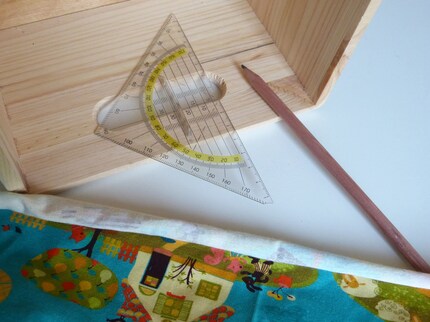
To determine the amount of fabric required, place the fabric over the wooden box and circle it once. The fabric starts at the mark in the wooden box and extends about 20 centimetres above the wooden box. You can vary this height individually. But make sure you leave the fabric a little longer, as you can always shorten it at the end. That's how I did it. Make a note of the point at the end of the rounding and cut the fabric to size. The rectangular cut must be shaped into a tube so that it then lines the entire wooden box. To do this, lay the fabric right sides together and pin it in place. Then sew it together with a simple stitch.
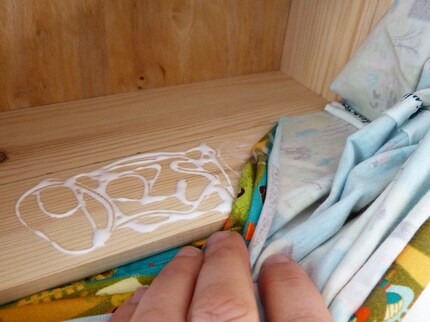
Now you can apply the wood glue to the upper edge of the inner sides and carefully glue the fabric with the pattern facing downwards. Then leave everything to dry in peace.
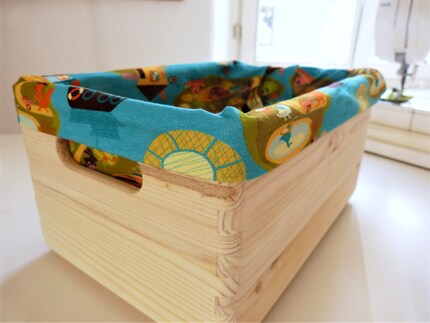
Then put the rest of the fabric over the box and glue it to the outer edge again with the pattern facing downwards. Once everything is dry, fold the fabric inwards again. The pattern should now be visible everywhere.
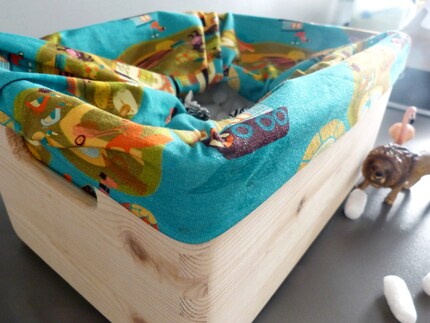
In the next step, take the metal ring and start to push the glued-on fabric through it. You can then secure the fabric to the inside of the wooden box using the Velcro fasteners. This step takes a little time and sometimes several attempts until the fabric is in the right place. The metal ring - i.e. the search opening - should be centred on the wooden box and the fabric should be slightly stretched.
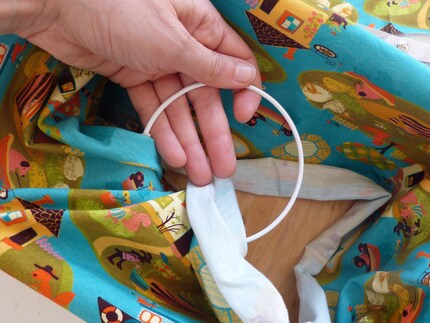
Self-adhesive Velcro fasteners are particularly suitable for this step because you can move them again and again until you have found the right position. One part of the Velcro is attached to the inside of the wooden box and the other part to the left side of the fabric wrapped around the metal ring. Once you have found the right position for the Velcro fasteners, you can stick the Velcro fasteners on so that they no longer come off.
Now you can fill the box with PlayMais so that your child can rummage around in it. That's all there is to it. Now all that's missing are the objects to be felt and then the great feeling can begin.
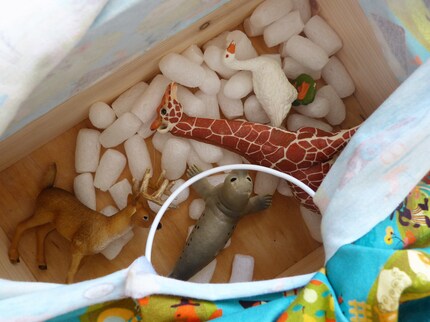
He who seeks, finds
You can fill the sensory box with a wide variety of things depending on your child's age: Balls, cars, animals, stones, cones, play figures and much more. For younger children, you can simply let them search for the objects. But if your child is a little older, you can come up with all kinds of guessing games. For example, you can make cards of the things that are in the feel box and your child can then take it in turns to find the object on the card in the feel box. However, it is important that it is primarily about encouraging the sense of touch and less about whether your child guesses all the things correctly.
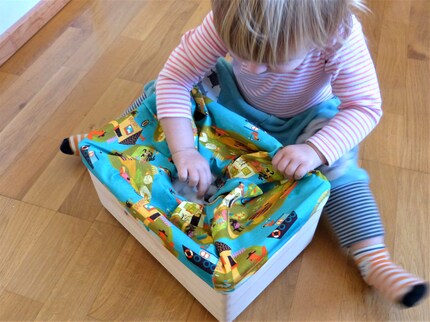
Another little tip on the side: Be open to everything! At some point, I found my two children in the living room with a sensory box that was no longer a sensory box. The sensory box was quickly converted into an excavator box. The constant feeling also stimulates the imagination. What could be nicer than children creating their own game?
I'm more of a thinker than a doer. Yet I'm still always active: crafting, sewing, writing to-do lists, daydreaming, counting clouds, digging into soil, comforting my two little ones and collapsing into bed after a long day. If it were up to me, each day would have a few extra hours... I wonder if that would be enough.
Practical solutions for everyday problems with technology, household hacks and much more.
Show all
