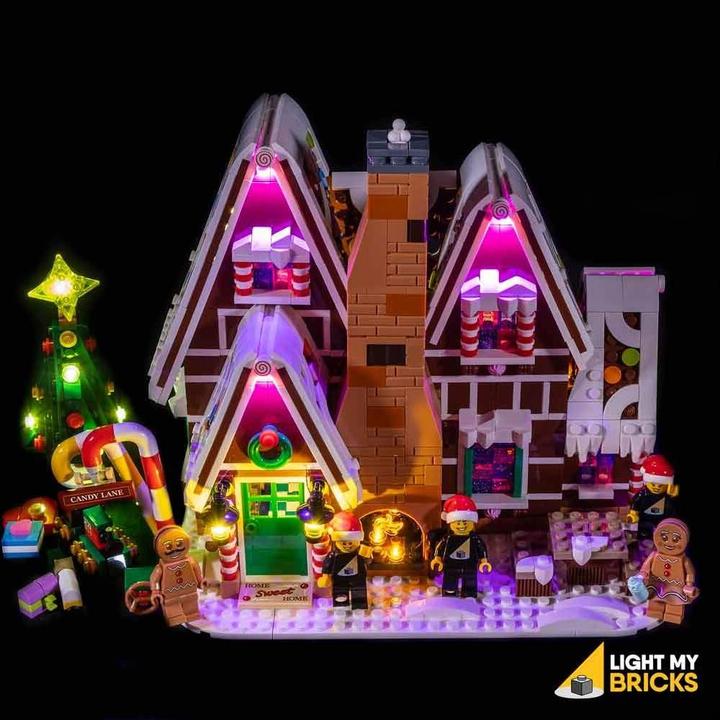

Gingerbread House with Light my Bricks – lighting up the Lego world
Have small and nimble fingers, a lot of patience and enjoy lighting? If so, Light My Bricks is for you. I tested it, but it didn’t make my eyes light up.
While others in my neighbourhood lit up their entire house, I «only» wanted to light up a Lego gingerbread house. How? The «Lightning Kit» by Australian company Light My Bricks promises to make it possible. I wanted to find out if I could create a Griswold house feeling with this Lego house.
Unpacking and organising
What I get for the hefty price of around 90 francs doesn't look like much: a mini-box with seven black and yellow plastic bags filled with cables and small LEDs. They are «Bit Lights» and «Micro Bit Lights». In addition, there's a small bag without a label containing small circuit boards and circular plastic parts that probably fit on Lego bricks. Manual? Missing.
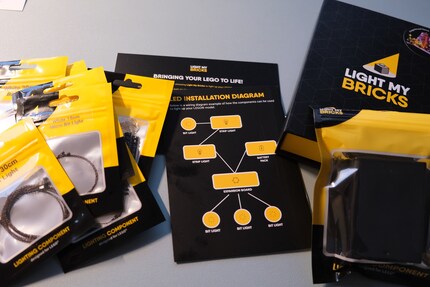
The text on the enclosed postcard answers this question: I'm asked to download the instructions from the Light-my-Bricks website.
I visit the page and find a list of 170 Lego sets that you can now «bring to life» thanks to Light My Bricks. I see all the Hogwarts buildings from the Harry Potter licence, and finally find my gingerbread house.
The link to the gingerbread house shows a list of all components my set has. A total of 25 thin cables with LEDs that shine in different colours, some even flashing. And expansion and effects boards. Cables, adhesive corners and a plastic box for three batteries – not included – complete the equipment I need.
I download the offered PDF instructions to my tablet. 58 intimidating pages await me. At least, I guess I don't need a soldering iron. But I do get a magnifying glass.
Lightin up the tree: big fingers, tiny plugs
However, I’m too proud to actually use the magnifying glass. I work my way around the Christmas tree for about an hour and a half. Not because of the instructions. They’re very precise, containing many pictures and little text that guide you through every single step. How to disassemble the tree, pimp it with LEDs and put it back together. No, I’m the problem. My fine motor skills are untrained or might have already diminished thanks to age.
I have to use the thumb and index finger of one hand to place an LED over a Lego stud with a cable. The stud has a diameter of 4.8 millimetres. Then, with the other hand, place the previously disassembled transparent stone back onto the LED and the stud underneath. I thereby have to gently squeeze the fine cable. I might have been a little braver if I hadn't read the five pages of warnings about cable damage beforehand.
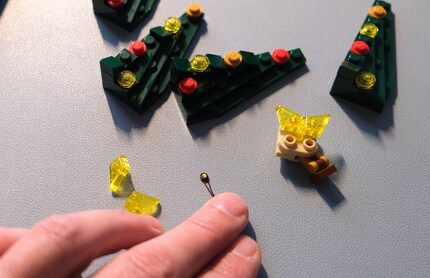
There are eight transparent stones on the Christmas tree, which I have to underlay with LEDs. For each one, the cable is clamped between the green plates. In the end, the four elements of the Christmas tree need to be attached to the trunk again – ensuring all eight cables emerge at the bottom of the trunk. I place them past studs into very small spaces and hope they don't slip back out just before the elements are pressed together. Somehow I made it. Now all LEDs should work.
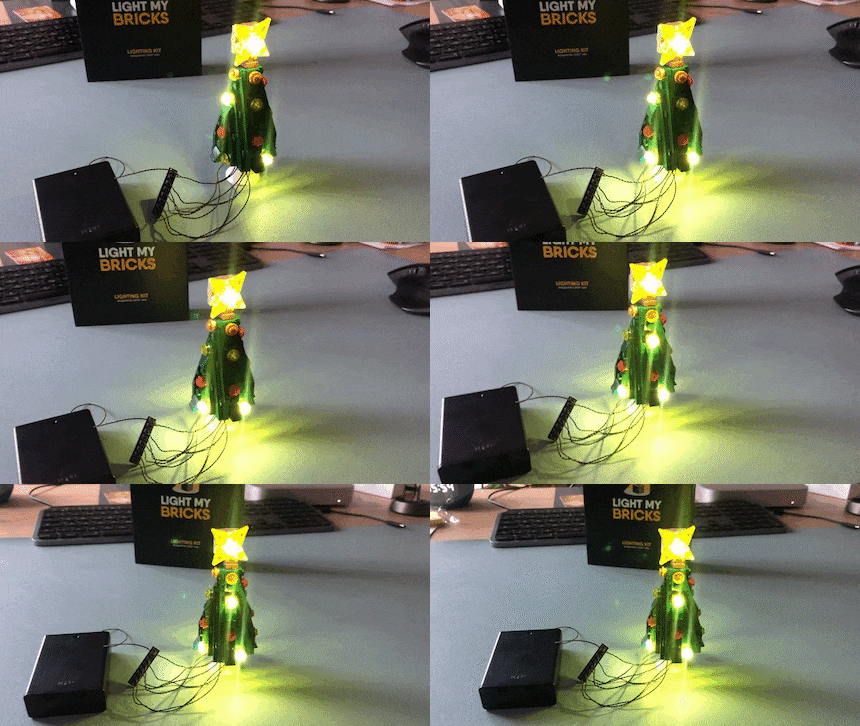
I check this by plugging the eight connectors into the expansion board. This reminds me eight times of how tedious it used to be to install and connect components in my first 286 PC. The plugs were huge compared to those from Light My Bricks.
The connection for the battery box goes into the last slot. I switch it on – and it lights up! My work has paid off.
Interior lighting: cable spaghetti in the fireplace
In the next steps, the interior will be lit up. To do this, I dismantle the roof parts and remove the furniture from the house. On my desk pad, I turn my attention to the plastic flames from the fireplace. Again, I insert LEDs into the transparent dots. Before I can put the flame back in, I snip the tip at the bottom of the flame piece off with a pair of scissors. The LED goes where it used to be. Fortunately, this is the only time I need to «destroy» Lego bricks.
More LEDs are added to the bedside lamp, the lanterns by the front door and the candles above the fireplace. By now, I’ve become a pro at mounting them. But now the growing cable spaghetti is becoming a challenge. The Light My Bricks instructions show where I need to stow the cables, in which gaps they disappear and between which Lego bricks they’re clamped, collected and guided to the outside. But they're not that easy to tame.
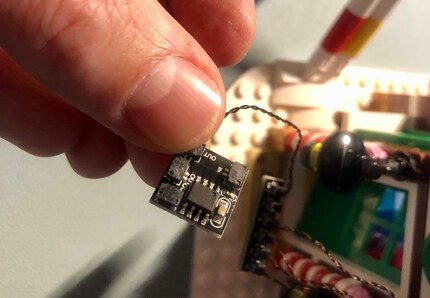
I combine cables that are flexible, but sometimes bend in directions that run counter to my ideas. And I get to know corners of the gingerbread house that I didn't notice when I built it – an unoccupied attic as a reserve for expansion, for instance. A whole tangle of cables including expansion board fits in there. Some cables also disappear into the chimney. I hope the fire police never hears about this.
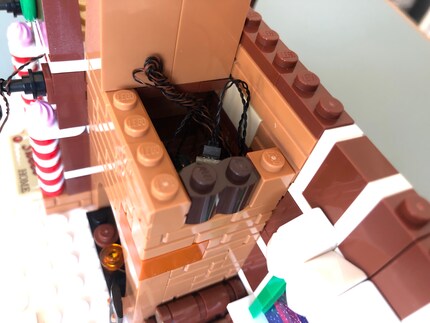
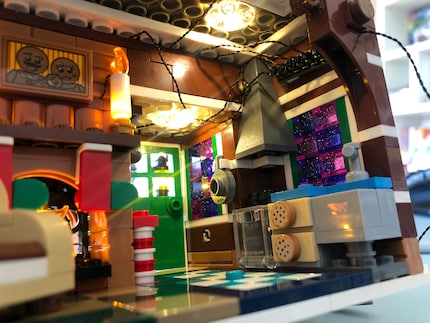
I hide away all other cables in corners and under the ceiling, as the instructions tell me to. The ceiling lamps are easy: I take only one LED and fix it to the ceiling with a rounded transparent 2x2 plate.
Finally, I tidy up the cables again and fix some of them with adhesive tape. In the end, I've laid no less than 5.65 metres of cable – in a house that is only 26 centimetres wide. Two expansion boards are now stuck in and on the building. One cable connects the house service connection to the Christmas tree, another cable is connected to the battery box. I switch it on. Let there be light!
Advantages and disadvantages at a glance
What I don’t like
- The finished Lego has to be disassembled in parts.
- The cables aren’t easy to hide.
- The studs are difficult to handle because of their size.
- No batteries are included.
- The set doesn’t include spare parts (you can get them here).
What I like
- The lighting creates a lovely atmosphere.
- The instructions are detailed and easy to follow.
- You’re sure to «enjoy» hours of crafting.
Conclusion: only for people with fine motor skills
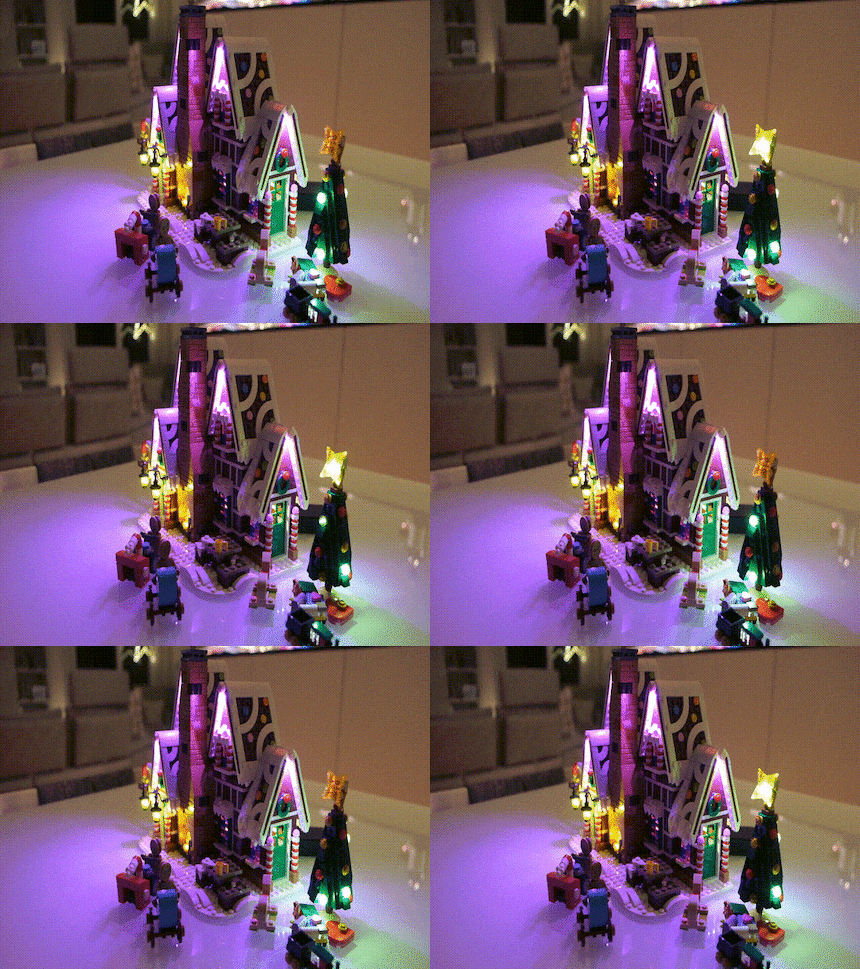
Would I light up a Lego set with Light My Bricks again? So soon after my first attempt, I’d say no. Admittedly, placing the LED and fine cables is a challenging task and something new. But ultimately, I didn’t have enough fun during the total of about eight hours I invested to light the gingerbread house. I'm just not skilled or patient enough to work with such small parts and such thin cables.
But if you’re a nifty electrical engineer, you’ll enjoy wiring Lego sets with Light My Bricks. In this case, the very detailed instructions are probably inspiring for you, not scary.
No matter how you get there – the result is sure to make everyone’s eyes light up. The lit up gingerbread house looks impressive and is great Christmas decoration. And despite my clumsy fingers, I managed not to get electrocuted. Hello to Chevy Chase – in retirement, the 5-volt lines are less dangerous for him than the heavy current he handled in the wild 80s.
Journalist since 1997. Stopovers in Franconia (or the Franken region), Lake Constance, Obwalden, Nidwalden and Zurich. Father since 2014. Expert in editorial organisation and motivation. Focus on sustainability, home office tools, beautiful things for the home, creative toys and sports equipment.
