DIY Tuesday: Reversible game board

Especially when the weather is nice, staring at your mobile phone screen should be the exception rather than the rule. So put your mobile away for a change and enjoy a homemade game board. I'll show you how.
The good news: you can also play away from the virtual world. So how about a homemade reversible game board outside on the lawn? Perhaps as a fun addition to a cosy picnic?
For a reversible game board with a mill and tic-tac-toe grid, you need:
- A round wooden ham plate
- 18 transparent decorative glass stones
- One glitter and two coloured nail polishes
- Acrylic spray
- Ruler and or set square
- Pencil
- Waterproof pen in black
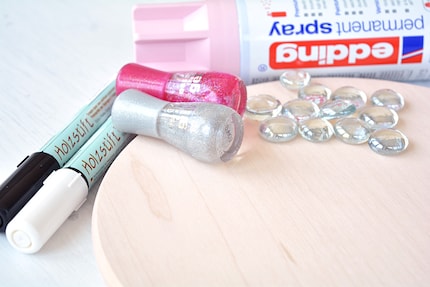


Edding Acrylic spray
Pastel pink, 200 ml


Caran d'Ache Edelweiss Graphitstift im Blister
0.50 mm, HB, 4 x

And this is how it works:
Step 1: Spray one side of the ham plate with the acrylic spray first and allow it to dry thoroughly before you start on the other side. Also make sure that you don't forget the side edges.
Step 2: In the meantime, you can get to work on the tokens. The simplest option is to buy two sets of decorative tiles in different colours. However, I wanted to give my tokens that little bit extra, so I opted for transparent decorative glass tokens, which I painted with glitter and coloured nail polish in different shades on the underside.
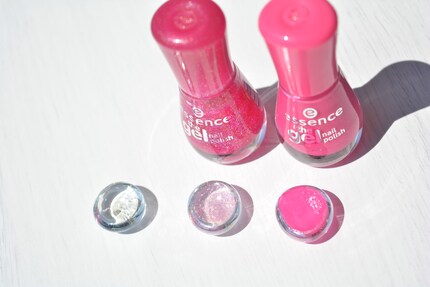
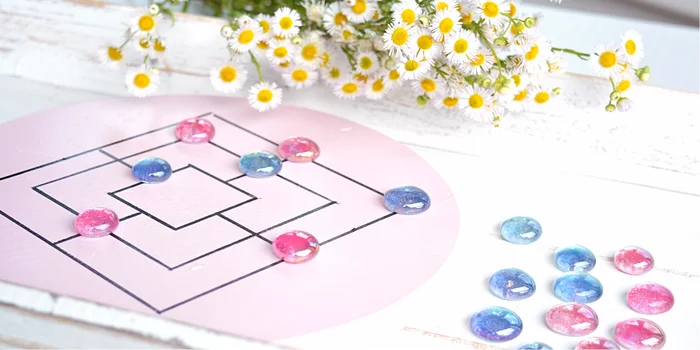
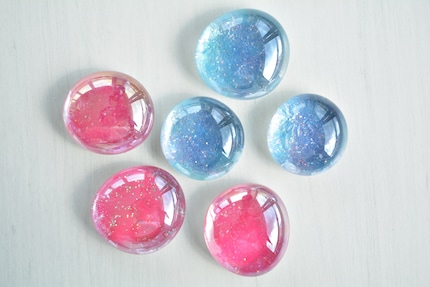
I proceeded as follows: As you need two sets of nine pieces for the mill game, I grabbed the 18 pieces and brushed their flat undersides with the glitter paint. I then painted nine of them with a pink nail varnish and the other nine with a blue nail varnish. This way, they all glitter and are still easy to distinguish in terms of colour. Very important: Let the stones dry thoroughly between and after the coats, otherwise the nail polish may leave marks on the board.
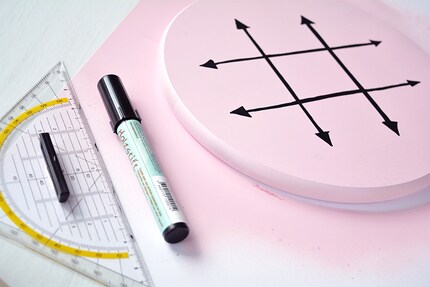
Step 3: As long as the ham board is completely dry, we can now start painting on the game grids. I started with the simpler game when colouring in: Tic-Tac-Toe. To do this, I drew the grid very lightly with a triangle and pencil and then painted it on later with the black waterproof felt-tip pen. I added small arrows to the ends of the grid as a decorative element.
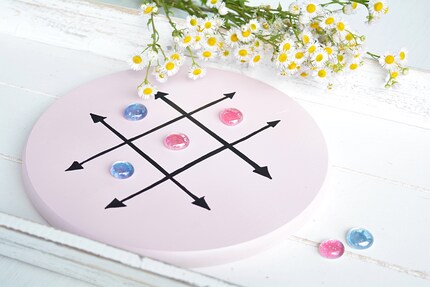
Step 4: Now comes the most difficult part. Drawing the mill field. I almost despaired at this step - because I made life too difficult for myself. So my tip: The easiest way is to print out a template in a size adapted to the wooden disc. Don't even try to create a template yourself. You will perish. Cut out the printed template along the line of the outermost square. In other words, so that you have the entire playing field cut out in your hands.
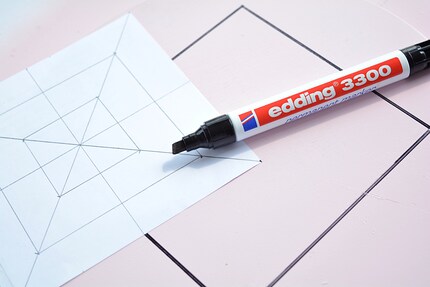
Now place the square piece of paper in the centre of your board, press it down firmly and mark the outer four corners with a pencil. Take the paper away again and connect the dots with a ruler and a waterproof pen. Press the ruler firmly onto the board so that the colour of the waterproof pen cannot run under the ruler.

Now that you have drawn the outermost square, you need to cut your template to the next smaller square. Then place it back in the centre of the square already drawn on the board and mark the corners again, which you then also connect. Continue in this way until all three squares have been drawn nested inside each other. Finally, only the four lines that divide the sides of the square are missing.
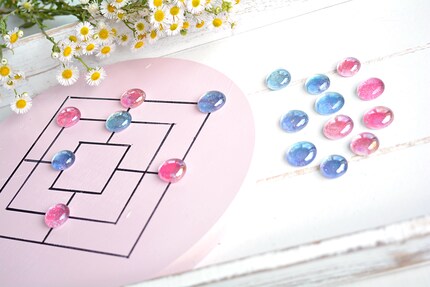
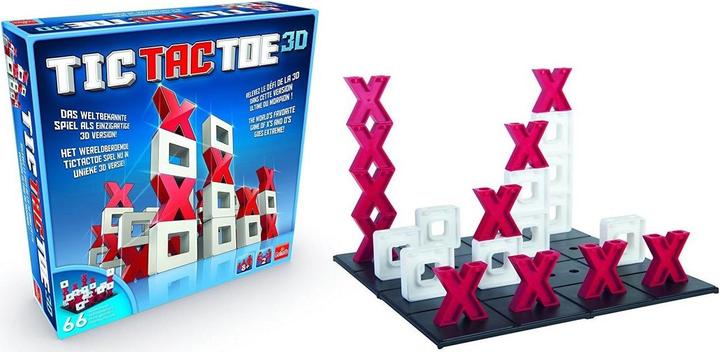
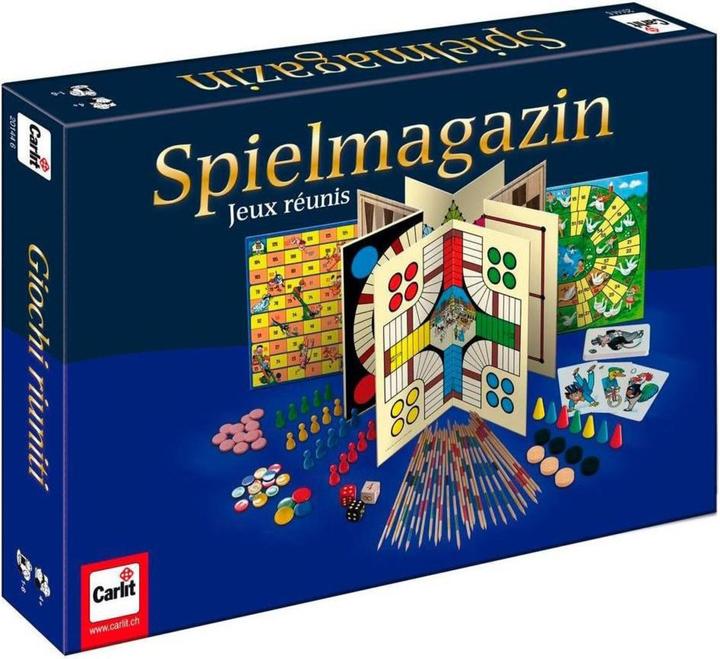
And here's some fun for those without crafting ambitions:
You might also be interested in these articles:


As a massive Disney fan, I see the world through rose-tinted glasses. I worship series from the 90s and consider mermaids a religion. When I’m not dancing in glitter rain, I’m either hanging out at pyjama parties or sitting at my make-up table. P.S. I love you, bacon, garlic and onions.
From the new iPhone to the resurrection of 80s fashion. The editorial team categorises.
Show all