
Background information
DIY fashion for beginners: sewing a fabric bag
by Vanessa Kim
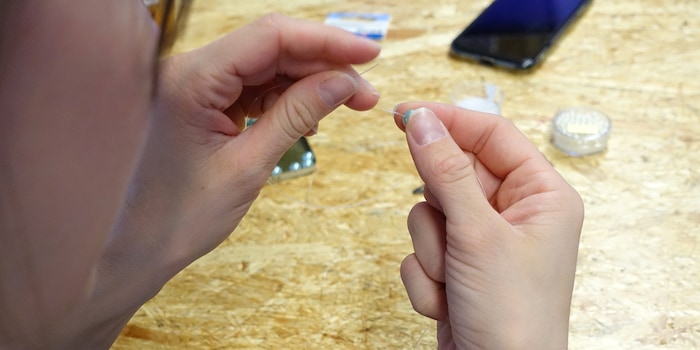
In the "DIY fashion for beginners" series, I show you how to make trendy fashion pieces. In today's episode: hair jewellery.
After all the social media hype surrounding beaded hair clips, Luisa and I decided to make our own, as the designer pieces are far too expensive. What Gucci & Co. can do, we've been doing for a long time. There is plenty of inspiration for trend jewellery on platforms such as Pinterest and Instagram. All you need is a steady hand, creativity and these tools:
Grab a metal hair clip and a one metre long piece of Perlon thread. As this is strong enough, you won't need a needle to thread the beads. Tip: To make the transparent thread more visible, colour the two ends with a red or black permanent marker. We have not done this in the images below.
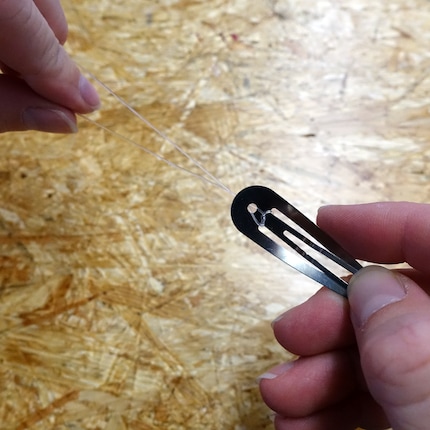
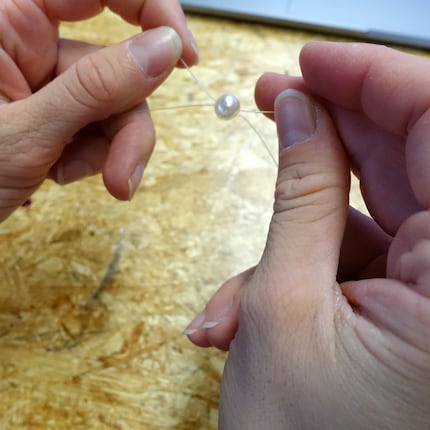
Push both ends of the thread through the hole and fasten the whole thing around the centre clasp element with the help of a holding loop (Fig. 1). Take a large bead and pass one of the thread ends through the hole from left to right. Do the same with the other end from right to left (Fig. 2). Tighten the threads until the bead is firmly attached to the clasp.
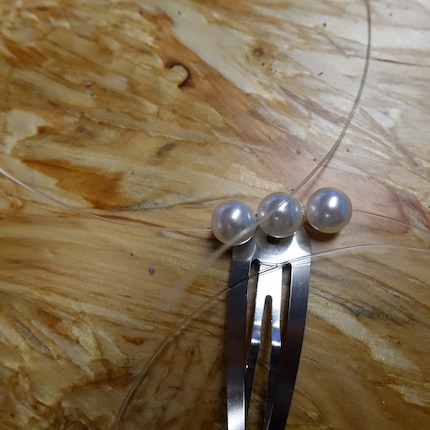
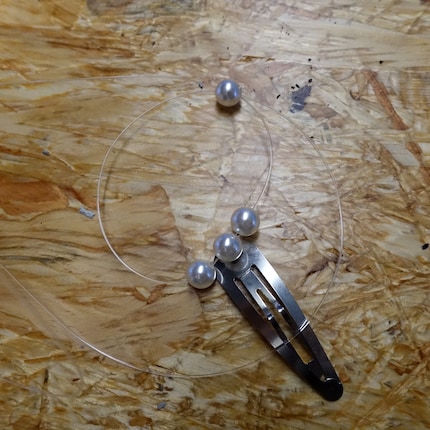
Then pull another bead through each thread end (fig. 3) and cross the threads again through a single bead (fig. 4). To secure the whole thing, pull both threads down along the outer clip side and bring the thread ends back up through the centre of the clasp.
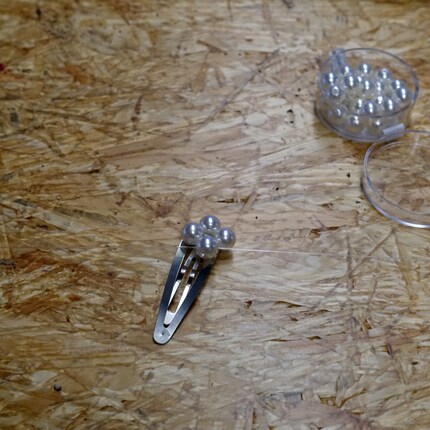
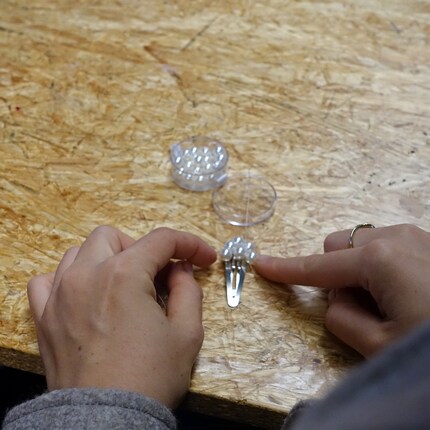
Make sure that the threads only encircle the upper part of the clip, otherwise the clasp can no longer be opened. Finally, cross the threads again with the last bead you added (fig. 5). Add another bead to each thread end and repeat the process, followed by another crossing bead. Use your fingers to align the beads and then secure the thread in the same way.
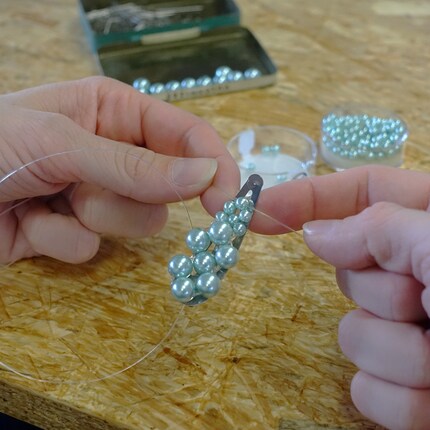
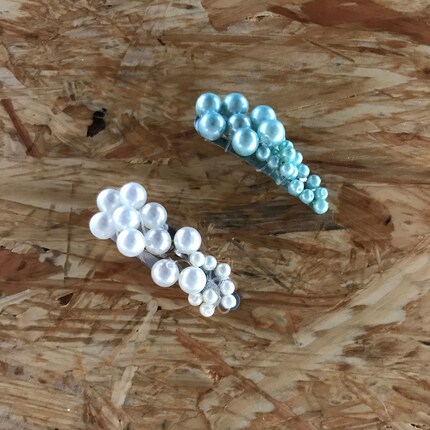
Now you can use the next smaller beads (fig. 7) and repeat the whole process. If your hair clip is large enough, you can add an even smaller bead unit at a later stage. We have only worked with two sizes for this model. To secure the beads, tie the ends of the thread together so that the button is not visible and cut off the excess.
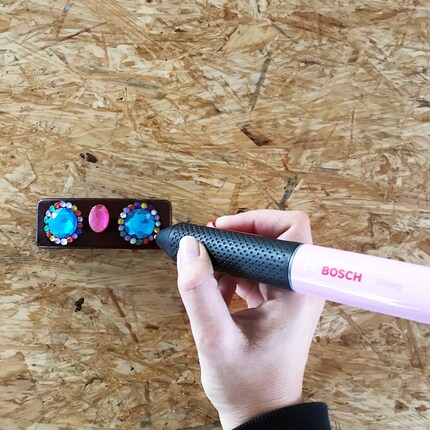
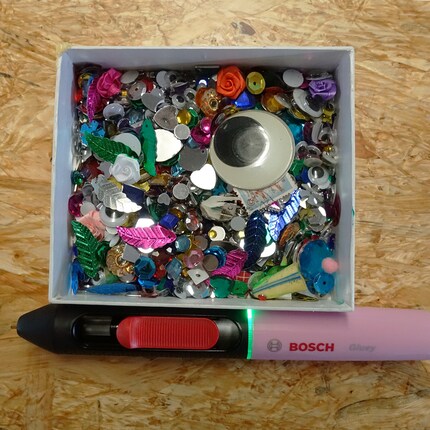
You can also use superglue or a glue gun (Fig. 9) to make your hair jewellery, depending on the clip. Glue anything you can get your hands on to your hair clip (Fig. 10). You can either do this step-by-step, by picking stone by stone, or you can apply the glue to the entire surface of the hair clip and pour gemstones over it. These will stick to the glue. [[image:31069499 "We worked with adhesives on these four models."]]
In the next episode, I'll show you how to sew a cape. If you want more fashion DIYs on your radar, follow me by clicking on the button at my author profile.
When I’m not exploring the depths of the sea as an open water diver, I enjoy plunging into the world of fashion. On the streets of Paris, Milan and New York is where I keep my eyes peeled for the latest trends. And I’ll show you how to take them from the catwalk to your everyday life.
Interesting facts about products, behind-the-scenes looks at manufacturers and deep-dives on interesting people.
Show all