
DIY colouring table for your children
What do you do with an old table? Throw it away? I decided against it and turned it into a colouring table for my children in one weekend.
I remodelled my house this summer. During this time, we did a lot of handicrafts on our building site table. Among other things, this wooden boat. The table was badly damaged by the work, which is why I breathed new life into it together with my children. We painted it with chalkboard paint and added a few useful gadgets.
These things you need for your own painting table
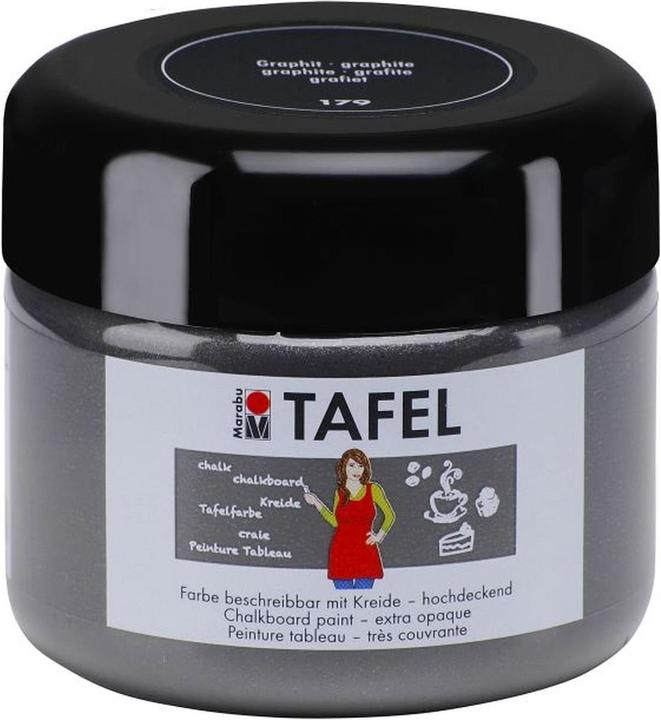
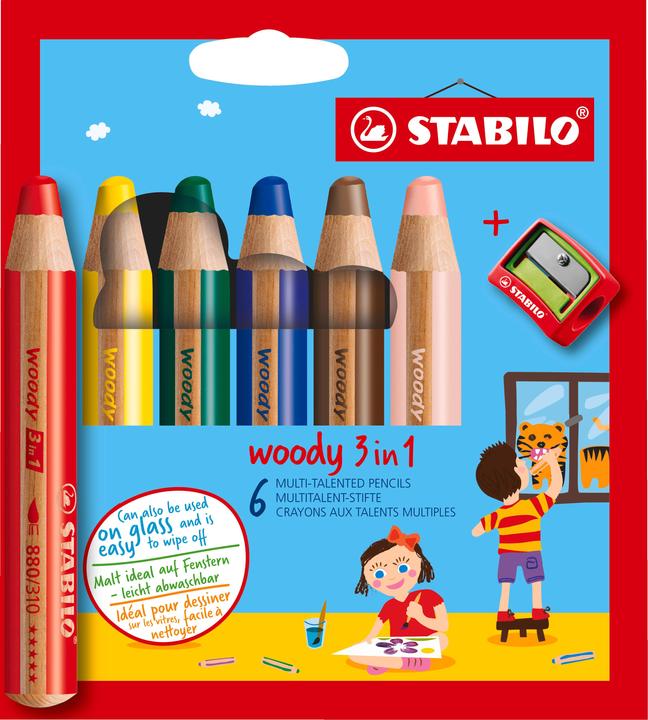
Of course you need a table. If you don't have one in the cellar, ask grandma and grandpa or the neighbours. You're sure to find one. Paint the table with different chalkboard paint, which your children can later draw on with chalk or the Woody colours from Stabilo. For this craft project, you will also need string, six eyebolts, self-adhesive hooks, cotton sacks, a paint roller, a drill, pliers, a tape measure and a pencil.
And this is how it's done
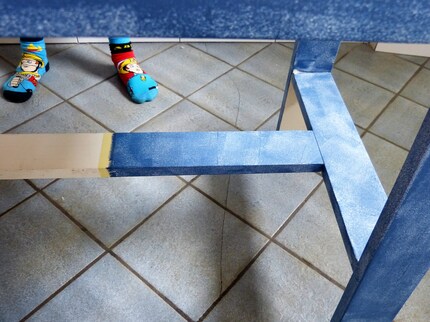
1. As there are no limits to the children's imagination, the entire table can be painted. If you want to use two colours like I did, divide the middle of the table with painter's tape. The surface to be painted must be free of dust, dirt or grease particles. It is best to wipe the table with a dry cloth so that the chalkboard paint can adhere better. To prevent the surface from showing through, paint over the same area two or three times.
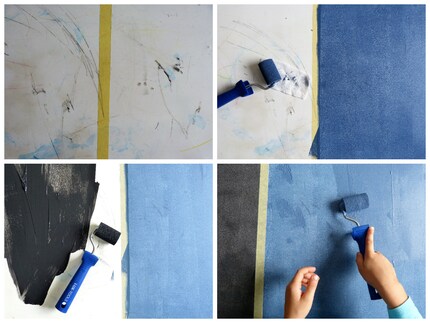
Tip: Children can help with this work. As the paint doesn't spill, there's not much that can go wrong. The painting table is therefore a great family project for a rainy Sunday.
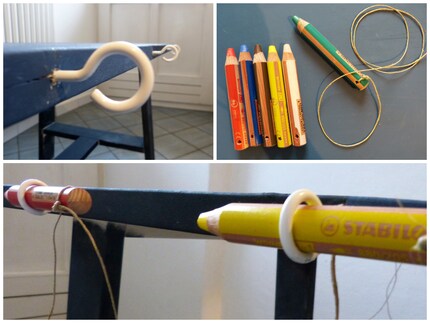
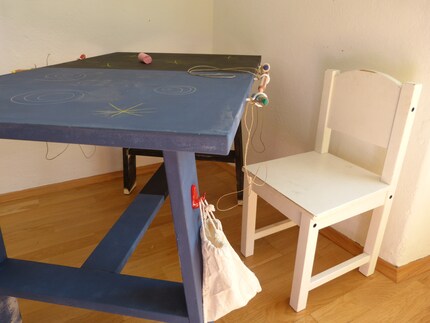
2. I picked up the idea of attaching the coloured pencils to the table at a parent-child centre. To do this, screw the eyebolts into the two long sides of the table at equal intervals. Drill a small hole at the back end of the coloured pencils, through which you then pull a string and knot it. Attach the other end of the string to the eyebolt.
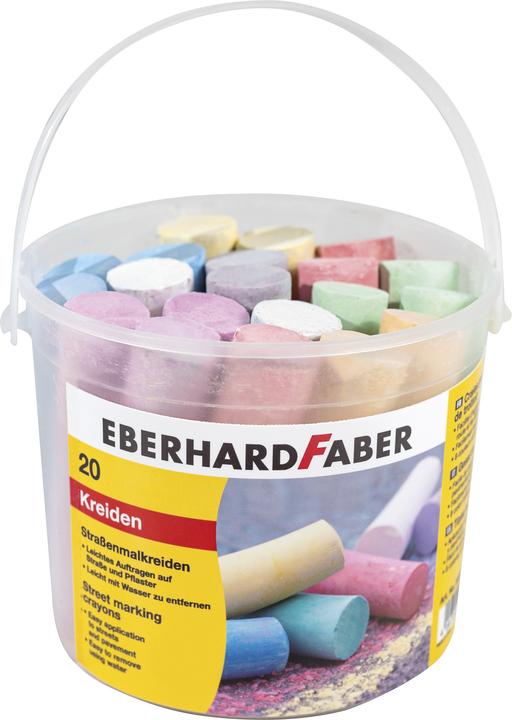
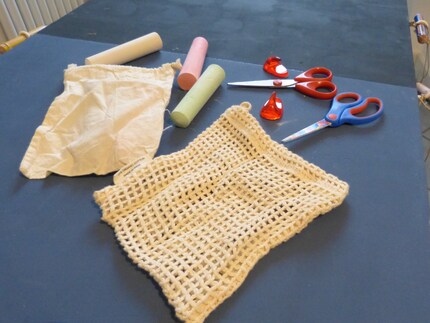
3. As the table can be used for more than just painting, I glued hooks to the table legs and hung cotton bags on them. These can be filled with different things: Street chalk, craft scissors, paper, stickers and much more.
The new all-round colouring table is ready. When I let the children at the table for the first time, I'm telling you, it went round and round, in the truest sense of the word. I explained to them at the beginning that it was important to always put the respective colours back into the corresponding hole, otherwise chaos could ensue. Of course, they didn't stick to it. :)
A colouring game
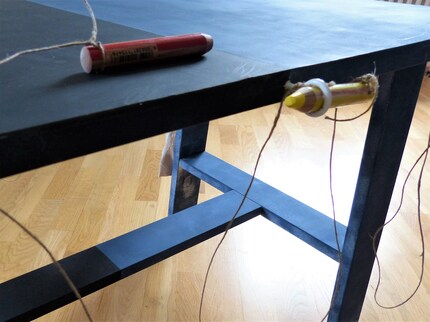
Funnily enough, my two children immediately turned it into a game: they go round the table in a circle, one behind the other. They can only draw on the coloured area where the coloured pencil is. Anyone who doesn't stick to this rule has to sit out a round.
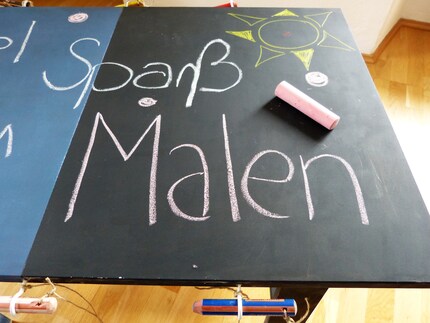
I'm always amazed at how fascinated children can be by such simple things. Ever since the table was set up, they have been constantly drawing on it. That's why I'm convinced that your children will enjoy it too. Give it a try!
I'm more of a thinker than a doer. Yet I'm still always active: crafting, sewing, writing to-do lists, daydreaming, counting clouds, digging into soil, comforting my two little ones and collapsing into bed after a long day. If it were up to me, each day would have a few extra hours... I wonder if that would be enough.
Practical solutions for everyday problems with technology, household hacks and much more.
Show all