

Christmas plaster figures to make yourself
It doesn't always have to be the traditional handprint or a decorated mug. Children should fully utilise their creativity when making Christmas presents. Plaster figures, for example, can be customised. Whether it's a Christmas angel or a Christmas tree is entirely up to your child.
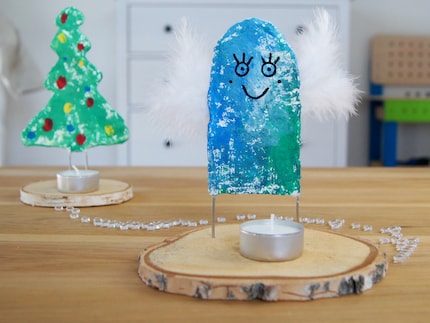
Depending on the motif, the recipient can place their keys or post on the wooden disc. Or it can be used for a tea light. I guarantee that these plaster figures will not only please your child, but also the grandmother and the rest of the family.
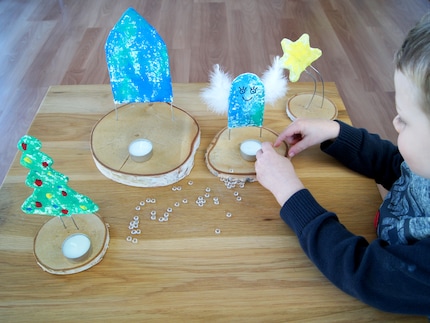
Do you fancy experimenting?
For plastering, you first need wire and, of course, plaster bandage. You can decorate the figure nicely with acrylic paint. A wooden disc is the ideal base for your figure. You will also need glue, brushes, wire cutters, a water container, a hand drill and any decorative elements.


Amsterdam Starter Set
20 ml

5 steps to a plaster figure
- Bend the soft wire by hand or with pliers
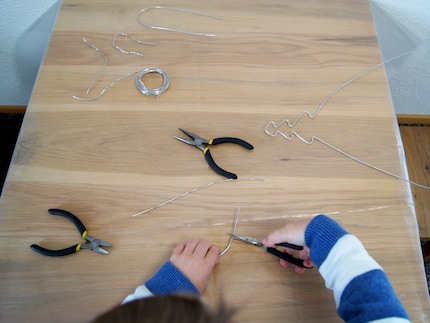
- Cut the plaster bandage into small pieces and collect them in a dry place. Take one piece of plaster at a time, hold it in the water and wrap it around the wire. Smooth it out so that there are as few holes as possible. After you have applied about five layers of plaster, leave the figure to dry.
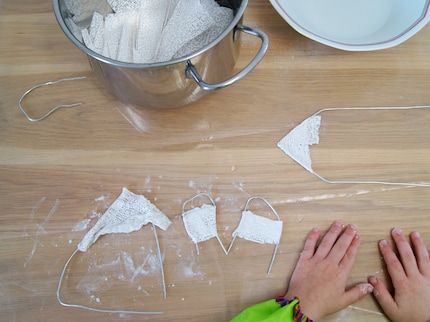
- Once the plaster is dry, you can paint the figure with acrylic paint.
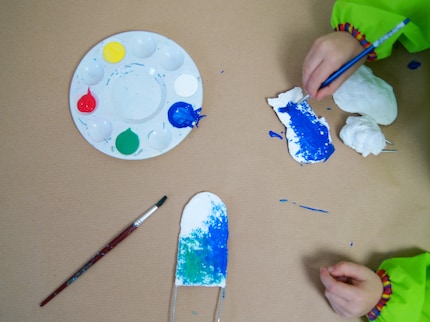
- If you want to add additional decorative elements, you can draw faces on the figure with a brand, for example. Feathers or sequins are also ideal and can easily be glued on with a little glue.
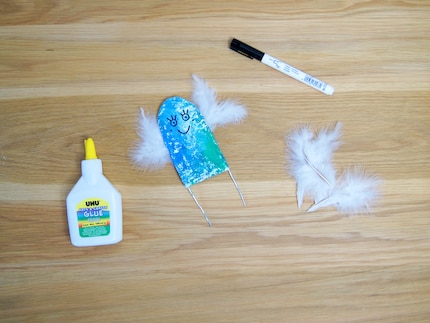
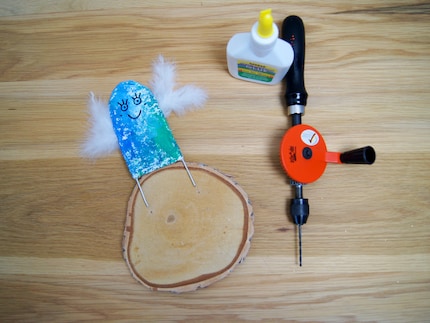
- In the fifth and final step of these instructions, use the hand drill to drill two small holes in the wooden disc. You can use a little glue to attach the wire feet in them and give your plaster figure a stand.
This pretty Christmas present can be made by toddlers just as well as schoolchildren. It is guaranteed to amaze the recipient. With questions like: "How did you do that?", the little master plasterer can then proudly explain what all happened in the Christmas factory.
My students and also my own children inspire me every day with their irrepressible imagination. I like to document the creative projects that emerge from this on my blog Fantasiewerk. I hope to inspire many moms and dads to craft with their children. <br> <a href="https://fantasiewerk.ch/" target="_blank">Fantasiewerk.ch</a>
Practical solutions for everyday problems with technology, household hacks and much more.
Show all