
Guide
Am I cut from the right cloth?
by Carolin Teufelberger

The chisels glide effortlessly through the soft wood. The precision of the carved lines is hard to beat. The shavings roll up elegantly before flying towards the floor. And the picture that reveals itself to me can only be described as a work of art.
This is what I imagined my first carving experience would be like. As is so often the case, theory and practice are far apart. My euphoria was already dampened when I familiarised myself with the basics. So many different types of carving, so many different chisels. For a moment, I found myself in a state of slight confusion. I gradually broke through it through research. The desire to carve returned. I am ready to put my acquired knowledge into practice.
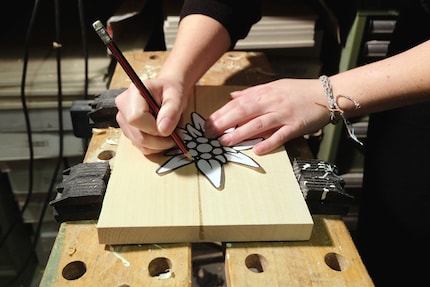
I chose an edelweiss as my motif. Traditional craftsmanship calls for traditional motifs! I transfer the silhouette onto a piece of lime wood with a pencil and draw in a few details freehand. Then I clamp my piece of wood in the workbench. My planned technique is called basic relief carving. My edelweiss stands out slightly from the background. I will fall victim to a small mental error later on. But I'm getting ahead of myself.
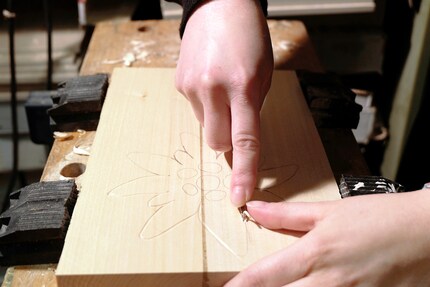
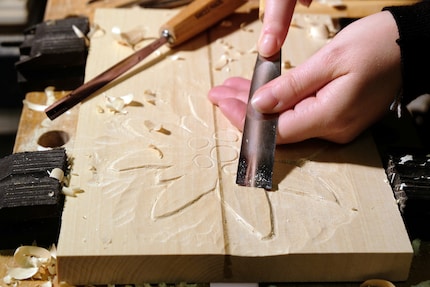
After two or three practice cuts, the time has come. I start on the first line and am amazed at how easily my chosen foot glides through the wood. A delicate but deep cut can be seen. This is exactly what I had imagined. Even the curves of the leaves pose no great problem as long as I hold my carving iron far enough forward and guide it lightly with my second hand. I continue like this until all the pre-drawn lines have been carved. This is where the first difficulties arise. As soon as I start working against the grain, the work becomes more strenuous. And I have to be constantly careful not to tear the wood fibre. If this happens, I change the carving direction and try to smooth the fibre.
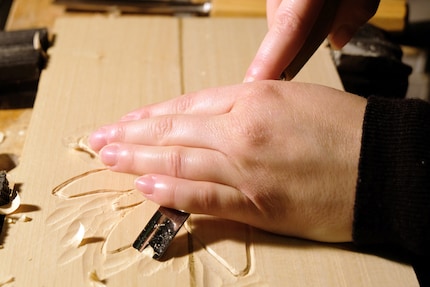
If the indentations are deep and, above all, wide enough, I start to remove the wood around the leaves with a flat iron. No problem with relatively open areas, but the large cutting edge doesn't get into the corners. I make several unsuccessful attempts before I discover the carving knife. Despite - for me - rather difficult handling, it works best. However, the result is not really good. Clean corners definitely look different. Nevertheless, I move on to the next task: the fruit leaves in the centre.
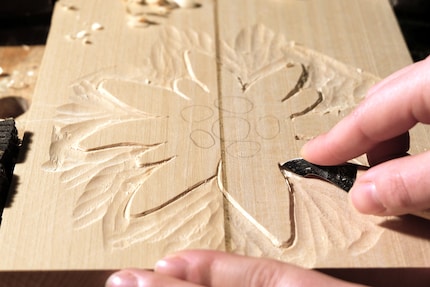
And here I realise my mistake. The carpels must protrude just like the petals. But as the former are on the latter, I have to remove my carved petals. Unfortunately, at the current height, this would mean razing them to the ground. For me, this means going back to the drawing board! Armed with a goose foot and gouge, I set about carving the trenches deeper. The flat iron is used again for the removal and the carving knife for the corners. While I'm doing these tasks a second time with a bit of anger in my stomach, a second problem arises. The carving tools become blunt and no longer cut as usual. Continuing to carve like this would not only require more strength from me, but would also affect the carving itself. Blunt knives cut like shit, period!
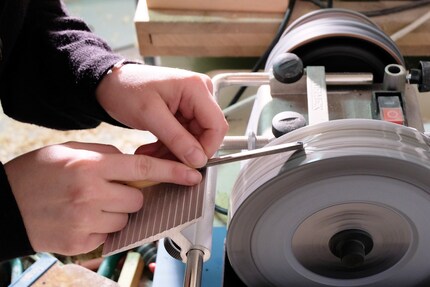
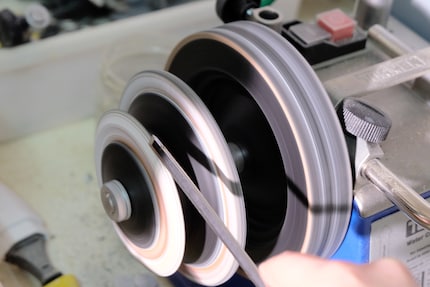
Luckily, I can rely on my father's workshop equipment. A wet sanding machine including leather honing discs is right next to me. The whetstone moistened with water sharpens the edges of my chisels within seconds. If I place the tool at the wrong angle, I wear it down. The edges are sharp, but also full of small metal shavings and a little dull. The leather honing discs polish them back to a high gloss. Make sure that there is always some buffing compound on the leather strap. You can easily apply this with your finger. After a few minutes, my chisels are ready for use again.
My petal relief sticks out high, my chisels cut wood as if it were paper. Now I can get to work on the petals. I follow the same pattern as before. I first notch the pre-drawn lines, then widen them and remove all the wood all round. This is almost easier here than with the flowers, as the round stamps have no corners. However, I have to be careful not to work too hastily and notch the curves unintentionally. That works reasonably well.
My work is finished and I had fun. I was completely immersed in the work and for once really didn't think about anything else. A short holiday for the mind, so to speak. The icing on the cake is that my Edelweiss looks really good in the right light. It has rough edges in the truest sense of the word, but that's what makes a person and a plant, isn't it ;)
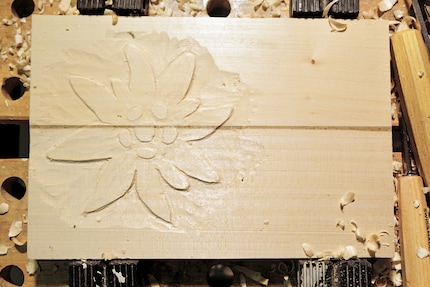
Sometimes the carving went as if by magic and then again I had the feeling that I was bumping into granite. I hadn't realised that sharpening the tools plays such an important role in carving. But without a sharpening machine, you really are lost at some point. Just like when you write with a pencil and don't have a sharpener. There is also room for improvement in the piece of wood chosen. The uneven grain also makes the carving look a little uneven. However, I deliberately used scrap wood for my first attempt in case everything went wrong. Fortunately, it wasn't that bad. But I still have to practise until fantasy and reality are in harmony. Lots of practising.
Have you got a taste for carving now? Thanks to my successes and, above all, setbacks, I can give you a few tips along the way.
My life in a nutshell? On a quest to broaden my horizon. I love discovering and learning new skills and I see a chance to experience something new in everything – be it travelling, reading, cooking, movies or DIY.
Practical solutions for everyday problems with technology, household hacks and much more.
Show all