
Guide
Toolbox essentials for DIY projects
by Anika Schulz
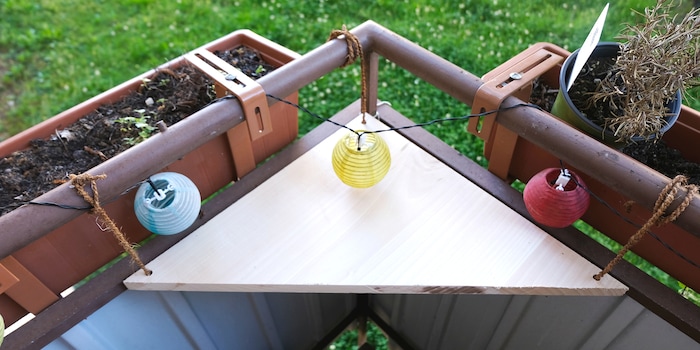
Do you often ask yourself the question "A table or me?" when looking at your balcony? Follow my simple DIY and the answer will soon be "Both!".
There's barely room for a table and two chairs on my balcony. That's fine if you're spending time with two people. But as soon as a third person joins you, it gets difficult. Not to mention social evenings with smokers. Sure, I could take the table from the balcony. But having no surface for glasses is also annoying. We need a space-saving alternative.
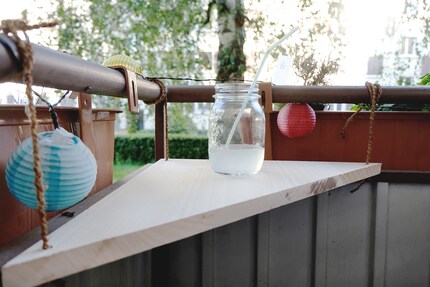
This essentially consists of a wooden triangle that is attached to the railing in the corner of my balcony with a rope. The little spot classifies itself as a permanent wasteland, so no valuable space has to make way for the table. My version is quick and easy to make, but still looks good.
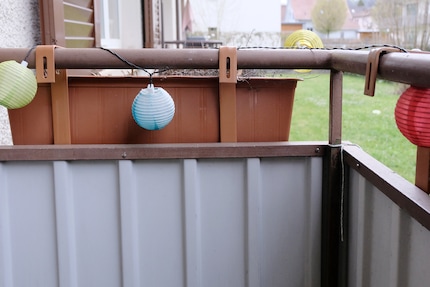
All you need for this are:
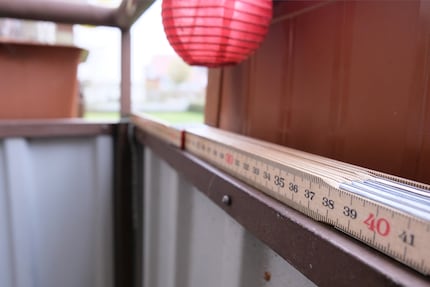
Consider how long the sides of your floating table should be. I tried out different lengths with a folding rule and finally decided on 40 cm. As your corner is normally right-angled, you can now use the Pythagorean theorem to calculate the long side (hypotenuse). If you don't remember: a² +b² = c², where a and b describe the short side and c the long side. In my case, c² = 3200. Now I take the square root and end up with about 56.5 centimetres.
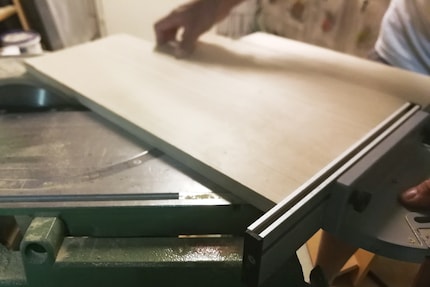
If you're thinking "Eh, that's easier, isn't it?", you're right. You can save yourself the Pythagorean theorem, but a little school geometry knowledge never hurts ;) Alternatively, measure the desired length on both sides of the right-angled corner of your timber and connect these two points diagonally. This will also give you the hypotenuse. Now either saw along the line by hand or, if available, set your circular table saw to an angle of 45 degrees. At the end, you should have a right-angled triangle in your hands.
What's missing are the holes for hanging. I drilled three - one in each corner. But that's entirely up to you and your stability requirements. For my taste, the table still has a few corners and edges that need to be rounded off. You can either sand with paper, sponge or with a machine. Optionally, apply a coat of weatherproof varnish, which you should leave to dry for 24 hours.
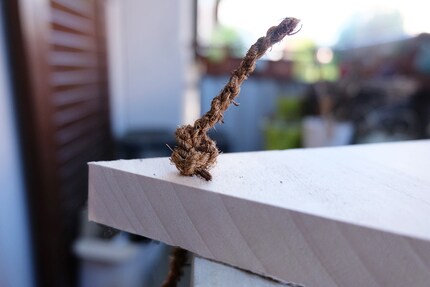
Now the table can go outside. I pull my coconut rope through the holes and tie a large knot at the bottom. I wrap the other end once around the railing and then tie another knot. Everything is secure and it's time to try it out. I get a glass and place it on the table. It holds. The old, space-consuming table can go. At least when friends are round. The folding table is still better for breakfast for two.
Do you still have leftover wood and a thirst for action, but lack ideas? Then follow me and never miss a DIY again!
My life in a nutshell? On a quest to broaden my horizon. I love discovering and learning new skills and I see a chance to experience something new in everything – be it travelling, reading, cooking, movies or DIY.
Practical solutions for everyday problems with technology, household hacks and much more.
Show all