
3D printing - four helpful answers for beginners
3D printing is not witchcraft, it's easier than many people think. In this article, I'll answer the four most frequently asked questions on the topic of 3D printing. You'll learn what 3D printing is, what you can do with it, how to do it and how much it costs.
What is it
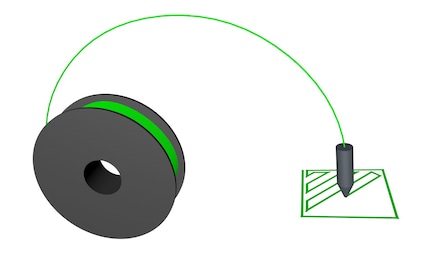
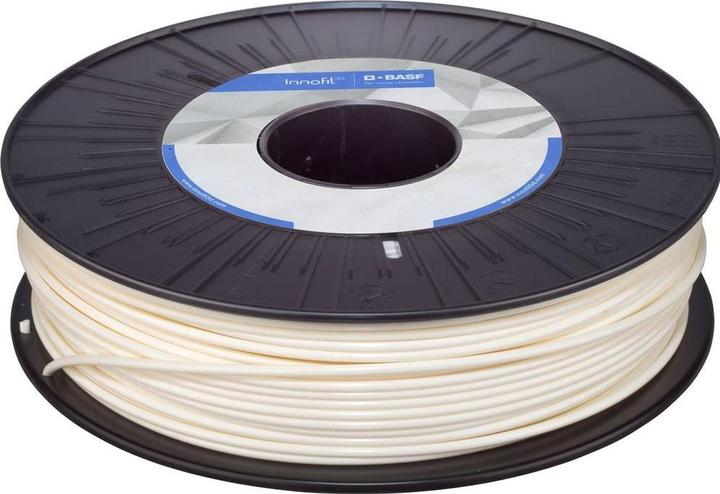
Plastics are mainly used for printing. The "bioplastic" PLA is popular. It is non-toxic, biodegradable and very easy to use. The 3D printer acts as a melt layering robot. It draws in the PLA wire, heats it to 220°C and then presses it through a fine nozzle (e.g. 0.4 mm) as a thin strip layer by layer onto a printing plate.
Simplified principle, all the mechanics have been omitted.Other methods are:
- Curing liquid plastic with a UV laser (stereolithography)
- Melting metal powder with a laser (sintering) or
- Setting gypsum powder with pinpoint accuracy using an inkjet printer
However, these processes are rather unsuitable for home use as they are too complex and expensive. These are always application processes. You often start with a blank printing plate and apply material. The opposite would be ablative processes, such as milling or turning. Here, you start with a blank workpiece and gradually remove the unwanted material. The disadvantage of this is the resulting waste in the form of chips, which must be recycled again.
What can you do with it?
To put it bluntly: anything your heart desires. Be it a smartphone case, chess pieces, holders, etc. With a 3D printer, you can print pretty much anything you want. The applications are endless. However, it becomes difficult and time-consuming if the object is larger than your printer. In addition to the classics already mentioned, there are many other interesting application examples:
- Spare parts:
For example, if you need a new cover cap for your camera, you can simply print it. You can download the CAD file for this here.
- Modden:
If you would like a larger "Option" button for the PS4 controller (so that you can call up the map better in GTA), you can download and print it here.
- Upgrades:
With a printed carrier, you can insert 2.5" hard drives or an SSD into old (2008) MacBook Pro computers: Download
- Art:
A 3D printer can be used to create not only useful but also artistic objects. For example, a headphone holder in the shape of an archaeological antique.
- Education:
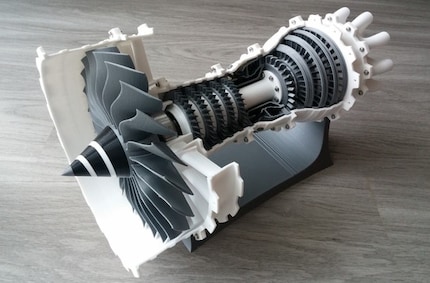
Rotating turbine blades are always an eye-catcher.
- Modelling and fan merchandise:
Why just watch the film or play the game when you can put a tank right in your living room.
- New possibilities:
Turn any of your camera lenses into a macro lens. It's easy with a small adapter to print out. -
As you can see, there are practically no limits to 3D printing. You don't have to limit yourself to plastic either. For example, you can print a mould that you can use to make a chocolate Easter bunny with your scanned face. Very quirky, but doable :)
How to do it
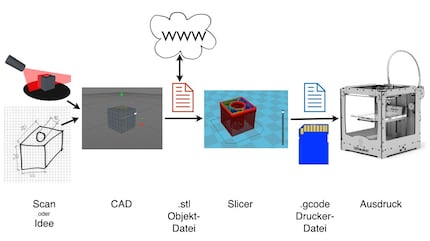
It always starts with an idea. It has worked well for me to always sketch this out on a piece of paper. This sketch makes it easier to draw the 3D model on the computer afterwards. It is also possible to capture objects with a 3D scanner. In my experience, however, this still requires a lot of manual work in the post-processing of the computer model.
But back to the procedure:
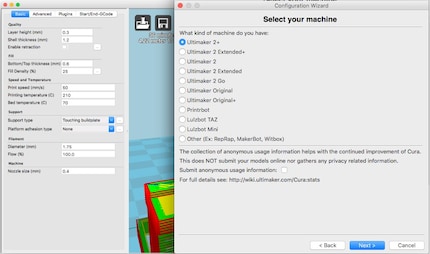
Desktop of the slicer «Cura»You can then load this printer file either onto an SD memory card or a USB stick and then connect it to the printer. The printer only needs to warm up for a few minutes before it is ready for use. Choose a suitable location for your printer where it is not exposed to draughts. Temperature differences can affect the quality of your printed parts and reduce the adhesion of fine parts.
After printing, I recommend waiting a few minutes until the printed part has cooled down completely. This makes it easier to remove from the printing plate. A heated printing plate (covered with Kapton) is very useful here. Ideally, let everything cool down until the part can be removed cleanly from the printing plate with a crunching sound. All without pulling, hammering or even chiselling.
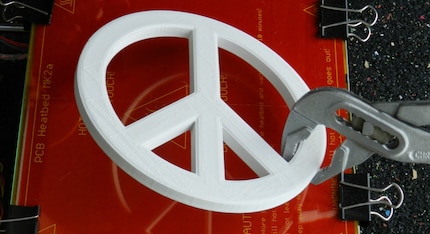
If this is not so easy, a pipe wrench has proved very useful for me. You press and bend carefully in several places to carefully detach the part from the base. It is advisable to only loosen a small piece at a time until it can be lifted completely. As long as you don't press too hard and stay within the elastic range of the plastic, nothing will be damaged.
To ensure that the next object adheres well again, you should finally clean the printing plate well to remove residues, dust and fingerprints.
What does it cost?
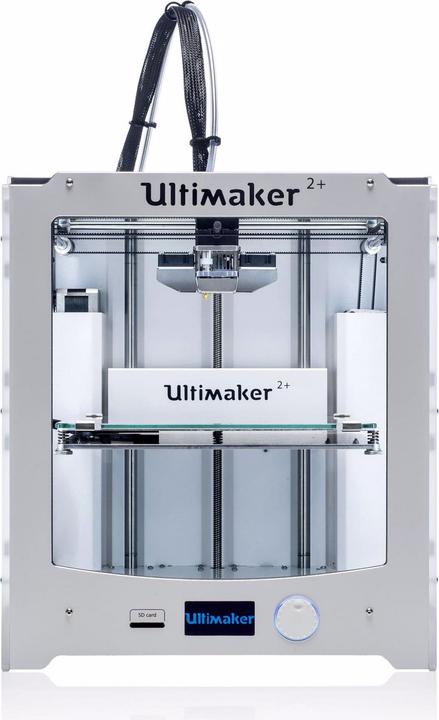
There are two different types of 3D printers. Some can be bought ready-made and only need to be connected to the power supply. An example of this is the Ultimaker 2.
The other option is the 3D printer, which is supplied as a kit. Although they are slightly cheaper, they still need to be assembled first. You should allow two evenings for this. According to the manufacturer, assembly takes no longer than an hour, but then the fun of building is missing. My favourite here is the Hephestos 2.
At this point, I would like to give you a few more hints and tips:
Let your imagination run wild. Good luck! And finally, another quote from Captain Picard: "Energy!"
More information on 3D printing:
I am a digital aboriginal of the generation Commodore 64, online since dial and acoustic coupler. Besides video games, I like to bring things from cyberspace into makerspace with the 3D printer. Technology is simply fascinating.
Interesting facts about products, behind-the-scenes looks at manufacturers and deep-dives on interesting people.
Show all