
Guide
5 handy items that make for great bag charms
by Stephanie Vinzens
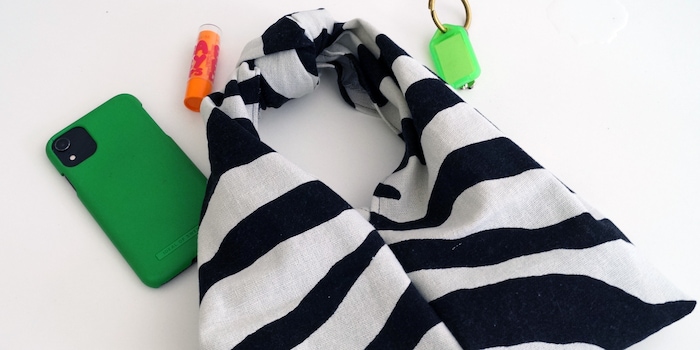
After crocheting and bead threading, it’s time for some classic sewing. The project: a bag – and all you need to make it is a needle, thread and a strip of fabric.
When I’m bored or in a procrastination mood, Pinterest is my go-to. I could lose myself for hours in the virtual sea of recipes, home decor hacks and DIY tutorials. In fact, Pinterest is to blame for the fact that I’ve been twisting together candles, kneading up coasters, and crocheting bags.
Feeling defeated by the over-30 degree temperatures last weekend, I found myself scrolling through my favourite app once again. As always, with success – that is, a new project on my Pinterest board. After watching a 30-second video, I sewed myself this bag – and you can too!
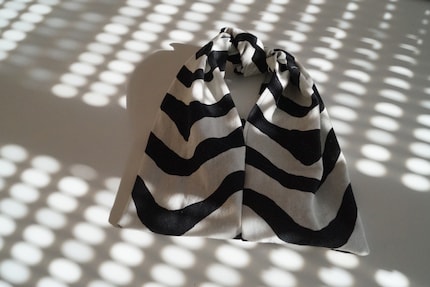
What you’ll need
Disclaimer: I used a sewing machine. If you sew the bag by hand, you will, of course, need a little longer than ten minutes.
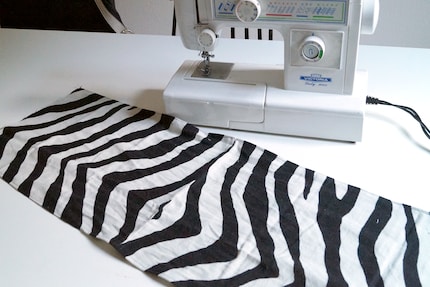
Step 1: Tie a knot in the centre of your strip of fabric.
Step 2: Turn the fabric inside out and lay the ends flush over each other.
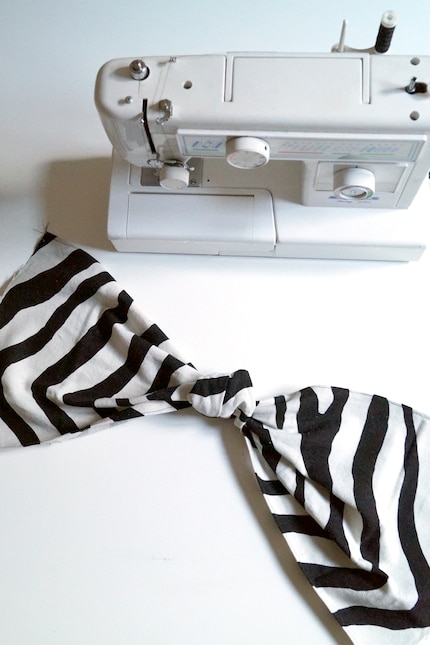
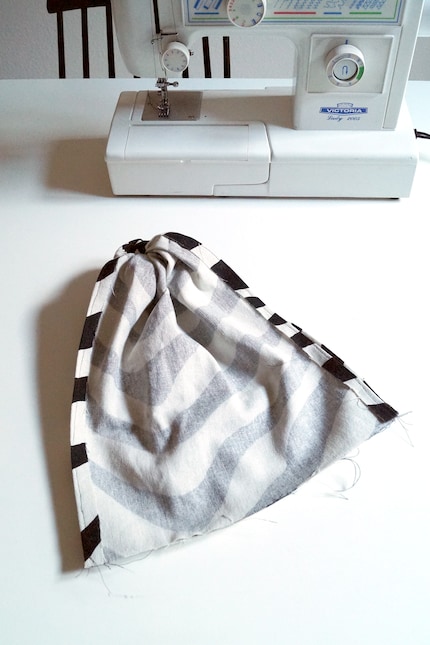
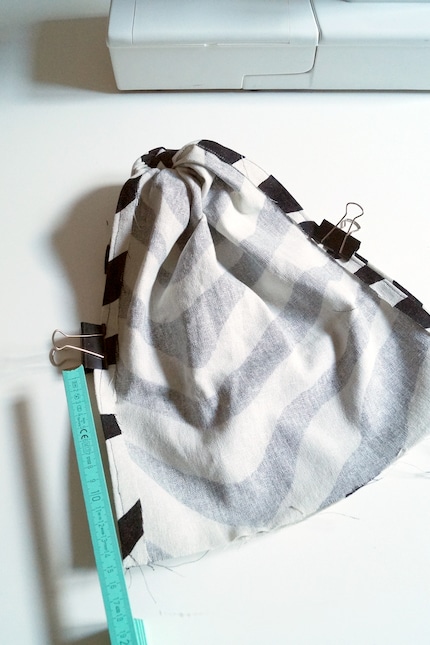
Step 3: Using a tape measure and a binder clip, mark up to where you want to sew the bag shut at the sides. I decided on 15 cm on each side. Now, sew both sides up to where you marked them.
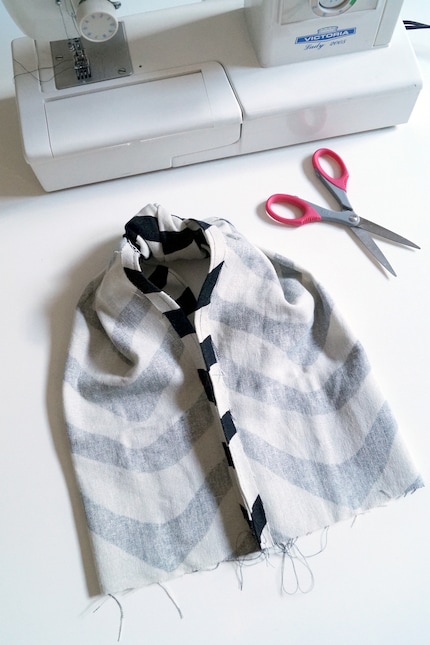
Step 4: Next, fold the bag over so that the seams are in the middle and sew together the bottom. Done!
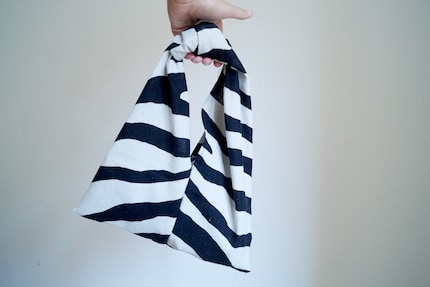
That’s all there is to it! For my bag, I simply used a linen pillowcase I’d set to the side. It’s easy as pie, lightning fast and as good as free. I did promise you as much!
Always in the mood for good hits, great trips and clinking drinks.
Practical solutions for everyday problems with technology, household hacks and much more.
Show all