
Simple do-it-yourself picture garland
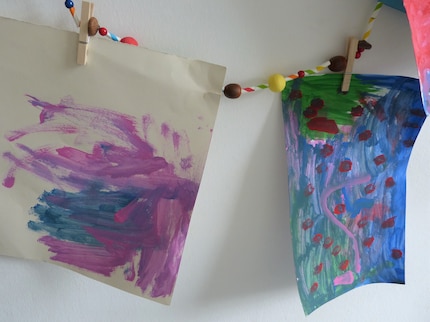
A homemade garland is ideal for showcasing children's drawings. I have created one from natural materials and give you tips on how else you can store children's drawings.
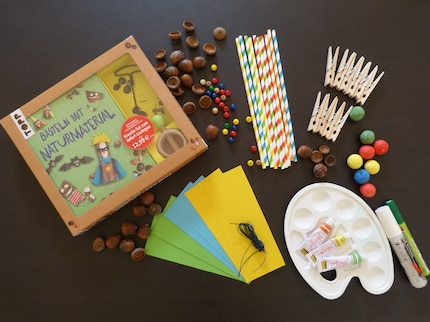
Autumn is the best time for crafting for me, because with all the chestnuts, acorns and leaves, lots of ideas come naturally. I got inspiration for this craft project from the creative craft set "Crafting with natural materials". You'll not only find the right tools there, but also various instructions. But it was mainly my son who inspired me to do this project. Compared to last year, this year he brings home a drawing from kindergarten almost every day. Some of them are very close to his heart. So I thought about what we should do with his drawings. That's how the idea of making this picture garland came about.
You will need the following
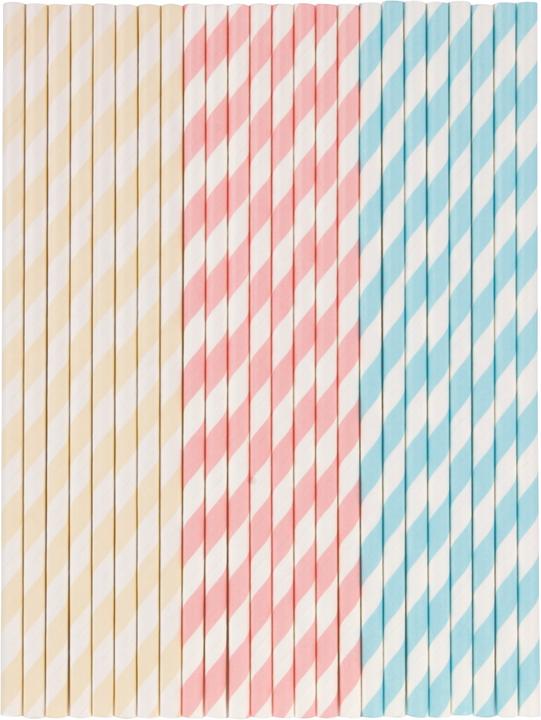
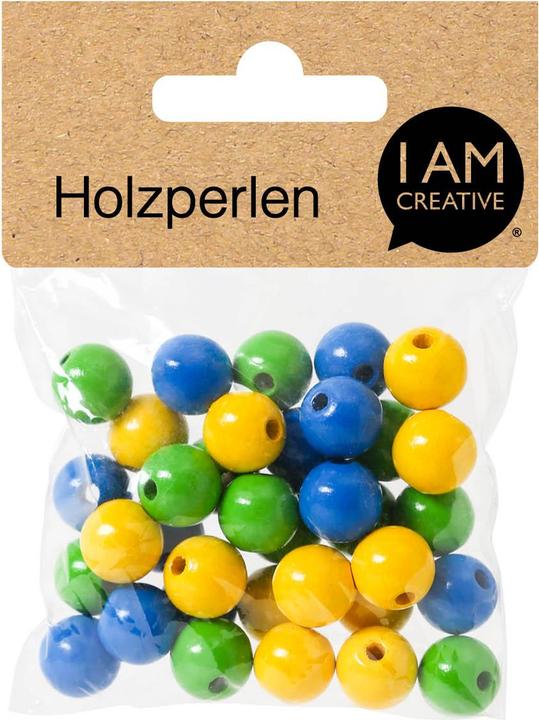
You will need acorns and acorn caps as natural materials. Chestnuts are also suitable. For threading, you will need a string on which you can string wooden beads, paper straws and paper straws.a href="/en/s5/product/i-am-creative-pompons-set-bastelmaterial-11152581">cotton balls in various colours, as well as clothes pegs in a row. To add a little colour, you can paint the acorns with acrylic paint and permanent markers and spice them up with strips of paper. You can use chestnut drills, chestnut holders, scissors, brushes, craft glue and a needle with a large eye
.
How to proceed
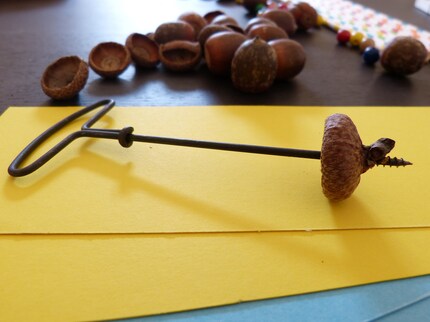
1. Pierce the acorns and acorn caps with the chestnut borer. Be a little careful with the caps, as they tend to shatter if you apply too much pressure. If your child wants to do this, it is best to clamp the acorns in a holder.
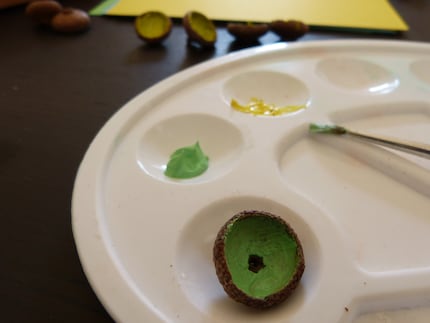
2. If you like, you can paint the inside of the acorn caps with colourful acrylic paint. However, they must then dry before you can continue. Alternatively, you can also paint individual dots on the acorns with a waterproof felt-tip pen.
3. Cut the paper straws into pieces of different lengths and thread them onto the string together with the other pieces. It is helpful if you attach a needle with a large eye to the end of the string. This will help you get through the holes in the acorns without any problems. If your children are not yet able to do this, they can decorate the paper strips to their heart's content in the meantime.
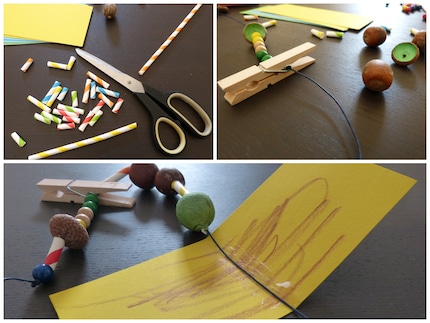
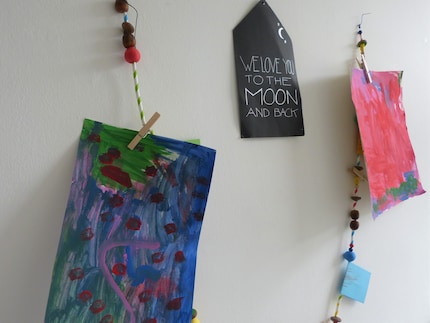
4. The picture garland is finished. I've made three different versions. This way, I can decorate several places in our home at the same time.
Tips for storing children's drawings
Children's drawings are beautiful. They are real and full of imagination. As parents, we almost don't have the heart to throw them away. But you can't keep everything either. I have therefore collected a few storage tips for you:
- Scan pictures, save them on your PC and turn them into a photo book
- Bind children's drawings into books
- Prepare a folder with transparent film and store the children's drawings in it
- Use children's drawings for greeting and birthday cards
- Laminate the pictures and use them as placemats at the dining table
I wonder what you do with the children's drawings. Why don't you let me know in the comments column.
I'm more of a thinker than a doer. Yet I'm still always active: crafting, sewing, writing to-do lists, daydreaming, counting clouds, digging into soil, comforting my two little ones and collapsing into bed after a long day. If it were up to me, each day would have a few extra hours... I wonder if that would be enough.
Practical solutions for everyday problems with technology, household hacks and much more.
Show all