

My gravel bike’s new set of tubeless tyres
After 3,000 kilometres, it’s time to change the tyres on my gravel bike – which turns out to be a drama in multiple acts. With a happy ending?
It’s time. Time for a tyre change on my gravel bike. After 3,000 kilometres, the rubber has slowly but surely worn down. But just how much will only become clear to me during the first ride with my new tyres. But more on that later. First things first: I need to get a set of tubeless tyres onto my wheels. Tubeless tyres have a special structure and ensure an airtight seal without additional inner tube. The tyres are filled with a sealant, which acts as a kind of liquid tube, closing punctures from the inside as they come.
Time to get to work. But hang on a minute, which tyre size do I need?
Prologue: ETRTO, inches or French?
I’m confused. On the sides of the tyres, I see various numbers. Here’s what my old tyre looks like:
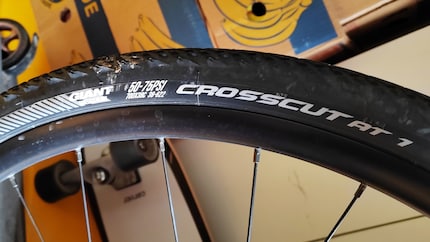
Source: Patrick Bardelli
It’s complicated. Today, the sizes of bicycle tyres are designated according to the European Tire and Rim Technical Organization (ETRTO) standard. In practice, however, tyre manufacturers also use the older English and French conventions.
ETRTO
This designation, for example 38-622, indicates the width (here: 38 millimetres) and the inner diameter (here: 622 millimetres) of the tyre.
Inches
The inch designation, for example 28 × 1.50, indicates the approximate outside diameter (here: 28 inches (approximately 710 millimetres)) and tyre width (here: 1.50 inches (approximately 38 millimetres)).
French
The French size designation, for example 700 × 38C, indicates the approximate outside diameter (here: 700 millimetres) and tyre width (here: 38 millimetres).
All this to say, my old tyres are 38 millimetres wide and have an inside diameter of 622 millimetres. However, I can also mount wider tyres on these rims, up to a maximum of 45 millimetres. Like I said, it’s complicated. Should I stick with 38 millimetres or switch to 40? Or should I go all the way up to 45 millimetres?
Act 1: which profile?
I decide to try out a wider tyre this time – 45 millimetres. Might as well go the whole hog, right? Immediately, I’m faced with the next problem: which profile do I need? There are [countless options](/search?q=velo tires&is=velo tyres) in our range. So far, I’ve always hit the road with the same tyres year-round.
However, many cyclists switch out their tyres in summer and winter or in dry and wet conditions – and rely on different profiles for different conditions. Depending on the surface, rolling resistance can also be a factor. Simply put, a lower rolling resistance equals a lower loss of energy. I end up going for a model from Schwalbe.

According to the manufacturer, the G-One R is mainly made for asphalt, gravel and forest paths as well as dry, easy trails. In the rain, it should still work quite well for off-roading. In muddy conditions, it’s no longer suitable. Given it’s the beginning of spring and summer’s approaching, this seems like a reasonable choice. My hopes for the G-One R are that I’ll get tired less quickly thanks to a smoother ride and less vibration off-road.
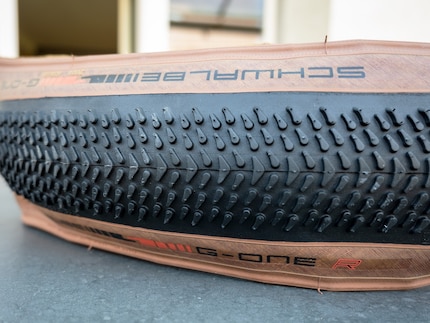
Source: Patrick Bardelli
Act 2: the biological sealant
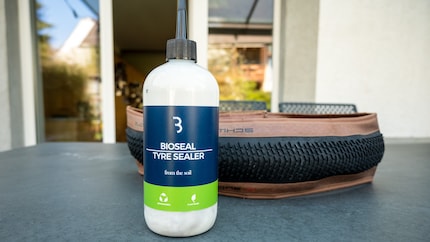
Time to get started with the assembly? Almost. First, I need a sealant. Since I recently tested new cleaning products from BBB, I’ve also got a bottle of its new biological agent somewhere in my garage.
- Tubeless sealant based on raw materials derived from plants
- Works with tubeless and tubed tyres
- Seals holes of up to six millimetres
- 100% plant-based ingredients
- 100% biodegradable within 28 days
- 100% CO₂-neutral production plant
- 100% recycled PET packaging
- 100% free from microplastics
- 100% free from fossil raw materials
Source: Patrick Bardelli
Source: Patrick Bardelli
Act 3: mounting the Schwalbe G-One R
It’s time – time to actually swap the tyres. What takes about 2.5 seconds for four tyres in a Formula 1 pit lane takes me 2.5 hours in my backyard. In a nutshell, there are four steps to changing a tyre.
- Detach old tyres from the rims.
- Clean rims and remove sealant residue.
- Put on new tyres.
- Fill with sealant and inflate.
If you’re converting your bike from a tubed to tubeless tyre for the first time, there are some additional steps you’ll need to do, such as gluing a rim tape. I can skip this, because my rims are already taped and a corresponding tubeless valve is mounted.
Source: Patrick Bardelli
Source: Patrick Bardelli
Loosen old tyres and clean rims
Let’s get one thing out of the way: I have the fine motor skills of a potato. And I’m doing this for the very first time. In other words, this is an arduous affair that starts with pulling the old tyres off the rims and ends with filling the new tyres with sealant. Mixed in is some swearing, alongside pleas to the universe for help and checking out YouTubers who get things done in no time. The latter just adds an extra layer of frustration.
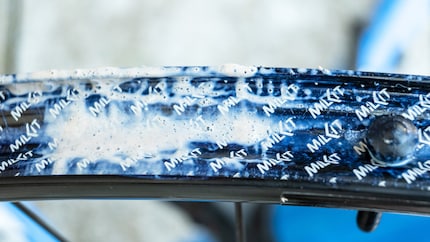
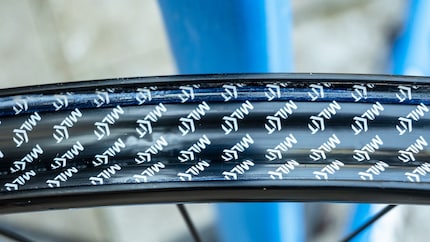
Since the old tyres really stick to the rims, I need a lot of force to loosen them. I then clean the rims using a kitchen towel and some lukewarm water. On YouTube, there are different cleaning techniques. Some do it the same way as me, while others use a cloth with a smidge of brake cleaner. What counts in the end is that the rim is clean.
Fit new tyres and fill with sealant
This is when things really get interesting. Getting the new tyres on the rims turns out to be the most annoying task. With the first wheel, I make the mistake of trying to mount the tyre on both sides of the rim at the same time. Bad idea. Later I realise you’re supposed to put one side of the tyre onto the rim first, then with the other side. If only I’d paid better attention to those YouTube videos ...
Source: Patrick Bardelli
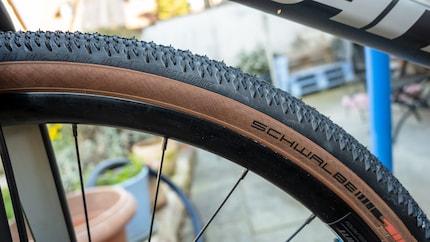
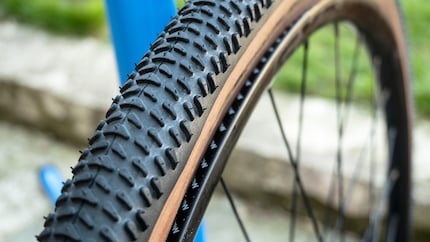
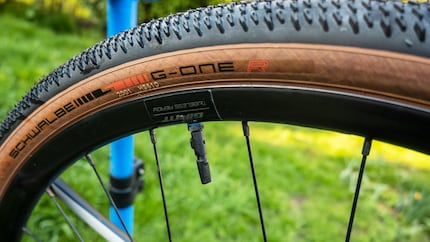
A small but very important detail: make sure you mount the tyre in the correct direction, that is, in the direction of travel. Otherwise, you’ll find yourself having to restart from the ground up. The tyres are marked accordingly, but I had to search around a bit until I found the labels. Schwalbe calls this «rotation».
Source: Patrick Bardelli
With this done, it’s time to inflate the tyre. This needs to be done as quickly as possible to ensure it sits cleanly on the rim. I use the booster from Milkit. The video below explains how it works. Next, I deflate the tyres again and fill them with sealant through the valve.
There are countless YouTube videos on this as well. The most common method is filling the tyre through the valve. Alternatively, you can lift the tyre at the side and let the sealant in that way. Mind you, this usually makes quite a mess. The sealing milk hardens quickly and may leave stubborn stains on the rim – not a good option for bike aesthetes.
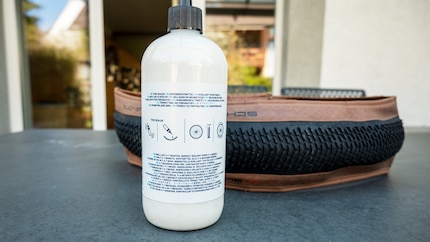
Now for the big shortcoming of the BBB sealant: I have a 500-millilitre bottle and have to fill about 50 millilitres into each wheel. I put the bottle on the valve and push the sealant through the small opening into the rim. But the bottle has no dosage indicator, so I have no idea how much sealant is in the wheel. Well, that’s annoying. The lack of a dosing help in the new, sustainable bike cleaners from BBB was already a little iffy. But with the sealant, it’s a big disadvantage. I would have liked to know how much is actually in the tyre. After all, it’s a matter of safety.
Source: Patrick Bardelli
Alright. I grab my bike pump and pump up the tyre to about three bars – and hear a soft pffffff. Not quite the tight seal I was hoping for. Air escapes through the valve; turns out the small nut on the rim isn’t screwed entirely shut. Once I fix that, I’m almost done. Now, the wheel must be rotated and turned in every direction to distribute the sealant and make sure everything is properly sealed.
Epilogue: a first hurrah for my new tyres
It’s Good Friday. It’s raining and I venture out on a ride with the new G-One R from Schwalbe. The first few kilometres have me feeling a bit queasy, as I’m still unsure about the amount of sealant I put in the tyres. Was it enough? It seems so, because I get back home without any problems.
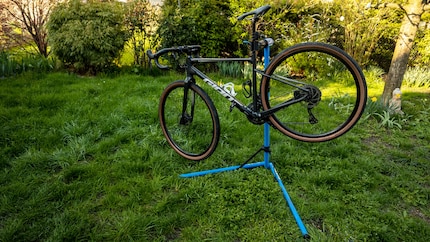
Easter Saturday rolls around. The sun is shining and I set off again. The queasy feeling I’d had the day before gives way to a feeling of flying. I’m rolling along – new tyres ahoy! Back home, Strava informs me that I’ve set new personal best times on four sections of my ride. The feeling of flying was no dream. Throughout the next few weeks, I’ll be on the road with the Schwalbe G-One R. A detailed review will follow.
But for now, all’s well that ends well.
Source: Patrick Bardelli
From radio journalist to product tester and storyteller, jogger to gravel bike novice and fitness enthusiast with barbells and dumbbells. I'm excited to see where the journey'll take me next.
Practical solutions for everyday problems with technology, household hacks and much more.
Show all


