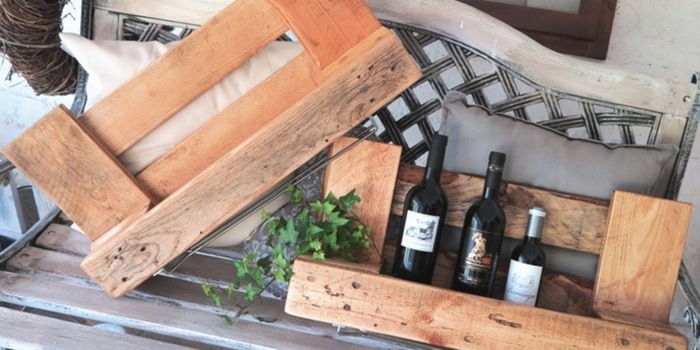
Make a beautiful shelf from a pallet
I'm always on the lookout for original accessories for my home - which, unfortunately, you don't find often in furniture shops - but it was finally on the web that I found some that were just what I'd imagined. I took inspiration from this website to design and make new decorative objects. I'd like to share my discovery with you in this article.
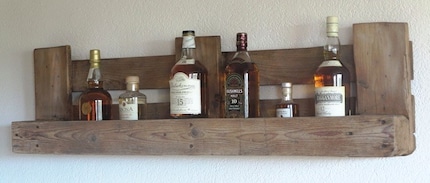
In a multi-part series, I show you how to give old pallets a second life. In this article, we start with a shelf for bottles of wine or whisky. Of course, it can also be used to store bottles of oil, herbs or anything else. This shelf could also delight all book lovers: it turns every book into a real decorative object.
The machinery
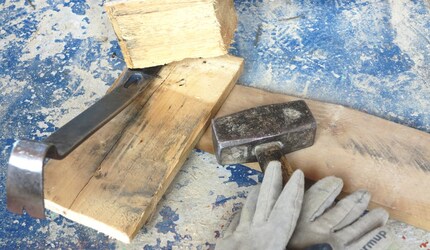
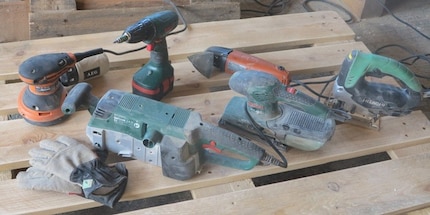
To begin with, I'll show you the necessary tools. In no way do I wish to advertise any particular brand, but I am very pleased with these machines. As well as the jigsaw, sander and drill, you also need a good hammer and a crowbar.
Pallet nails are a real nuisance - there are over 80 per pallet. And no, there's no trick to removing them. You need a lot of patience and strength. You use the flat part of the crowbar to detach the boards from each other. Then tap the nails with the hammer to get them out as far as possible. Finally, you use the slotted part of the presser foot to remove them completely. (If anyone knows a trick for removing the nails, I'm in - and, I speak for them, all the other readers, too.)
For the machines, we need the following basic equipment:
There are several types of sander. With an eccentric sander, this is the machine with the round sanding sheet, you're already on the right track. You'll soon notice which other machines you need. But beware, browsing the online shop for new tools can quickly turn into a real addiction.
The pallet: where to take it without stealing it
In addition to the machines, of course, you first need a euro pallet (dimensions 80x120cm, weight approx. 20kg). Where can I find one? I don't want 100 of them either. At best, you'll have to ask a transport company or a building site where pallets are lying around. When you say you want to make a piece of furniture out of them, people often find it amusing and are happy to give you a pallet. As pallets are exchanged between companies and a deposit is often paid, they are not always received free of charge. Depending on the condition of the pallet, I find prices of between five and fifteen francs to be fair.
A word to the wise.
Another word on the health aspect. We often hear that euro pallets are toxic. Well, there's no longer any risk with euro pallets. For pallets distributed in Switzerland or the European Union, only heat treatment techniques are authorised. Chemical treatment has been banned for many years. Of course, we have to assume that pallets are not spared during their lifetime. They are used to transport all sorts of things. So it's highly advisable to clean them first.
Your freshly acquired pallet is now in your garage or workshop and you want to start your shelf. In the photo, I've marked in yellow the parts of the pallet you need to make the shelf. You can opt for a long or short version. One pallet is enough for 2 shelves.
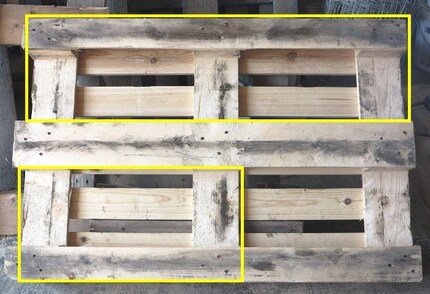
With the jigsaw, you can saw off the elements of the pallet. The rest of the wood will be used for the base of the shelf. Now it's time to use the hammer and crowbar. You may need to use the jigsaw to cut the base of the shelf to size. Be careful and don't cut yourself.
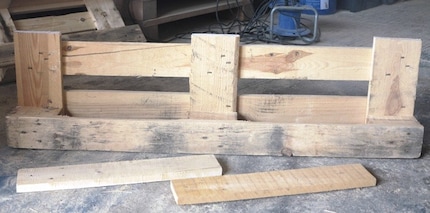
When the bottom is screwed on, you're almost done. I stress almost. Because now it's time to use your new sander for the first time. Don't forget your dust mask, and get cracking! Areas that can't be reached with the machine can be sanded by hand with an abrasive sheet. To know if you've finished: gently run your hand over the wood, if you don't get stuck, you're done!
Now you're done!
The shelf is quite heavy so it should hang properly on the wall. I recommend using the fixing system shown in the photo below (available from DIY shops).
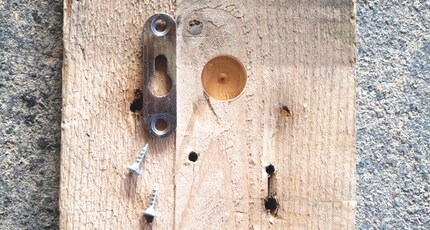
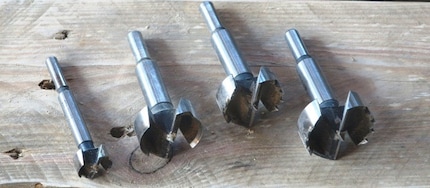
For the suspension, drill the wood with the drill and a suitable bit. The easiest way is to use a wood bur (as shown in the image). There are several sizes available. If you're going to use one, you'll need a more powerful drill than a cordless one. The ultimate luxury would of course be a drill press.
The suspension is fitted and the shelf is smooth as a baby's skin - all you have to do is oil and paint the whole thing. You can buy wood oils and woodstains in DIY shops. For interior furniture, we recommend using solvent-free water-based paints. For my part, I use beeswax.
To create a beautiful antique effect, I trimmed my shelf with decorative nails.
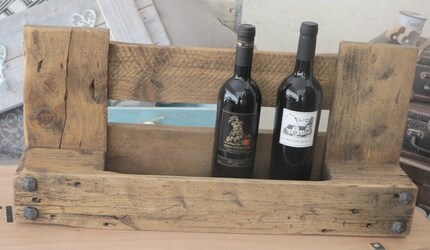
Bonus: put away the wine glasses and use up the leftover wood
To make the shelf even more unusual, you can still fit a glass-holder rail. You can buy these in specialist gourmet shops, for example.
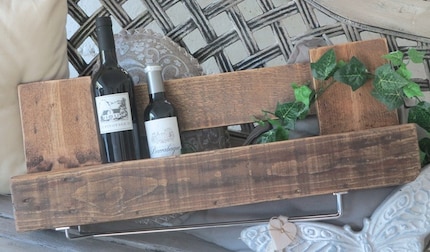
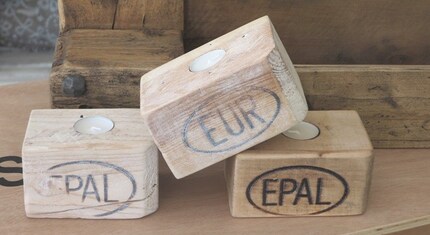
And for the next candlelit dinner with a nice glass of wine, you can create a stunning table decoration with the rest of the palette. For a tea light candle holder, you'll need a 4cm diameter Forstner wick. Now might be a good time to look at pillar drill prices...
In the next article, I'll show you how to make an herb garden from an old pallet and how to make beautiful planters for indoors and outdoors. I hope you enjoy your first piece of work. And, believe me, you'll soon be hooked on pallet furniture! If you don't want to wait for the next article, you can find more inspiration on my website www.palettenmoebel.ch :-)
Computer scientist with a creative streak. In my spare time I take care of my animal shelter. Always on the road with my bright red duck (Döschwo).
From the latest iPhone to the return of 80s fashion. The editorial team will help you make sense of it all.
Show all