
How to combat mouldy potting soil
It’s disgusting and sometimes even dangerous – mould in your potting soil. In this article I’m going to tell you how to get rid of it – and how you can be mould-free in the future.
«It’s so fluffy», squeals the googly-eyed Agnes about a fluffy unicorn in the animated film Despicable me. Your reaction is probably a little different when you discover a fluffy ball on top of the potting soil. Because that means mould. Und nein, gemeint ist kein männliches Einhorn, sondern ein Pilz.
But how did it get there? You might be saying to yourself now «I don’t water it that much,» or «I always air my apartment,». Me too. Nevertheless, a few years ago I had mould in my potting soil. My work colleague Livia recently did too, and encouraged me to write this article. So how do you get rid of mould and save the plant from destruction?
Step 1
Take the pot outside.
Step 2
Give the apartment a deep clean to rid the air of any mould spores. These are usually harmless. However, if you suffer from respiratory diseases or have a weakened immune system, caution is advised. You should wear a mask if you do.
Step 3
Take the plant out of the pot and scrape the soil away, down to the roots. Throw away the remaining soil.
Step 4
Clean the pot with a brush and warm vinegar solution (250 millilitres of vinegar for 1 litre of water).
Step 5
Pot the plant again.
Tips to permanently keep mould away
Your plant is now mould-free again. The question is: for how long? To prevent the next bout of fungi from shooting up, I have the following tips for you:
1. Pot
It’s best to get a container with a hole and a saucer. This allows the water to drain away. Put a layer of clay over the hole so it doesn’t get clogged. Fill the bottom two to three centimetres of the pot with clay granules, (pumice) stone gravel or clay shards, place a piece of landscaping fabric over them, and fill the rest with soil. The water can only drain properly, if both parts are neatly separated from each other.


Windhager Separating fleece for pots

2. Soil
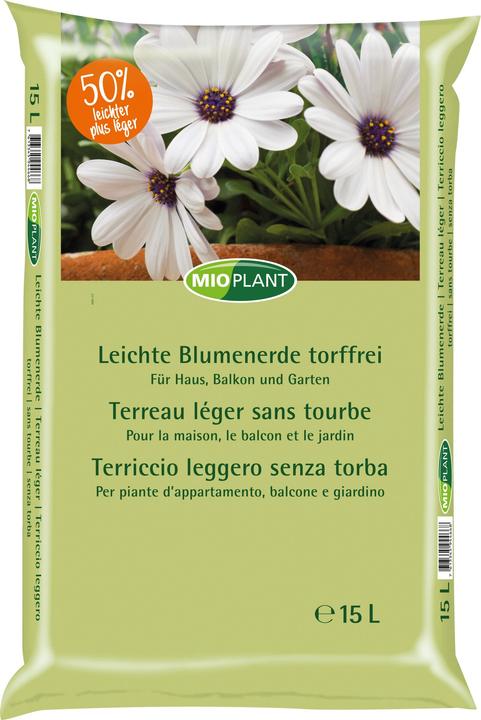
Mould develops the quickest in poor quality soil with a high humus content. It’s best to use high-quality, peat-free products with a high mineral content. If that’s all gobbledegook to you, let me explain. Good to know – if you discover a white coating on your soil when you open it, this is no reason to panic. As long as it’s not downright mouldy, you can mix the soil with your hands. This will destroy the fungus and you can continue to use the soil. If the fungal growth is larger, you should dispose of the soil.
3. Watering
Less is more. A constantly moist soil surface is the perfect breeding ground for fungi. So it’s better to water once less than usual – and advantageously from below, via a saucer. This way, your plant will only absorb as much water as it really needs. You can pour away the rest.
4. Airing
Mould thrives at high temperatures and high humidity. So air your rooms regularly and properly. That is, open the windows wide every day for five to ten minutes.
5. Potting
If, despite all precautions, mould still forms on your soil, there’s only one thing to do: repot the plant and dispose of the soil. By the way, you should repot your plants every two years or so anyway to make sure they thrive.
Now, I hope that when you look into the pot next it’ll elicit an «It’s so fluffy!» from you, too. Not because there’s a fluffy patch of mould sprouting there, but a fluffy plant. Then maybe you’ll be as amazed as this:

Source: Pxfuel.com
How do you fight mouldy potting soil? Let me know in the comments!
Header image: Shutterstock/Alona Siniehina
I love anything with four legs or roots - especially my shelter cats Jasper and Joy and my collection of succulents. My favourite things to do are stalking around with police dogs and cat coiffeurs on reportages or letting sensitive stories flourish in garden brockis and Japanese gardens.
Practical solutions for everyday problems with technology, household hacks and much more.
Show all


