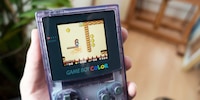
Guide
The perfect Game Boy display: BlackBerry IPS LCD for your Color console
by Martin Jud

When childhood memories need to be revived, they are there to help: the good old Game Boy games. But what do you do when the battery for your saves is gone? I'll show you how to get your old Game Boy games up and running again.
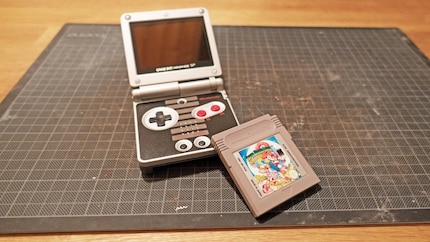
In 2005, I gave my Game Boy and all its games to a young boy. That wasn't a mistake, but I missed my Nintendo collection more and more over the years. Last April, I couldn't take it any longer and bought two newly refurbished "Game Boy Advance SP" including a brighter display (AGS-101). Two of them, because I also like to play against human opponents. And the Advance SP version because it is backwards compatible and can therefore play all Game Boy games. The SP version also has a replaceable battery and I also like the look of it.
I have already bought various games. My most recent purchase is "Super Mario Land 2", which I really loved as a child. It only cost me 9 euros including postage. However, there is a catch: the battery no longer works. This means that the game's memory function is defective. Not really surprising after over 25 years. Let's see if I can manage a simple battery change.
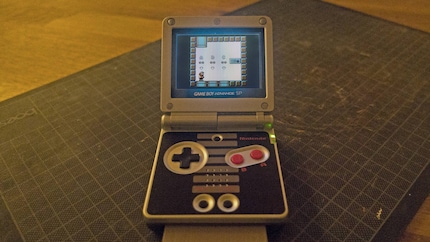
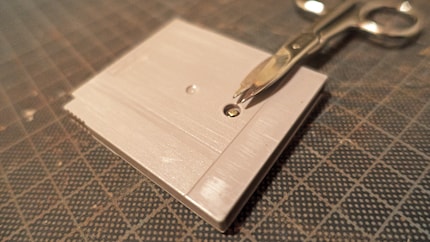
The old modules of the first Game Boy generation and Game Boy Colour games have a special screw. Thanks to tricks from the internet, it should be possible to remove it without a screwdriver. I think that's good, as I don't have the patience to wait for the special screwdriver I ordered. It should be possible to unscrew the screw with nail scissors or small pliers. But unfortunately I fail miserably - I can't get hold of the screw.
I read elsewhere that you can heat the tip of an old biros with a lighter to melt the plastic. Then you press the pen onto the screw and you get a homemade screwdriver. A great idea at first glance, but even after the third melted biros, the plastic is not strong enough to turn the screw.
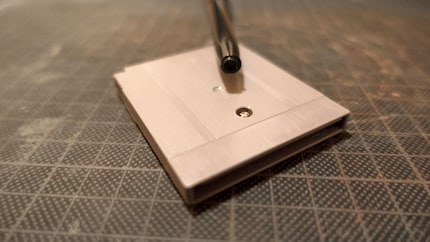
That's why the special screwdriver is needed. You will also need the following tools to replace the battery:
I actually wanted to be finished long ago, but good things take time and so I have to be patient for a few days until the correct 3.8 mm security bit screwdriver arrives in the post from China (sorry, this item is unfortunately still missing from our shop range).
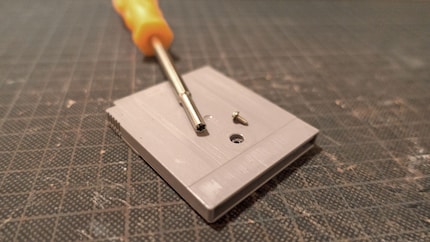
Once the screw is out, you can slide the front of the game module down slightly and remove it.
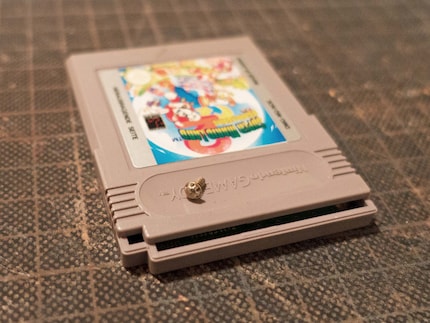
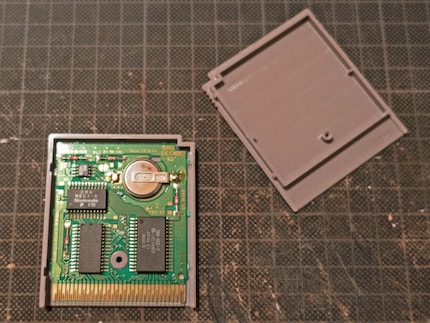
When it comes to soldering, I'm a noob. I'm even a complete beginner when it comes to desoldering. That's why I first look at some Youtube videos and get myself a cheap soldering station (I'll buy the expensive one as soon as I've collected enough XP), solder and a desoldering braid.
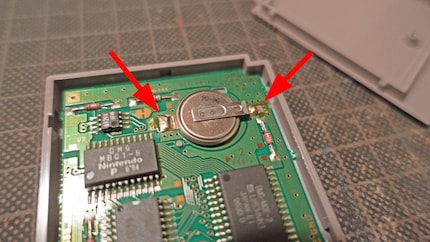
The circuit board is loose in the module housing. It is best to take it out for desoldering, then you can get better access to the two solder joints.
If you like, you can also desolder using a solder extraction pump. However, there is a risk of scattering tin crumbs if this is done incorrectly. That's why I opted for the braid method.
To desolder, place the stranded wire on the corresponding soldering point. Press the hot soldering iron tip onto it. The stranded wire now absorbs the liquid tin like a sponge. Then cut off the tin-soaked piece of stranded wire and repeat the process until the solder joint has disappeared.
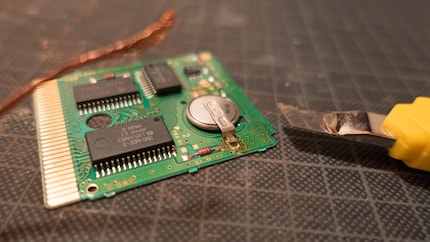
To definitely remove the two solder tags, I carefully help myself with a cutter. Solder tags are the two small plates that connect the battery to the circuit board.
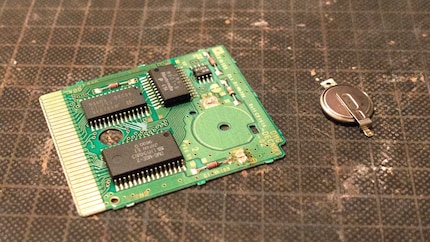
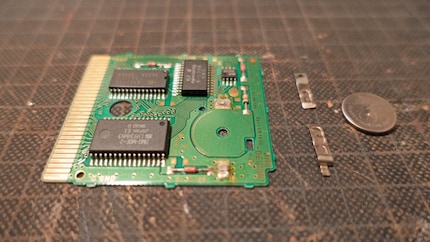
The solder tags can be reused if necessary (for another project). To remove them from the battery, it is best to use small pliers.
Depending on the Game Boy module, a 3 V button cell battery CR1616 or CR2025 is installed. These differ only in terms of size and the number of milliampere hours. The CR1616 has 55 mAh and the CR2025 has 165 mAh. Alternatively, a CR2032 with 220 mAh could also fit into game cartridges that have a CR2025 installed. The larger the battery, the longer the memory function will be available.
To make replacing the battery easy and safe, you should get a button cell battery that is already fitted with solder tabs.
You can skip this point. I only did the following out of impatience because I couldn't wait for the button cells and solder tabs that I had ordered.
Attention: Batteries don't like heat at all. If you don't solder quickly enough, the battery can mutate into an uncontrolled firework, i.e. explode. After each soldering point, wait long enough for the battery to cool down again. If you solder old solder tags directly to the new battery, you do so at your own risk. So it's best not to do it.
If you want to fit a larger battery than previously installed, it is advisable to insulate it at the edge. This will prevent it from coming into contact with other contacts on the circuit board.
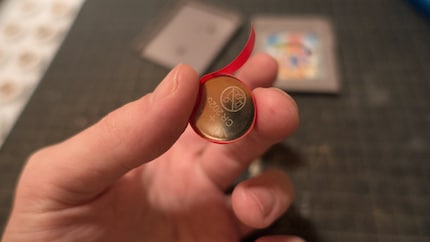
If you have purchased a replacement battery without solder tabs, you must first attach the old solder tabs. Pay close attention to how the old battery was attached to the circuit board and position the solder tags accordingly on the new battery. The positive terminal must be facing downwards when attaching. If you are unsure, the positive and negative terminals are also labelled on the circuit board itself.
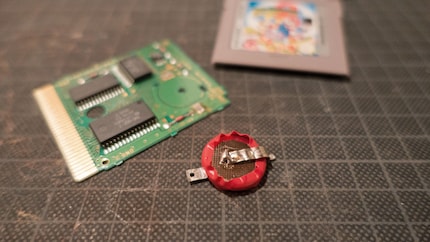
You should clean the surface of the battery well before soldering. If the tin doesn't stick, you can also roughen the surface a little. Fortunately, the tin stuck to my battery without any problems after a few attempts. When soldering the flags, I make sure never to touch the battery directly with the plunger and to be very quick. It worked well for me by positioning small tin crumbs at the desired soldering points before soldering. I removed these crumbs from the sponge after tinning the soldering iron tip, which should always be done before and after soldering.
A new battery including solder tags is in front of you. All that remains is to solder it back onto the circuit board correctly. Make sure the positive and negative terminals are positioned correctly: The positive terminal must face downwards when attached. The negative pole upwards.
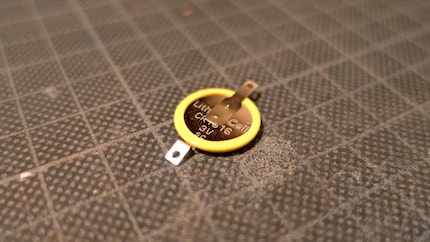
I received the button cell with flag shown above two days after carrying out point 3.5. As I realised when desoldering and soldering again, it is not only less dangerous to repair the memory function with it. Also, even as a soldering beginner, you are done in a few minutes.
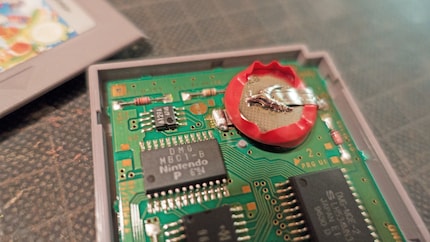
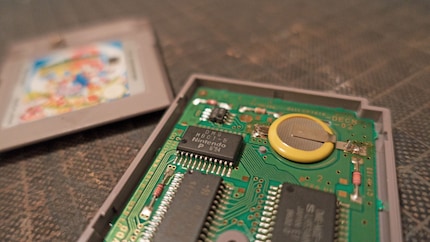
Once everything is done, you don't need to be embarrassed about funny-looking solder joints. Not even if you have work colleagues like me who laugh at you. Because you can now close the module housing again and nobody will be asking what exactly happened there for the next 10 to 30 years. And I can finally play "Super Mario Land 2" again and save as often as I like.
Have fun tinkering and gaming!
I find my muse in everything. When I don’t, I draw inspiration from daydreaming. After all, if you dream, you don’t sleep through life.
Practical solutions for everyday problems with technology, household hacks and much more.
Show all