
Guide
Flash photography, part 2: The suffering with the guide number
by David Lee

Camera sensors are becoming ever more sensitive to light. Some of them go up to 204 800 ISO. You could easily get the idea that flash units have had their day. This is not the case.
Photography with available light is the trend. With today's light-sensitive sensors and sophisticated noise suppression mechanisms, this is getting better and better. Nevertheless, flash photography has by no means become superfluous. That's why photographer Thomas Kunz and I are starting a multi-part series on the topic.
In this first part, we will show you some of the possibilities of flash photography. In the hope of awakening interest and allaying any fears. After all, many photographers - even professionals - consider flash photography to be incredibly difficult, tedious and complicated. However, many effects can be realised with relatively simple means. All of the examples in this article were taken in one photo session in less than two hours - without preparation or a precise plan. That says a lot.
Of course, you can take a picture with 10,000 ISO and more, but only with a loss of quality. And in low light, even that is not enough to capture a sharp image of people or animals in motion.
The following picture, taken without flash in fluorescent light, has an exposure time of 1/200 second and 2000 ISO. This is too long to freeze a dance movement. To capture very fast movements sharply, you have to set 1/2000 second or even shorter, and that only works in bright sunshine.
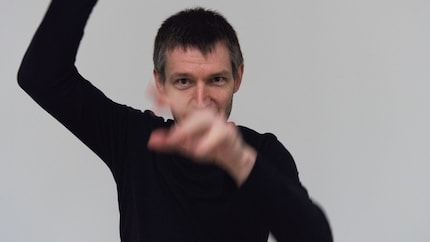
This photo also has 1/200 second exposure time, but is sharp. Reason: The flash shines much shorter than 1/200 second. Therefore, the movement remains sharp despite the relatively slow shutter speed.
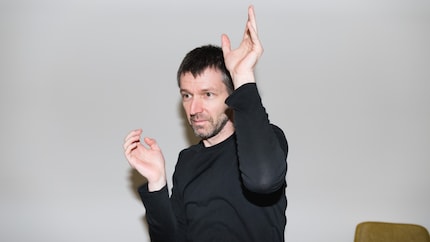
You have to take the existing light more or less as it is. Regardless of whether this is neon tubes, daylight, candles or even a mixture of different light sources. This is rarely optimal, and even if it is, you can hardly vary it. In certain situations, you can't even choose whether to shoot against the light or with the light.
This is what it looks like when Tom photographs me in our studio "just like that", i.e. with the neon ceiling lighting.
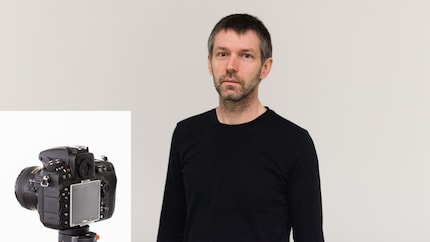
The simplest method uses the built-in pop-up flash. However, the frontal, hard light is considered unattractive and casts rather unfavourable shadows. Professional cameras often have no such flash at all.
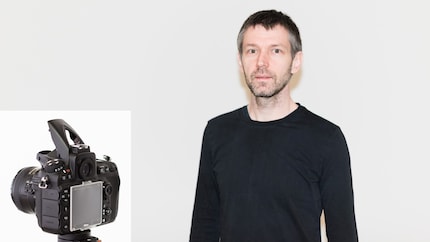
There's a simple trick to counteract frontal lighting: the flash can be directed upwards using a piece of paper or another light-coloured surface. The light then falls on the subject via the ceiling and thus at a natural angle. However, it is much weaker due to the double deflection.
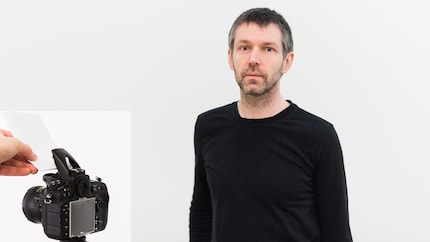
If there is a light-coloured wall nearby, you can also reflect the flash onto it. In the example below, the left side of the face and body is significantly brighter than the right. That's ultimately what flash is all about: You can shape the incidence of light however you like. Even with a pop-up flash.
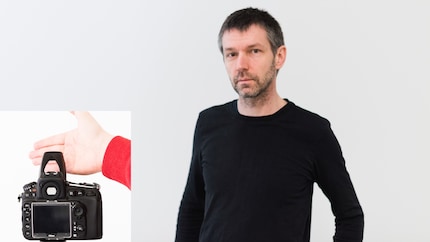
The simplest option after the internal flash in terms of equipment: you attach a flash unit to the camera. This doesn't work much differently than with the internal flash.
Flash units are brand-specific. Nikon only works with Nikon. We used this flash unit for these pictures. [[productlist:282182]]
Such a clip-on flash is significantly more powerful than the built-in flash. When held at full power from the front, this leads to very ugly shadows, namely an involuntary mullet revival:
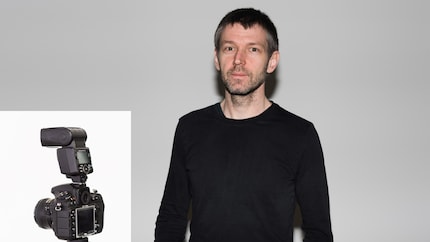
When using indirect flash via the ceiling, you benefit from the additional power. This also shows the second difference to the internal flash: you can freely adjust the angle without having to use paper or your hands.
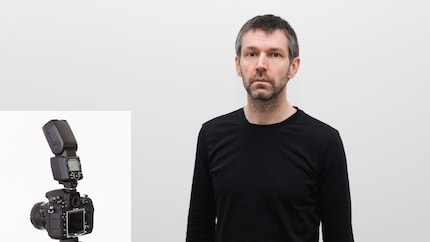
Most flash units can also be set up at any location independent of the camera and communicate wirelessly with the camera. This greatly expands the possibilities. It is also possible to use several flash units that coordinate with each other independently.
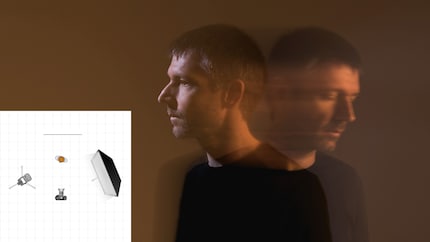
Here is a combination of flash and long exposure. The flash is located to the left of the camera on a tripod. A second light source shines from the right. The flash freezes the starting position. I turn my head to the other side during the shot and stay like this for a moment; this results in a second, slightly blurred face.
Effective low-key shots can be realised very easily with a flash. Tom has explained how to do this in this article
.
For this image - also a low key - a colour foil was stuck in front of the flash.
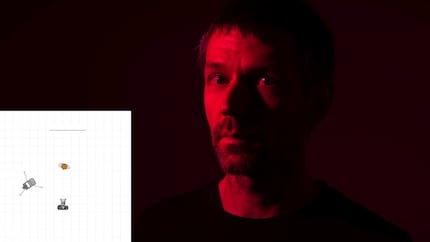
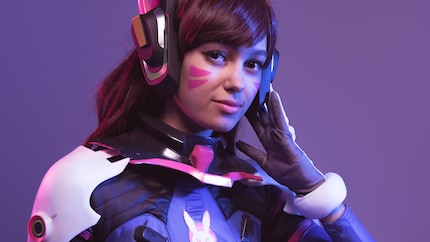
As long as you only want to colour the image with one colour, this can of course also be done on the computer afterwards. This is particularly easy in RAW format. With two or more light sources, however, colour combinations are possible that cannot simply be conjured up using image editing. For the photos of Cosplayer Tiffie, Tom used two coloured light sources and an additional neutral light from the front; this keeps the skin colour relatively natural.
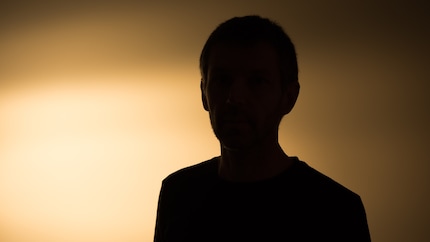
The flash unit stands between me and the wall and flashes the wall. This creates backlighting, which produces the silhouette. Because we have stuck a coloured film over the flash, the wall, which is actually white, appears yellowish.
This was a first overview. We have completely excluded the whole studio flash technique. If you're interested, let us know! In the next article, we'll go into a little more detail about the shoe-mount flash units.
My interest in IT and writing landed me in tech journalism early on (2000). I want to know how we can use technology without being used. Outside of the office, I’m a keen musician who makes up for lacking talent with excessive enthusiasm.
Practical solutions for everyday problems with technology, household hacks and much more.
Show all