Experimenting with sensory bottles
Sensory bottles encourage experimentation, observation and amazement. You can also fill these at home with your child. Are you ready to try something new?
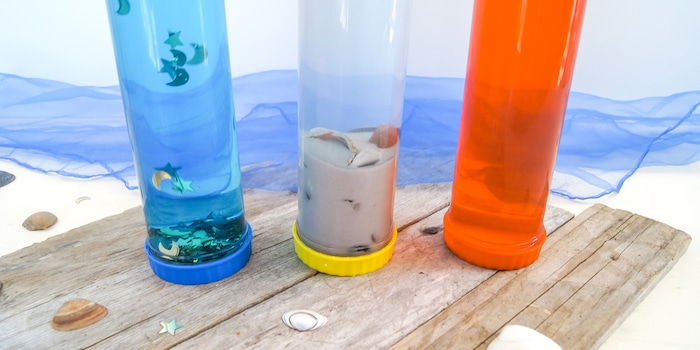
My daughter is always enthusiastic about creative experiments. Filling liquids and adding exciting play materials is just her thing. She's also been nagging me for weeks that she finally wants to try out the coloured tubes. So we think about which play worlds we want to create. After a quick look in our craft cupboard, we decided on three topics: Night, sea and a poisonous potion.
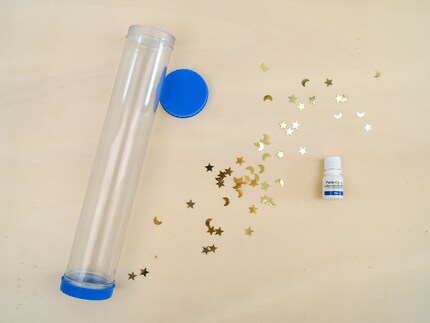


Glorex Scatter stars silver 10mm approx. 500 pcs.
1. the nocturnal atmosphere
The night in a bottle is created by using water, blue food colouring and gold sprinkles for the moon and stars. An old PET bottle is also suitable as a container
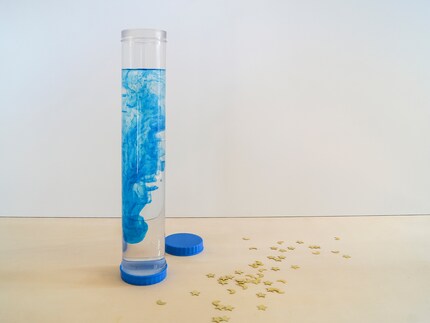
My daughter is already wide-eyed when mixing the materials together. Watching how the food colouring slowly mixes with the water is a great spectacle.
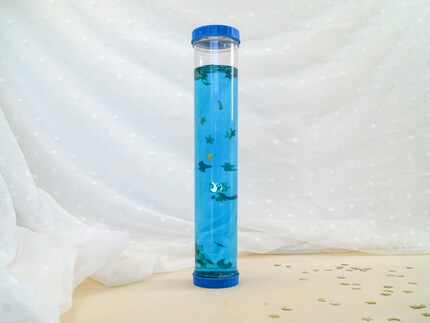
After the bottle is tightly closed with a lid, your child can turn it upside down, shake it back and forth and watch with excitement how the celestial bodies move in the blue night.
2. ocean atmosphere
In addition to the bottle, you will also need water, transparent shampoo or washing-up liquid, sand, glass nuggets and shells for the sea.
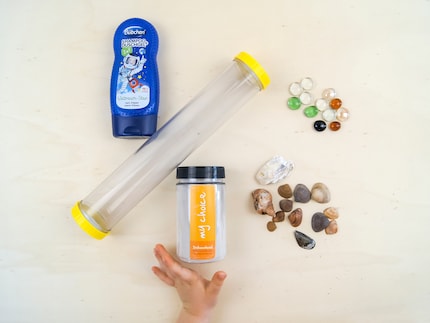
Start by filling the base with sand first. Then add the dry materials and pour in the water. Finally, add a splash of shampoo to the bottle and close the lid.
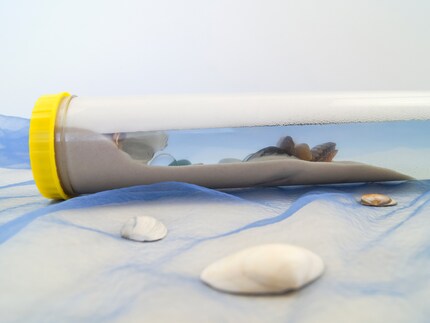
The sea behaves like the real thing in this miniature version. When you create waves by shaking it, the sand swirls around and settles again until the water becomes completely clear and you can see the sea creatures. There is some foam on the surface from the waves, which recedes again when the water calms down.
3. now it gets poisonous
The magic potion is not witchcraft. All you need is water, oil and food colouring.
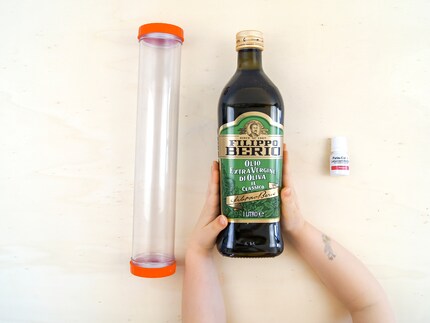
Fill the bottle three quarters full with water and add some food colouring. Add the oil at the end of the bottle. Due to the lower density of the oil, it does not mix with the water. When shaken, the green or red colour is reminiscent of a highly toxic mixture.
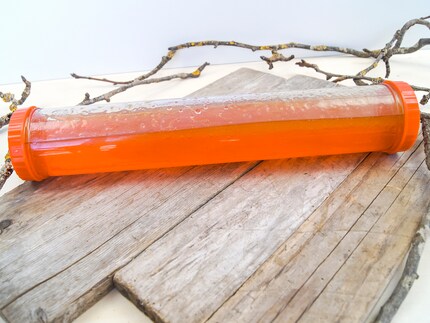
Use of the sensor bottles
Before I started crafting, I expected that my daughter would mainly enjoy mixing them together and that the bottles would end up in the corner after a few shaking exercises. But the exact opposite happened. She has forbidden me to empty the bottles again. She enjoys swirling the bottles back and forth from time to time. She watches the action hypnotised. The bottles have a very calming effect on my daughter. She is constantly setting herself new tasks: "No piece of gold should be left hanging on the surface after shaking" or "as many shells as possible should be on the surface of the sand".
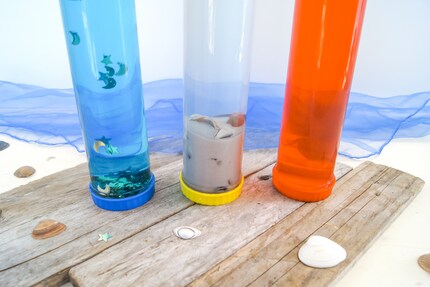
New creations
Start with a basic recipe for the sensory bottle and develop the concept further. For example, you can vary the liquids by experimenting with shampoo, oil or something else. You can also choose the sprinkles as you wish. Just make sure that they don't dissolve in the water, like paper or flowers, for example. Apart from that, almost anything is possible: sequins, play figures or even your own FIMO creations. I'm really looking forward to your ideas and hope you enjoy experimenting with them.
My students, but also my own children, inspire me every day with their wild imaginations. I love to document the creative projects that come from them on my blog Fantasiewerk. I hope to inspire many moms and dads to do crafts with their children. [Fantasiewerk.ch](https://fantasiewerk.ch)
Practical solutions for everyday problems with technology, household hacks and much more.
Show all