
Craft tip for Easter: pompom sheep
Still looking for a craft tip for the days off? Then why not make some pompom sheep with your children for Easter?
One of my favourite parental duties is crafting with my son: I finally have a good excuse to be a child again whenever I feel like it. This year, we tried our hand at making pompom sheep and are delighted with our colourful flock with wiggly eyes.
So here's a DIY craft tip for you:
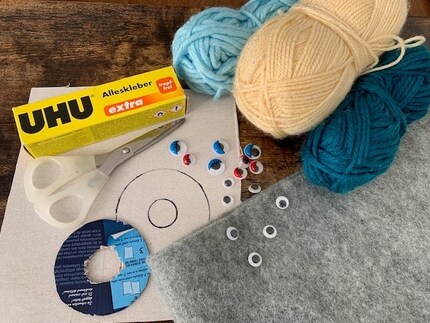
What you need for the pom-pom animals:
- Wool
- A pompom template (or some cardboard to make your own)
- A piece of felt
- Wiggle eyes
- Scissors and glue
Source: Anna Sandner


Stafil Replacement needles for mini sewing machine

And off we go with the stencil ring
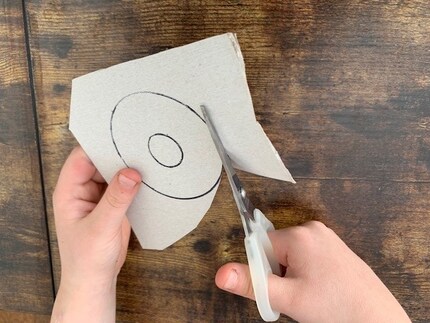
Start with the sheep's body, i.e. the pompom. If you don't have a professional template for the pompom, you can quickly make one yourself. Draw two circles inside each other on a piece of cardboard and cut out the resulting ring. You can choose the size of your sheep yourself: The width of the cardboard ring corresponds to the radius of the sheep's body. My template rings are between 2 and 4 cm wide.
Source: Anna Sandner
Coloured, plain, thick, thin, smooth, curly: how do you want your sheep to be?
Now it's time for the wool: as you only ever need pieces of 40-60 cm in length, you can also find a use for leftover wool here. There are no limits to your creativity. From single-coloured, smooth sheep to colourful, curly bobbles, anything is possible.
You need a little patience for the bobble
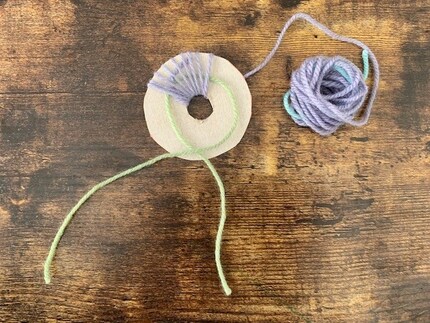
Start by laying a thread in a circle on the template so that the ends protrude a little on the side (as shown in the photo below). Simply wrap it over this. At the end, you will need this thread to tie the pompom together in the centre.
Source: Anna Sandner
But first it's time to wrap: Take a piece of wool and wrap it around the ring. You can knot the beginning tightly so that it doesn't slip away or you can hold it in place until it stops slipping on its own. Once the piece of wool is wrapped all the way round, continue with the next piece. Again, you can either knot the ends together or leave them hanging loose, whichever is easier for you. Repeat the whole process at least as often as necessary until the whole ring is tightly wrapped. The more layers of wool you wrap around it, the fuller and fluffier your sheep will be in the end.
Finally, a smart haircut
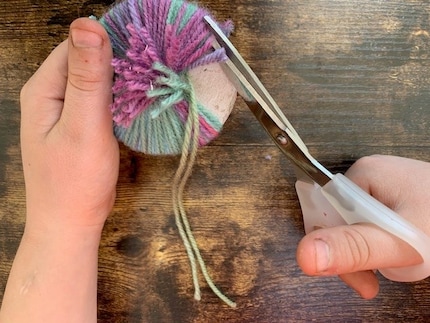
Once you are happy with the thickness of the pompom, cut the threads at the outer edge of the cardboard ring. Now the thread from the beginning comes back into play. It is now centred in the cut threads and you can pull it tight and knot it. Voilà - the pompom is finished. Now you can cut the body shorter, rounder or however you want it to be.
Source: Anna Sandner
Head and wiggle eyes on and you're done
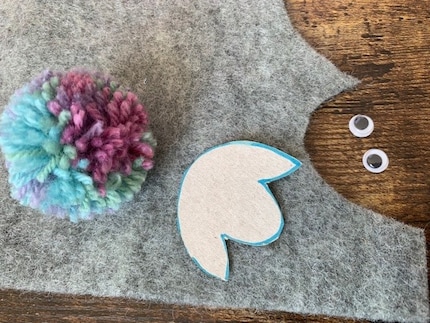
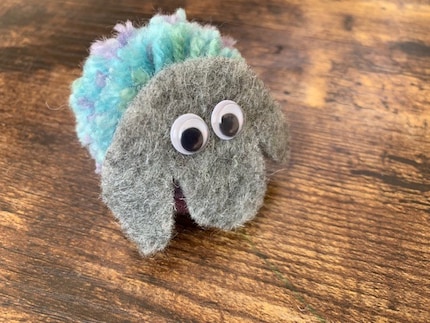
Now cut out the sheep's head from the felt. You can also cut out a cardboard template beforehand. Then glue the wiggly eyes to the felt head and finally glue the head to the pom-pom body.
Source: Anna Sandner
Have fun crafting!
Source: Anna Sandner
The simple version:
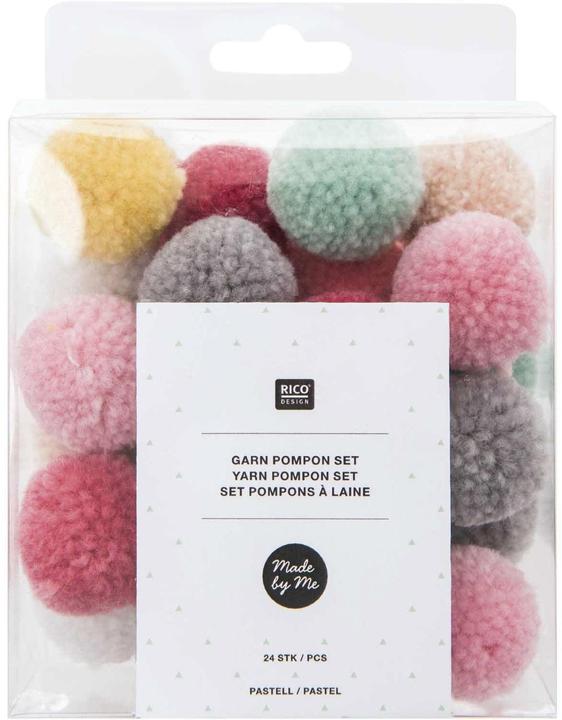
If you don't feel like wrapping wool, you can simply use ready-made pompoms. Just add a face and eyes and you're done!
Science editor and biologist. I love animals and am fascinated by plants, their abilities and everything you can do with them. That's why my favourite place is always the outdoors - somewhere in nature, preferably in my wild garden.
Practical solutions for everyday problems with technology, household hacks and much more.
Show all