Guide
What a stench: the Sleeper PC case
by Kevin Hofer

Time to knuckle down and work away. Well, almost. I have the housing and components. Now I just need to find a way to find all of them into the old tower.
Retro is awesome. Which is why old PCs are awesome. Unfortunately, they're slow enough to make your face fall asleep. That's why I'm rebuilding an old case by stuffing it to the brim with the best modern components. It's called a Sleeper PC. And you can win this one. Find out how at the end of this article.
Last time I took the old components out of the case while reminiscing about old IT dreams. My feelings toward the almost completely gutted Sleeper PC case are mixed. On the one hand, I'm very much looking forward to the upcoming project, on the other hand I have massive respect for it.
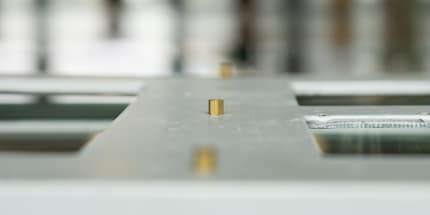
As I already told you last time, I won't have to change much about the inside of the case. Since it is in the ATX format, the notch at the back will fit the mainboard and the spacers should also be placed correctly. If not, new ones can be quickly bought or the old ones switched around.

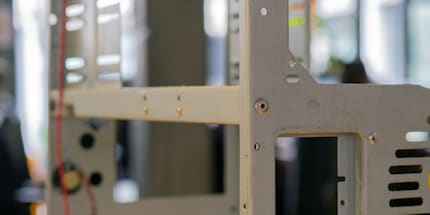
The biggest modification will be removing the drive mount and moving the power mount. I'll have to either mill or drill them off, as they're both riveted in. I need to move the power mount to the top, as it looks ugly square in the middle of the case and it'll only annoy me when putting everything together. Once it's attached at the top, I'll have more than enough room to let my creative ideas run free.

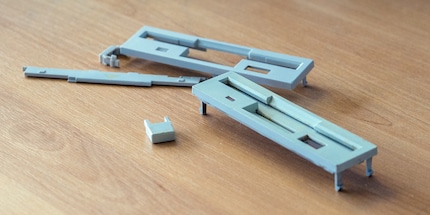
As I'm removing all drives, I'll have to think about a creative solution for the missing covers in the front. To ensure a flawless retro Sleeper PC look, I'm going to use the same covers that the drives originally had.

Corsair, Asus and Samsung offered me various components for my project. Asus has the following products:
Corsair provides the following components:
Samsung's got the memory:
The remaining components are sponsored by digitec:
I'll also use various Alphacool fittings. For some more bling, I'm using the CableMod Verti PCI-e bracket, which I have left over from my post on vertical GPUs.
I chose an AMD processor because there's an AMD logo on the case and I'm a Red Team fan. And yes, I know you're wondering why I'm not using Radeon VII. Simple: when I was planning this system, getting your hands on one was nearly impossible. But a 2080 is also quite all right.
If you've ever built in water-cooling, then you might've noticed how a reservoir is missing from my list. And no, I didn't make a mistake. I'm planning on making my own. More precisely, I want to create a pump/reservoir combo, then mill it out myself.
That's how I'm currently imagining the inner workings of my Sleeper PC.
I'll cover the metal rod and the power supply it supports with acrylic glass. Of course I won't just screw the plate, I'm naturally going to decorate it. I'll spray it black and plan on writing something on it. The entire interior of this Sleeper PC shall be black.
Just below this cover I'll install an MDF board, placing it slightly deeper into the case. This gives me space at the back for cables, the fan control and the SATA SSD. I'm going to screw the pump/reservoir combo onto the plate at the front. It'll look positively stunning. The radiator and the fans will be on about the same height as this board.
If you take a look at the handy illustration above, you'll see a distro plate between the radiator/fans and the reservoir/pump. It mainly serves a functional character. Since the reservoir is the highest point in the loop, I can easily fill it. But I'll have a problem emptying it. The CPU water unit is the lowest part of the loop. If I made the emptying port where the reservoir is, I'd still always have leftover liquid in the tubes and water unit. The drain port should always be at the lowest part of the loop. The additional distro plate will allow me to attach a ball valve below the CPU water unit for easier draining.
I'll add a further intake fan onto the radiator, on top of both fans already there. This will contribute to one of the few minor changes I'm making to the outside of the case. Instead of the provided base, which shields against all sides, I'll mount four single rubber feet. This allows the fan to properly carry in air through the bottom of the housing. I will of course be installing dust filters for every single intake fan. I'm only planning on one exhaust fan. There's enough holes at the back of the case to allow hot air to escape. The three intake fans should also be able to create enough positive pressure to expel any hot air.
After planning out everything nicely, it's time to move from theory on to practice – and throw everything overboard again. Of course I'm hoping this won't happen, but when does anything go to plan when building a PC? I'm working from top to bottom, and start by moving the power supply holder and its cover. I'll recount my experiences with this next time. If you don't want to miss it, click on «Follow author» in my author profile.
How many GB of RAM were installed?
The competition has ended.
From big data to big brother, Cyborgs to Sci-Fi. All aspects of technology and society fascinate me.
Practical solutions for everyday problems with technology, household hacks and much more.
Show all