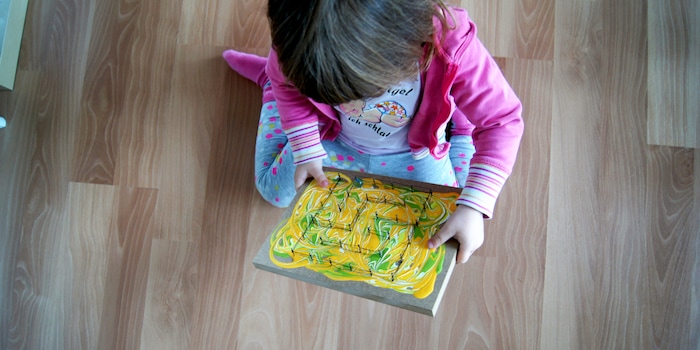
3-in-1 DIY: We make a nail board
First of all, I make things and then play with them. That's the ultimate fun for my children. I'll show you how you can realise three such ideas with a nail board.
My children are very interested in crafts and enjoy geometric shapes. As a typical teacher's mum, I can't help but encourage this, of course. You don't need many things to recreate my "support kit". The basis is a piece of wood or a chopping board, craft paint with watt sticks and a hammer with nails. You can expand the whole thing with yarn, wire, rubber bands and marbles.
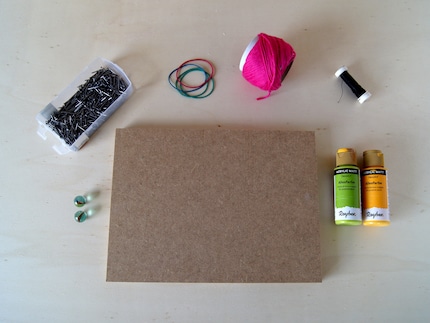
We design the nail board
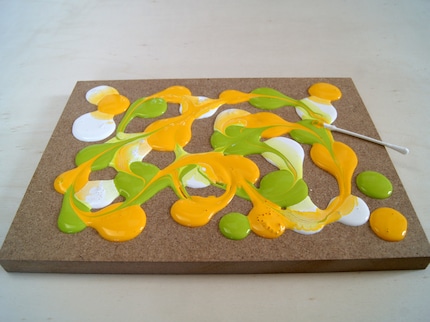
Step 1 Squeeze the craft paint from the tube onto the wooden board. This creates lots of bright splashes of colour.
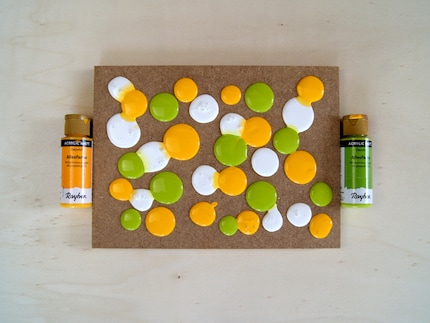
Step 2 Use a cotton bud to marble the colours into each other. To do this, hold the tip of the cotton bud in the colours and run it around the board until they are all connected.
Step 3 Now draw a chequerboard pattern on a sheet of paper while the paint from the previous step dries. The spacing between the lines is three centimetres. The size of the grid depends on the size of your wood. Then stick the paper to the wood using two or three adhesive strips.
Step 4 Now hammer in a nail at all the points where the lines join. Then you can simply tear off the paper so that only the nails remain on the wood.
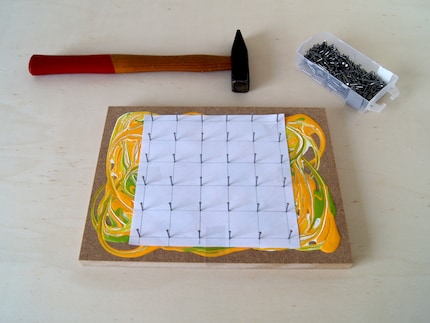
Now your nail board is ready for more creative plans. As our children love marble runs and mazes, it was clear that we would include this in the programme!
How to create the marble maze
Take a piece of wire and attach it to a nail by wrapping it around a few times. Always wrap it around the nail once before moving on to the next one. For the labyrinth, it is advisable to wrap the nails two or three times at different heights so that the marble does not fall off the track. It is no problem to cut the wire once and start again at a different point. This way, you can create a start, an end and many corridors through the maze.
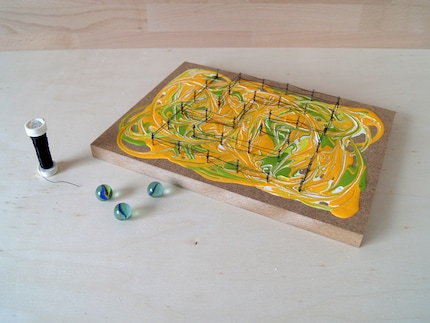
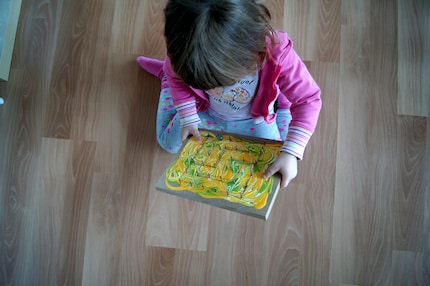
When playing, the children take the labyrinth in both hands and manoeuvre the ball through the corridors by swinging the wood.
Or you can try your hand at "string art"
As with the labyrinth, you wrap the yarn around the nails by first knotting it and then wrapping it around one nail at a time before moving on to the next. This allows you to create beautiful pictures.
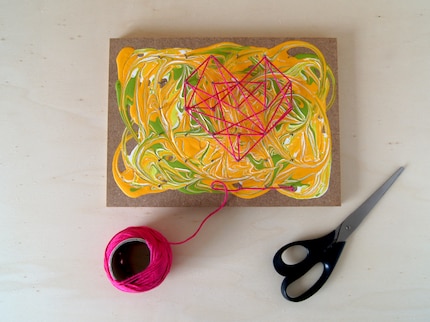
The image can be displayed or redesigned again and again if you feel like a new design.
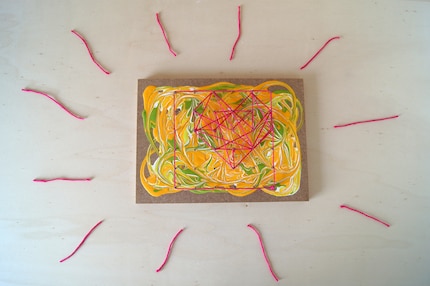
Try out shapes with the geoboard
You and your children can also make great shapes with rubber bands. Simply pull the rubber around the nails to create a sea of colourful geometric shapes.
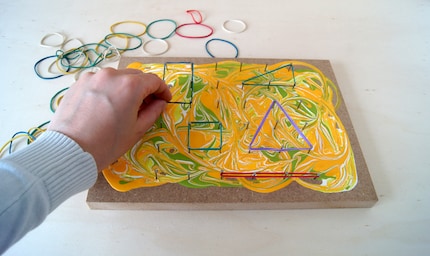
Toddlers and preschoolers especially love this game because it's simple and effective.
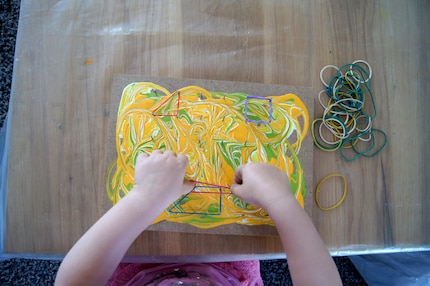
How can you optimally support your child?
Like us adults, both big and small children love challenges. The nail board games can therefore also be played interactively together. Questions such as the following are suitable as input:
- Who will be the first to move the ball to the end of the maze?
- Can you fill in this shape (e.g. a square) with a net of string art?
- Can you manage to place four different pieces on the geoboard?
My students and also my own children inspire me every day with their irrepressible imagination. I like to document the creative projects that result from this on my blog Fantasiewerk. I hope to inspire many moms and dads to do handicrafts with their children. <a href="https://fantasiewerk.ch/" target="_blank">Fantasiewerk.ch</a>
Practical solutions for everyday problems with technology, household hacks and much more.
Show all
