Namibia adventure: producing a film in the desert
Producing a film in Namibia presents enormous challenges for photography and film equipment. It also requires meticulous preparation. Muriel and Kevin from the motion design company Lauschsicht are here to give you an insight into their set-up and strategy.
It was in January 2017 on my third motorbike tour of Namibia that I got to know Rainer Kriess. He skillfully led a small bike group through Damaraland, a region in the north of Namibia, and gave us lots of fascinating background information along the way. Rainer is Namibian by birth but he completed his training as a mechanic in Germany. When he returned to Namibia, he started to work as a tour guide. With his calm demeanour, he helps visitors get an understanding of his home country.
One evening, he told me about his plans to become self-employed and offer bespoke 4×4 tours. You can find out more about it on the Meine Namibia Safari website. In the next few weeks, it’ll be updated with our photos and films as well as updated and extended.
The project
The aim was to produce clips and photo material to show you what it’s like to experience Namibia. The short film is the centrepiece. We also produced several interviews and a few thousand photos.
The target audience
We wanted the film to appeal to a specific target audience, namely people who are interested in an individual tour. We’re reaching out to travellers who aren’t looking for mass tourism. Instead, they prefer remoteness, solitude and sheer expanse of space. Taking a tour with Rainer is so much more than just travelling from A to B. And that’s exactly what the film manages to highlight.
The team
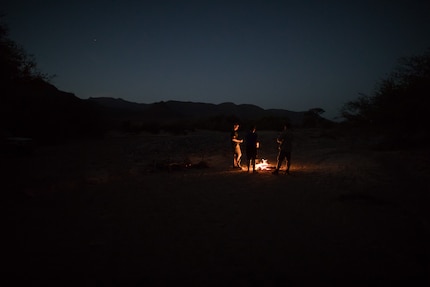
Lauschsicht producer Muriel Droz and I – Kevin Blanc, director and cinematographer – were on location for the shoot. It was my job to capture special moments on film. When it came to taking photos, both Muriel and I were behind the camera. Meanwhile, editor and cinematographer Marius Thut and I took over the reigns for post-production. The whole group consisted of eight people across three cars.
The tour
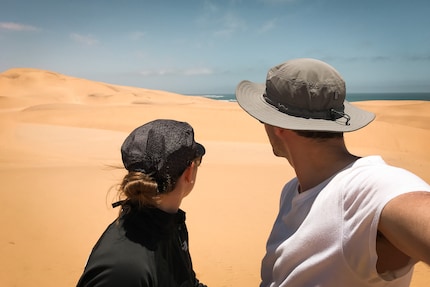
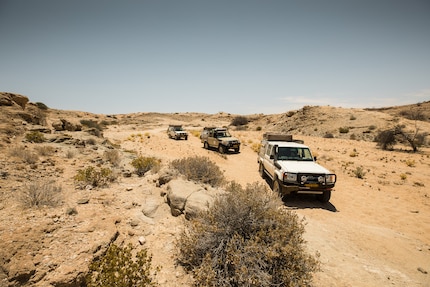
In total, we covered more than 4,500 kilometres in three weeks. Rainer put together a highlights tour and took us to the best spots. We’d sometimes be driving for 12 hours and only have clocked up just over 100 kilometres. That’s how tough the terrain was. The most memorable moment for me in terms of off-road driving was the Van Zyl's pass.
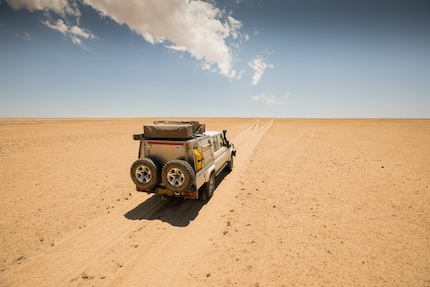
Our production car
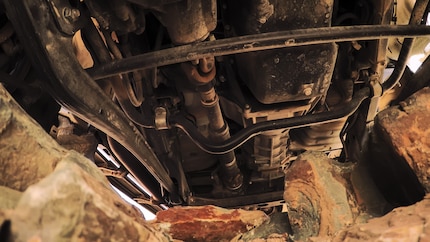
There are very few vehicles – correction: actually only one – that are reliable in these conditions. And that’s the Toyota Land Cruiser. It didn’t matter if we were battling insurmountable boulders or bumping over corrugated iron stretches for hours. Whatever we came up against, the Cruiser never left us in the lurch. All in all, we were very impressed with this car.
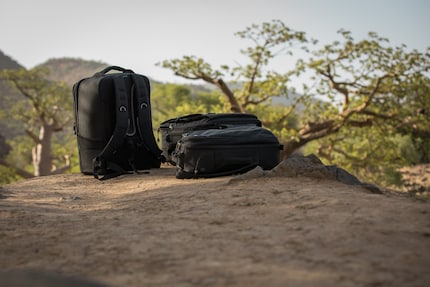
The set-up
Our goal was to only take a fairly compact camera set-up, which would give us the ideal balance of size and image quality. But as usual, we ended up being really laden down with gear. With seven bags, all of our stuff came to almost 100 kilogrammes.
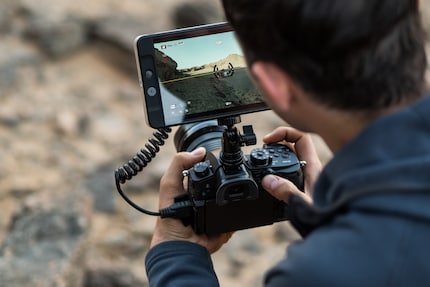
Panasonic GH5

We opted for this camera as it can record 4K internally in 10-bit colour depth and with a 400 Mbit data rate. There is no other camera of the same size (or in that price range) that can do that. That’s why we were willing to compromise on the controls. (It’s actually a camera.)
If we could overcome, or more accurately put, adjust to these conditions, we’d be rewarded with impressive images – and so would the viewers. In terms of specs, we were also impressed with the internal stabilisation via the sensor. Even shots with over 400 mm work when the camera is held in your hand.
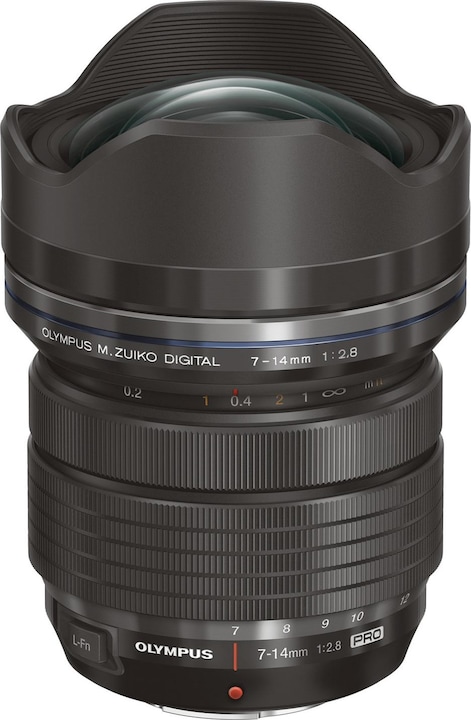
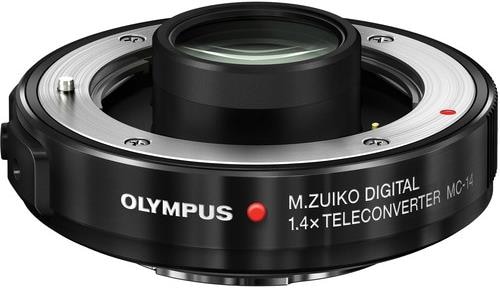
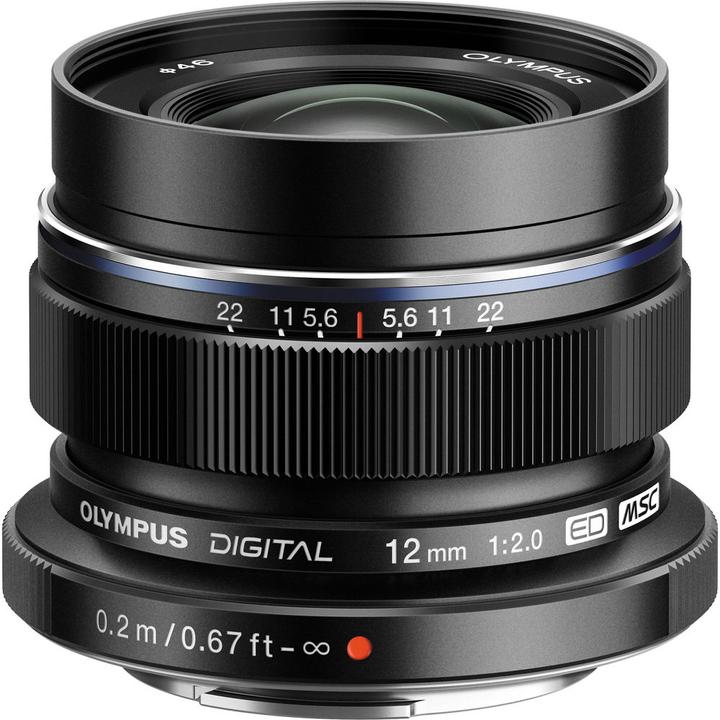
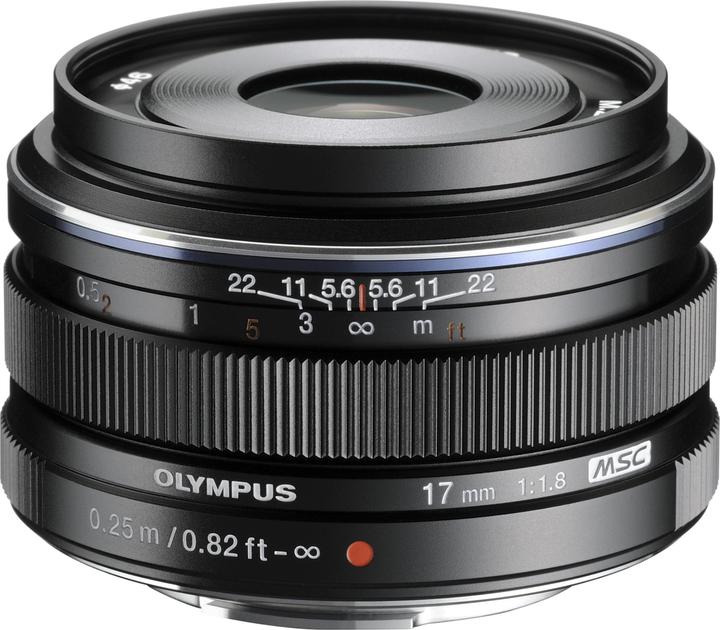
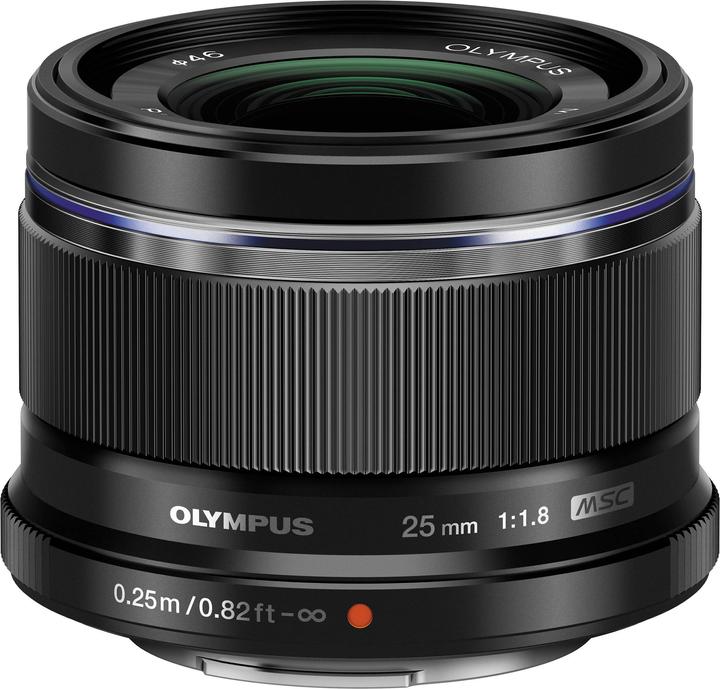
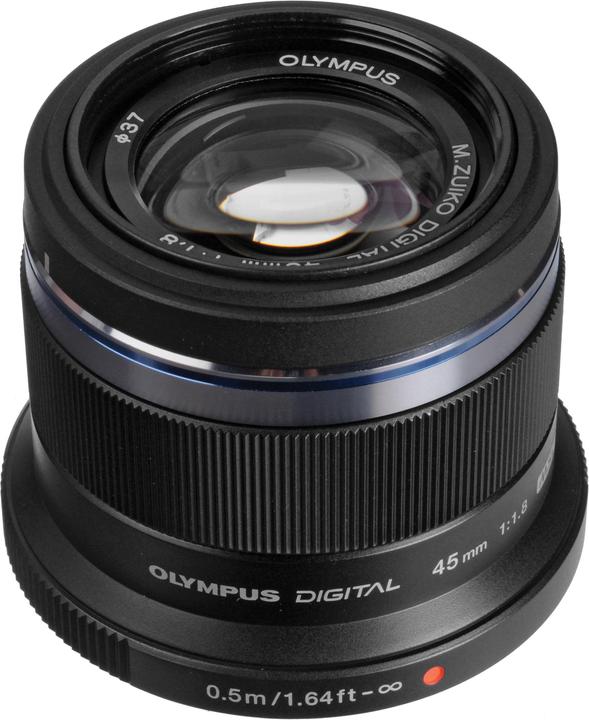
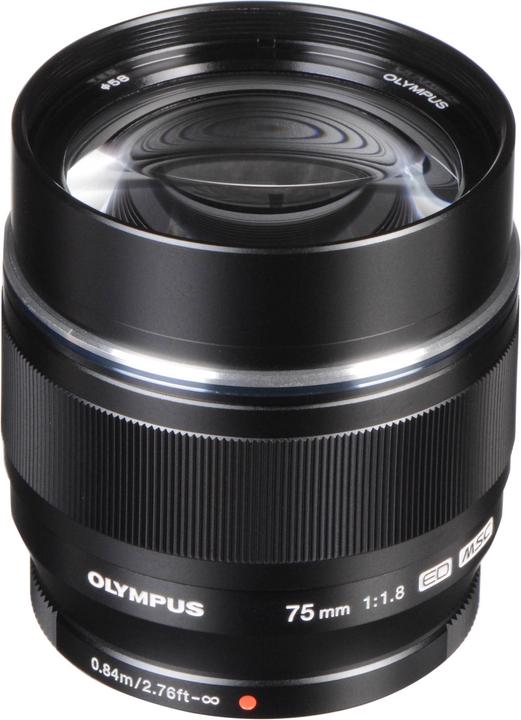
It’s important to use the small Olympus Prime lenses when you’re operating the gimbal. We had various ND filters with us for all of the lenses.
Settings
- V-Log
- Sharpness -5
- 4K, 25p (50p can cause digital artefacts)
Zhiyun Crane V2
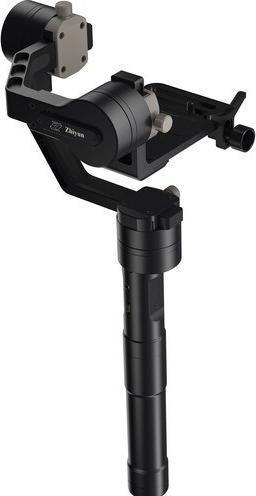
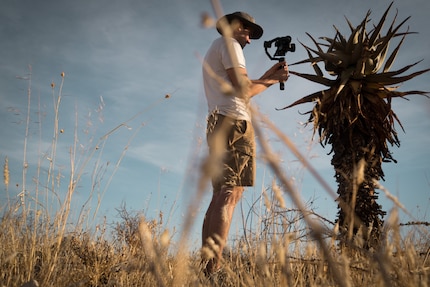
We used the Zhiyun Crane V2 for camera movements and shots out of a moving vehicle. This is a very compact single-handed gimbal that seems to be made for the GH5. The motors can be at their limit when it comes to visual effects and the settings are, of course, more limited than on the large gimbals we’d normally use for filming. Nevertheless, we managed to capture perfectly smooth recordings from the car as we drove across sand and gravel. Incidentally, we didn’t have to charge the battery once during the whole three-week trip.
Canon EOS 5D Mark IV
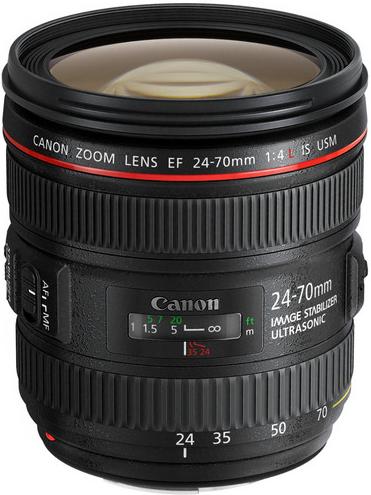
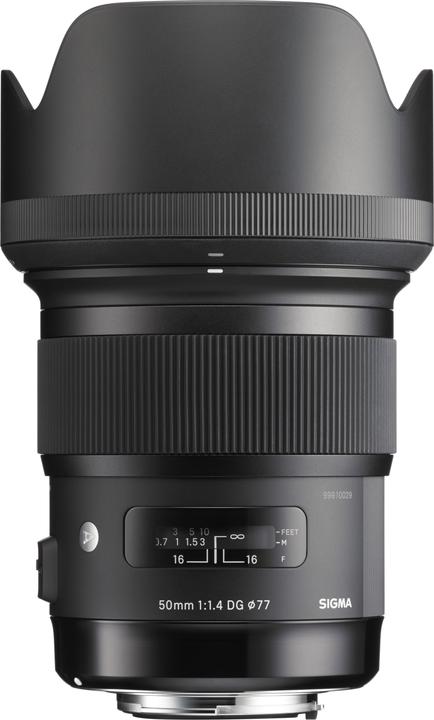
For photos and time lapse, we used our Canon 5D Mark IV with this set of lenses:


Sigma 35mm, f/1.4 DG HSM ART Canon EF
Canon EF, Canon EF-S, full size, APS-C / DX


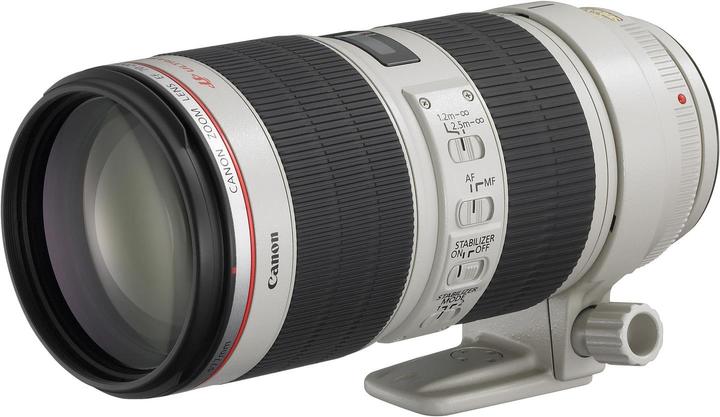
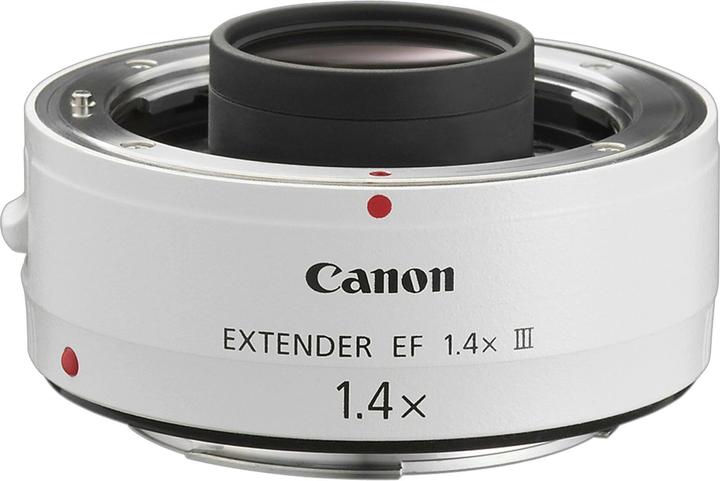
As the camera could also record 4K internally, we had it there as a backup in case of problems with the GH5. We also had an Olympus Pen-F with us as a second camera and backup to the 5D. It was handy that we could use the same lenses for the Olympus and the GH5.
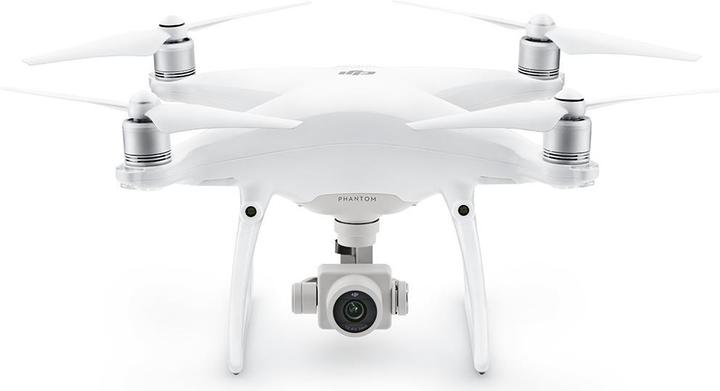
DJI Phantom 4 Pro
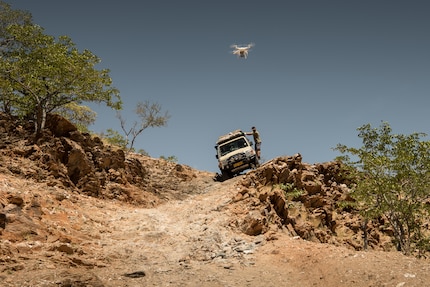
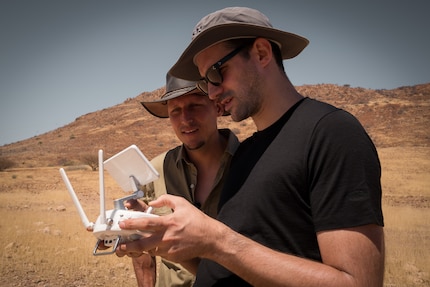
As for aerial shots, we used a Phantom 4 Pro+. It’s crucial to have such a light and easy-to-use drone. Being able to operate it quickly was very important for us as we only had a few minutes at each location. We also had PolarPro ND filters with us. We often used an ND32, which is a grey filter that reduces the light by five apertures or by 1/32 – it was that light.
Settings
To get the most out of image quality and flexibility in post-production, it’s essential to select the right settings. After extensive testing, we discovered the following values produced good results:
- 4K 25p or 30p (with 4K, 50/60 halves the vertical resolution)
- Sharpness -2 (it’s only at -2 that the image isn’t sharpened)
- Contrast / saturation 0
- D-Log
- Aperture between 2.8 and 9 (definitely not smaller otherwise the image is much less sharp)
When you’re using these settings, extensive post-production is essential. All other resolutions will give you reduced quality.
Facts and figures
The Phantom 4 Pro+ flew almost 140 kilometres, which translates as ten hours in the air. The longest flight was almost ten kilometres (from a moving vehicle). The device was cruising at speeds of 77.5 kilometres per hour.
This little drone blew our socks off for many reasons. Take the light remote control screen, for instance. Even in very bright conditions, it was easy to use and read the text. The device also wowed us with its ability to take off within minutes in strong gusts of wind. Thanks to the large sensor and 100 Mbit bitrate, the image quality was impressive for such a compact drone.
To keep all our devices running, we took eight batteries and a 12V car charging device. We also brought the little Mavic Pro as a backup for the Phantom 4 Pro. However, we didn’t end up using it.
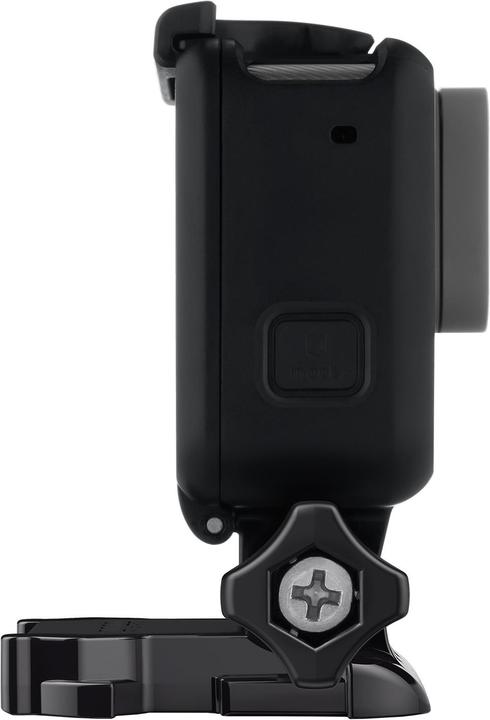
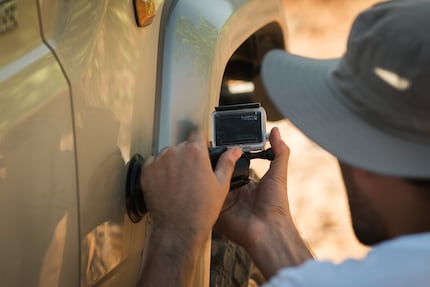
GoPro Hero 5
We had two GoPros with us to deal with the issue of recording on the car itself. The small cameras are great for capturing those unexpected viewpoints. They also break with the ordinary and add something different to the film.
Challenges
Filming in Namibia comes with certain challenges. After all, the environment is a far cry from that of our native Switzerland. That’s why we put a lot of work and numerous hours of testing into the project before we jetted off.
Brightness / Temperature
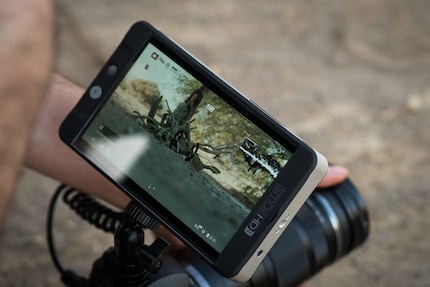
Without a strong ND filter (8-32) you’ve had it. You also have to watch that the devices don’t get too hot. As it happens, we didn’t have a problem with any of our cameras overheating, although all of the equipment did get very hot very quickly. What helps is being in the shade or seeking shelter in a air-conditioned car. Sometimes it’s so bright that you can’t make out anything on the internal screens. That’s why we use a very bright external screen.
Backup and data
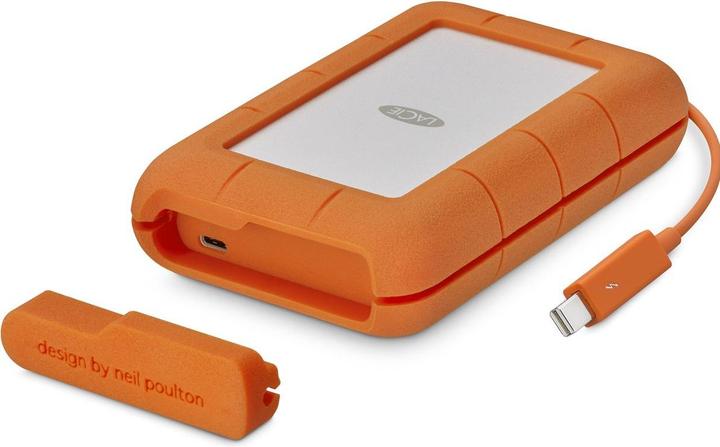
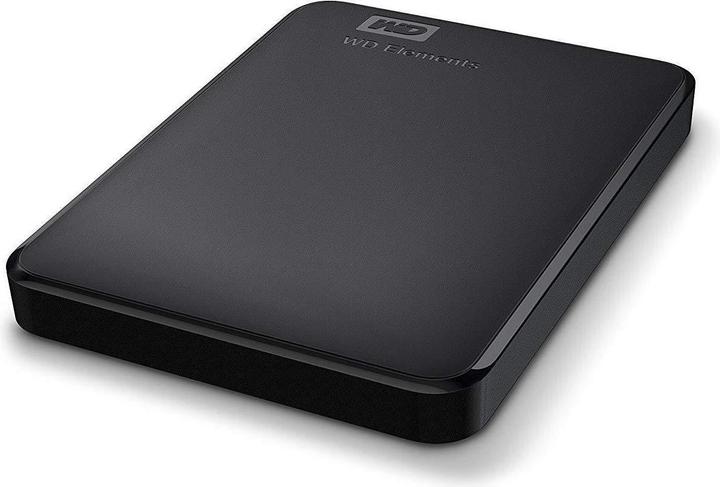
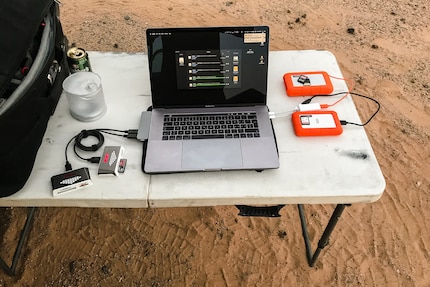
We copied and checked all the data every evening while we were on location. To make sure all the data was copied cleanly, we used Hedge. This tool copies data in batches and confirms everything with checksums. We also did a third backup. All in all, we took home just shy of 3 TB data.



Apple MacBook Pro Space Gray
15.40", 256 GB, 16 GB, CH
Power supply
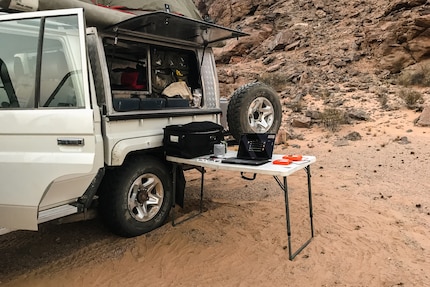
We had two strong batteries and a 1200 W inverter with us in the Land Cruiser. That let us charge up all of the batteries while we were on the road. As we spent a lot of time behind the wheel, finding a power supply wasn’t a problem. As it happens, the MacBook Pro battery was sufficient for our daily backup.
Dust
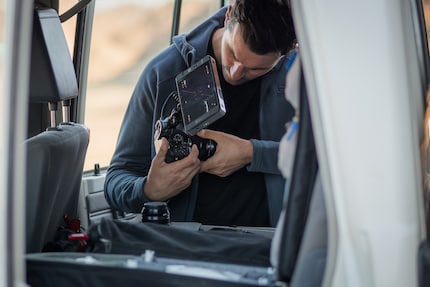
Fine desert sand and sensitive electronics (in other words, delicate mechanics) is not a good combination. We noticed that after two weeks, several of the cameras our group had brought didn’t want to zoom. What that meant was we always had to close the car window, always pack the cameras back into their cases and clean the devices every evening. That’s how we managed to more or less keep dust away from the sensors.
Transport
We usually use ThinkTank cases to transport our cameras. When we were looking for a bag for the tripods and the slider, we struck lucky on Galaxus. A skiing/snowboard bag ended up being a great solution, and that’s how we stumbled upon DB Douchebags The Douchebag.
Story development
We set off to Namibia without a script, but within the first week we’d already developed a possible storyline, which we then had to flesh out. The storyteller was Gail. She accompanied us on the tour, as it had been her dream to go on a journey like this for 40 years. We certainly couldn’t have asked for a more fervent storyteller.
The script grew out of conversations we had with Gail. She would share things she’d noticed and we would expand on this with our own observations. We then looked for a way to express these ideas, a way to tell the story that would give us the most freedom possible.
We didn’t want to tell the story in a linear way and opted instead for a more flexible approach. We wanted a kind of organised chaos that would convey a personal memory and also build suspense.
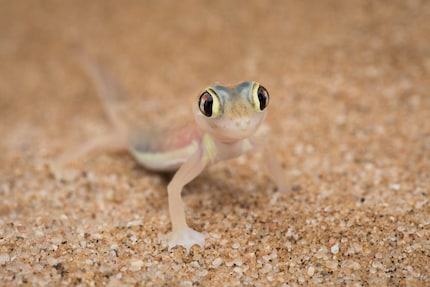
Staying on a metalevel with the script meant we could combine the words in an interesting way. For instance, «It is following a different pace» can go with various different images, be it a fast-moving Land Cruiser or, as we finally opted for, a chameleon ambling along.
Editing
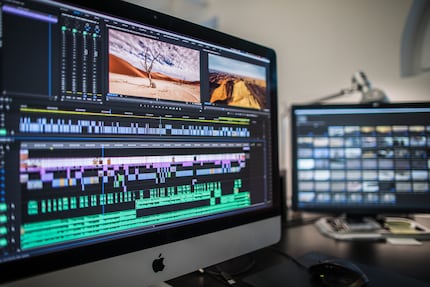
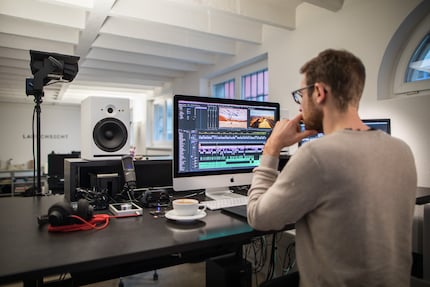
All in all, we produced more than 13 hours of material, which we then had to somehow cut to less than five minutes. The editing process took us almost three weeks. First, we established a foundation with the spoken storyline and then built the video up image by image. All the editing was done in Adobe Premiere Pro.
Grading
After editing came the colour correction process, known as grading. The tooks we used were DaVinci Resolve and calibrated monitors. They altered and enhanced each shot and take individually. The aim was to create a consistent and realistic look, even though we had filmed with different cameras. That’s why this was a very important and time-consuming step – especially when it came to editing highly compressed material, such as the data from the Phantom 4 Pro+.
LOG
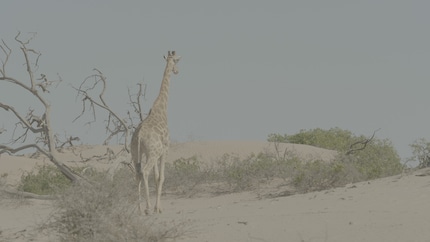
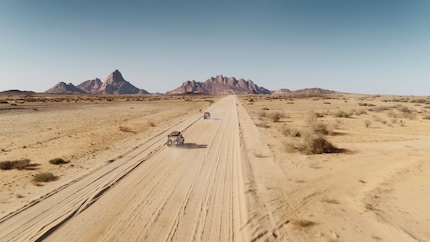
The colours on the material we shot and recorded were very dull and hardly had any contrast. We set it up to do that intentionally so that all colour and contrast information would be retained, meaning we’d have the best possible start when it came to grading. If the images had been bright and full of contrast, it would have been very difficult to create continuity between the outputs of each of the cameras. Working with material that was taken with a LOG profile requires the possibilty to do grading.
Verdict
The set-up proved to be a success. At the moment it’s fair to say if we were to film something like this again, we’d opt for the same set-up. The image quality from the GH5 and the Phantom 4 Pro is more than impressive for their size. But it’s important to consider everything with great care and check things twice and even three times. We’re very happy with the result and so is Rainer from «Meine Namibia Safaris». In fact, Rainer has already had success using the video at important travel trade fairs.
Aside from the film, the journey itself was a once-in-a-lifetime experience for us as well, and certainly one we’d highly recommend.
<a href="https://lauschsicht.ch/" target="_blank">Lauschsicht</a> produces films for companies which want to give insights into their world with moving pictures. Thereby we maintain a very personal exchange with our customers and cover the whole production process from development to production and post-production. It is therefore almost always projects which pursue a very concrete communicative goal.
Interesting facts about products, behind-the-scenes looks at manufacturers and deep-dives on interesting people.
Show all