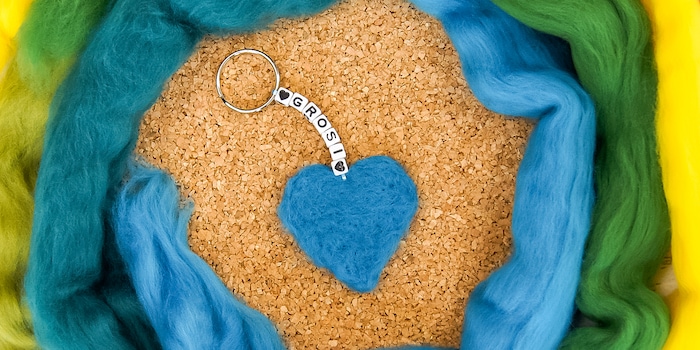
Making felt tags as a Christmas present
Pretty pieces made of felt, such as pendants, are ideal for the cold season. And they are easy to make yourself. Don't be shy, I'll show you how to make them together with your children.
As a teacher, I regularly enjoy felting with my schoolchildren. They love the soft material. When I watch them, I always notice how this experience with all their senses is something very special for them. Before we get to elaborate DIYs or wet felting, I like to start with the needle at school. And that's also what this craft tutorial is all about.
We set ourselves up for crafting
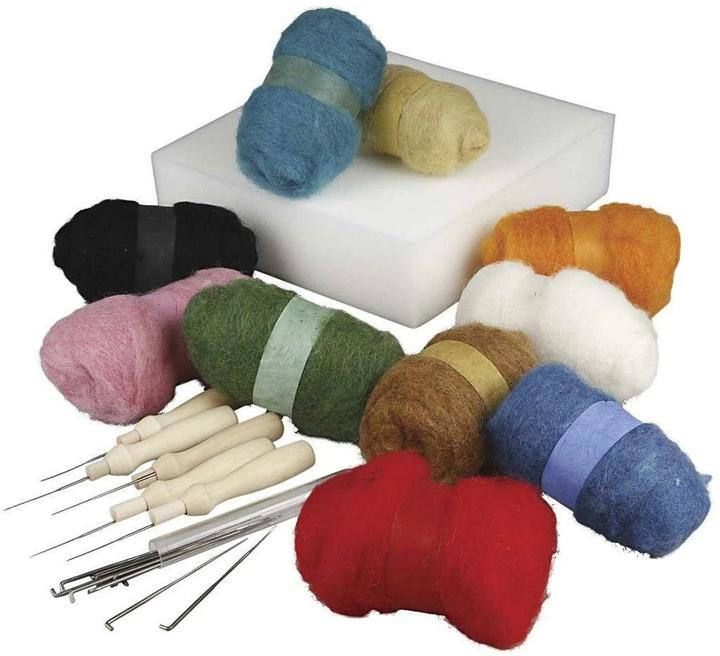
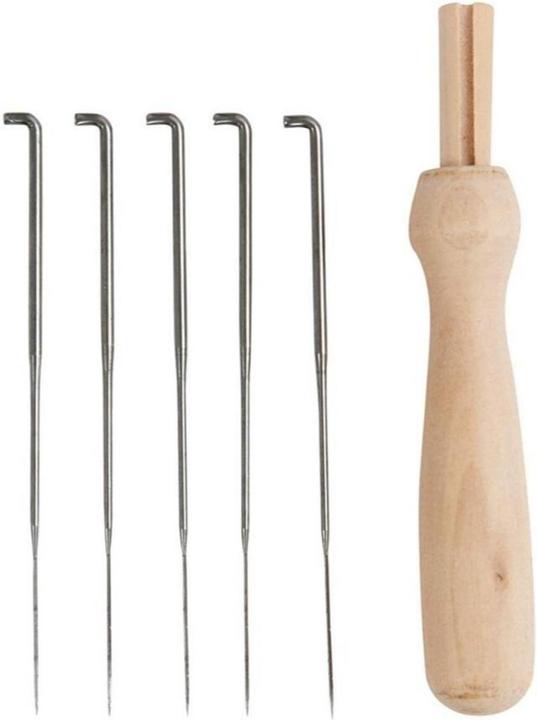
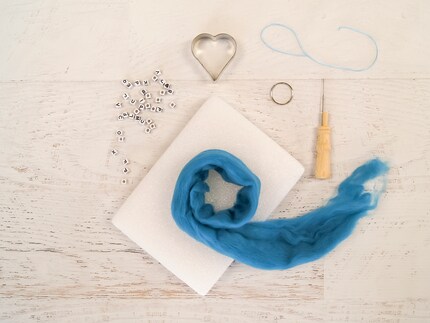
For the felt pendant, you need felting wool, a foam pad and a Felting needle with holder. My secret weapon is the Guezliförmli. For the chain, you will need a satin cord, a few beads and a key ring.
Now I take you into the world of dry felting
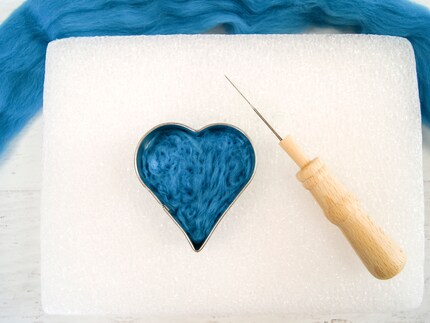
Step 1: Place the Guezli mould on the foam and fill it with felting wool.
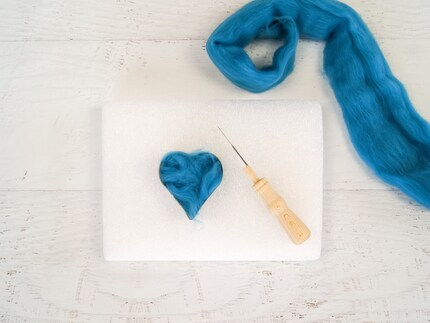
Step 2: Hold the outside of the Guezli shape with your fingers while you prick the inside of the felt many times from above with the needle. Don't forget to pass through the edge of the mould so that the edges are also well felted. You will notice that the felt wool presses together more and more and finally forms a smooth surface. Turn the felt and mould over and work on the felt in exactly the same way from the other side.
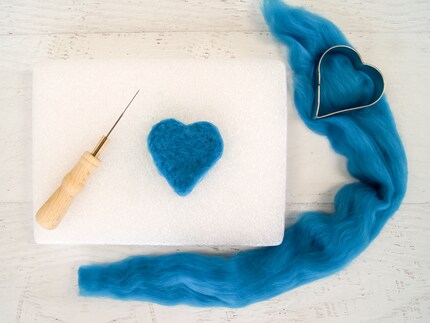
Step 3: Remove the mould. Then check whether individual areas are still too thin or not matted enough and whether you can pull the shape apart. If this is the case, you will need to put the Guezli mould over the motif again, add a little more felting wool to the area and work the felt a little further.
Step 4: For the pendant, I recommend pulling the cord around the key ring with a loop and threading some beads through both bands. If the hole is too small, you can also use just one thread and knot it at the top and bottom.
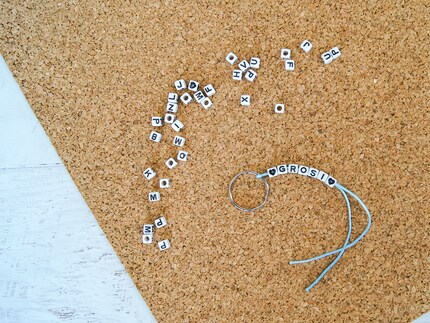
Step 5: Push the yarn through the felt with the needle and knot it.
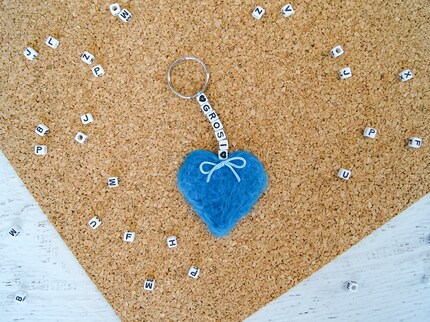
Quick and easy for children
You can make the entire pendant in less than an hour. Felting is a good activity for children who don't have much stamina. At school, I create this pendant with a 3rd grade class. However, my own children (aged 4 and 6) are already little needle felting pros. So it's worth trying this out with your child too.
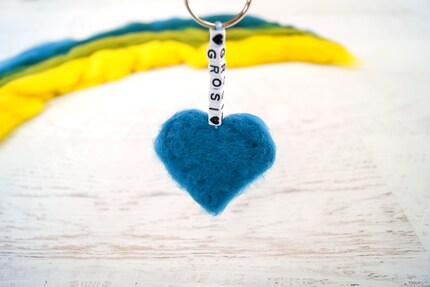
How to use the felting needle correctly
Most children and adults prick their finger with the needle at the beginning. Fortunately, this usually doesn't happen. You will also notice that it is best to move the felting needle back and forth close to the felt and cover small distances. The cookie mould protects the fingers very well. You must also make sure that the thin needle does not break. The best way to do this is to only stitch vertically into the felt. Only prick the foam lightly so that you don't pierce the table.
Now you know the secret tips for felting, you're probably already on pins and needles to finally put them into practice. As long as you're not literally on pins and needles, I'd say go for it.
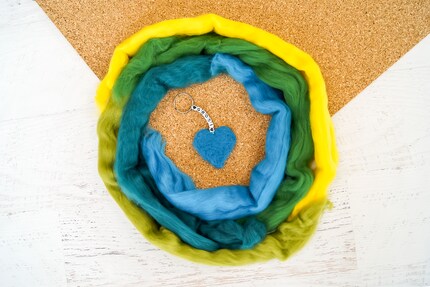
Grandma and friends are sure to be delighted with such a personalised gift. The pendant is practical for keys, looks pretty on a bag or can also be hung up as a decoration.
Have fun crafting!
My students, but also my own children, inspire me every day with their wild imaginations. I love to document the creative projects that come from them on my blog Fantasiewerk. I hope to inspire many moms and dads to do crafts with their children. [Fantasiewerk.ch](https://fantasiewerk.ch)
Practical solutions for everyday problems with technology, household hacks and much more.
Show all