

How to replace the touchscreen on the Tigerbox
Crack, touchscreen broken. Actually a minor damage. But it's not easy to get hold of a replacement part. One month, a few dollars and six screws later, I have repaired the Tigerbox Touch.
My daughter is eight and loves her Tigerbox Touch. The little cube with the glowing tiger head provides her with endless audio play fodder. Behind it is the child-friendly streaming service tigertones with more than 6,000 pieces of content, which she can access with a valid Tigerticket. I can manage what she hears via her smartphone. She swipes the display of the box and starts her favourite stories. And this display is the crux of the matter.
We hear a click in the car. The little one gets out, I see chaos in the back seat and a Tigerbox with a cracked touchscreen. I have no idea how she managed that. My first impulse: anger. How could THAT possibly happen?
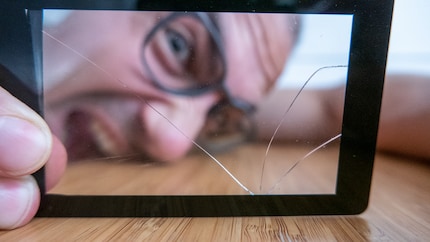
Then my smartphone comes to mind and I think: can happen.
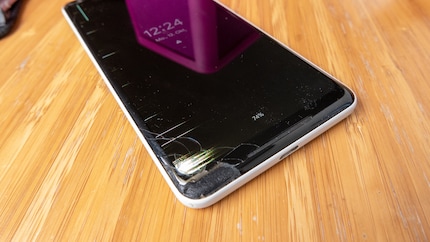
I inspect the damage and realise that the Tigerbox can no longer be operated. The actual display is intact, it's just the touchscreen that's broken. Sh... Goodbye. At first I am confident that I will find a solution to the problem. I ask the manufacturer if I can get the touchscreen as a spare part. Unfortunately, no. A Google search doesn't turn up anything helpful either. I search for a suitable part, but the screen diagonal of 3.97 inches is too special. The cube remains silent and I don't know what to do. So I take it apart.
Step 1: Open the cover
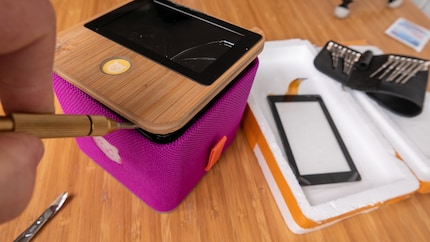
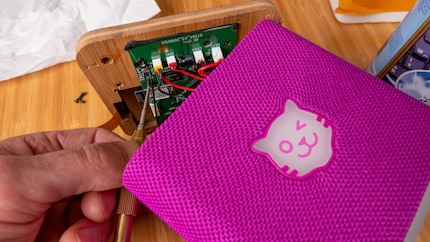
The bamboo surface can be levered off relatively easily with a small screwdriver. Be careful when doing this, otherwise you will pull out a cable. The motherboard is screwed to the wood from below. On the left is the ribbon cable of the defective touchscreen, on the right that of the display that has remained intact. I release the touchscreen cable from its clamp and can now lift off the wooden cover far enough to reach the screws. I have to remove six of them, then I've reached my goal. The display is exposed.
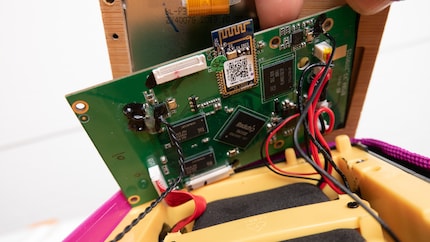
Step 2: Remove the touchscreen
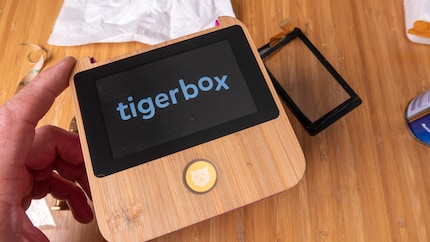
At first, I assume that I have to remove the display to get to the touchscreen. But both are in the same frame and fortunately there are cut-outs in the wood at the corners of the display that provide space for my screwdriver. Since the touchscreen is broken anyway, it doesn't matter. I use gentle force to push it out of the frame into which it is glued. It doesn't suffer any further damage and is easy to remove.
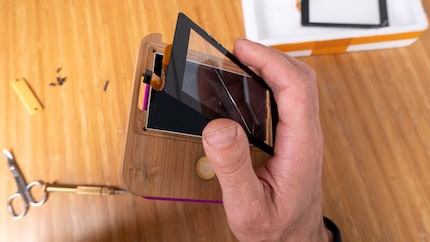
Step 3: Search for clues
I've almost resigned myself to not being able to get a replacement part. Maybe I'll at least manage to turn the Tigerbox into a speaker and connect it to a smartphone or an old tablet. My daughter can still listen to all the content via the Tigertones app. But it's not a great replacement for the box with the night light, disco mode and bamboo display.

I make one last attempt and start to peel off the glued-on layers on the edge of the touchscreen. A serial number is revealed underneath.
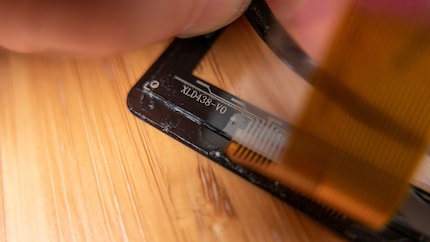
I google the number and am surprised: There it is. For 7.89 dollars on Aliexpress, can be ordered individually. Makes $12.55 including shipping. Deal. I'll order and wait. Summer goes, autumn comes, the Tigerbox collects dust. Then it finally arrives, the long-awaited item.
Step 4: Installation
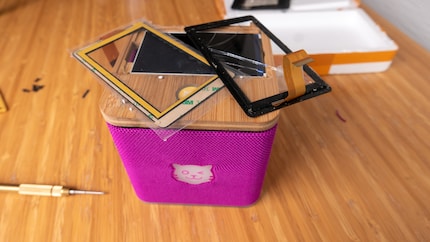
I use a pressurised air cleaner to remove the dust from the past few weeks, remove the protective film from the 3M adhesive tape and press the spare part into the wooden frame. Then I carefully clamp the broadband cable back into place and screw everything together.
Step 5: Try it out
I'm a little nervous when the Tigerbox starts up and, as always, takes its time. It's not perfect, it doesn't boast some amazing hardware and it occasionally chokes when playing certain tracks. But it's an endearing device that has so far brought much more joy than frustration. Until the display broke. It would be a shame if it became electronic waste just because of this.
Step 6: Playing proud dad
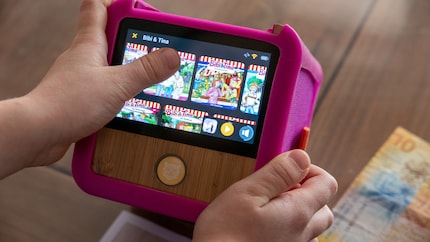
After the box is finally ready for use, the relief comes: everything is as good as new. The Tigerbox starts playing at the touch of a button and I can finally listen to the theme song from "Bibi and Tina" in stereo again. Quickly to my daughter, who has made do with the rattling sound from a decrepit tablet over the past few weeks. I proudly press the repaired box into her hand.
Step 7: Protective measures
In the end, the repair was very simple. You hardly need any screwdriver skills. It took me more effort to find the right spare part. If you ever face the same problem, I hope my experience will help you. If you want to avoid this if possible, my colleagues Yuki Gasienica and Vanessa Meier made sure that the new screen protector for the Tigerbox Touch is now available from us.
Admittedly: The protective glass "made in Germany" costs more than my replacement part, the value of which was stated as five dollars on the customs declaration. I still don't know whether I should buy it. But it certainly costs less nerves and, according to the description, not only withstands disinfectant but is also "saliva-proof". That makes my mouth water.
Simple writer and dad of two who likes to be on the move, wading through everyday family life. Juggling several balls, I'll occasionally drop one. It could be a ball, or a remark. Or both.
Practical solutions for everyday problems with technology, household hacks and much more.
Show all

