A smooth affair: tips for sanding
Sanding wood. Sounds simple, and in essence it is. But there are a few pitfalls lurking. The wrong material, the wrong process or the wrong technique can lead to unsightly results.
Sanding is one of the best steps in DIY. At least I personally think so. A rough and uneven wooden surface is mirror-smooth after a short time. No sprouts, no hicks, just the finest wood. A baby's bum is a joke in comparison. At the same time, it smells so wonderful that even the small wood shavings flying around don't spoil my mood. I could run my hand over the sanded surfaces for hours and indulge in my daydreams... But what is that? A small bump? I'm immediately roused from my stupor. Indeed, the wood still has blemishes. Time to take a closer look at the sanding process.
Sanding is a machining process. This means that excess material is removed in the form of chips. Small crystals are used for this. It can be done manually or mechanically. The only difference is the convenience. However, the process is always the same: always from coarse to fine.
The right grain size makes all the difference
So you start with the coarse sanding. This is to level out any unevenness and damage. Coarse sandpaper is used for this. The lower the number, the coarser the sandpaper. The higher the number, the finer. The exact grit to start with depends on the surface condition. The rougher and more uneven the surface, the coarser the grit. For coarse sanding, use paper with a grit of around 60 or 80 or higher. Any coarser sandpaper will leave too many unsightly marks.
For fine sanding, use sandpaper with a higher grit. If you want to oil your wood at the end, the grit should be at least 220. However, if you want to varnish the surface, a grit between 150 and 180 is sufficient. As the surface remains slightly rough, the varnish can adhere better later on.
More sanding passes can be added between coarse and fine sanding. Especially with very rough and uneven surfaces, where you start with a coarse sanding, it makes sense to go in between with 120 grit paper, for example, before moving on to the final sanding. If your material is already fairly soft and smooth, two steps are enough.
Look out for reddish-brown paper
Just as important as the grain size is the quality and consistency of the sandpaper. Your paper should have a good sanding effect and be able to withstand a few passes. There is a simple test for this. The sandpaper must feel sharp when you run it over and the grit must remain on the paper. Aluminium oxide is well suited for wood as it is hard and tough. You can usually recognise sandpaper with corundum by its reddish-brown colour. Silicon carbide is also suitable in terms of its properties - it is even harder than aluminium oxide - but it comes at a price.

In painstaking manual labour
If the quality and grit of your sandpaper is right, you need to decide on a method for coarse sanding. Manual sanding is theoretically suitable for all sizes and surfaces, but is much more tedious than the machine version. Only if you sand something small once in a blue moon or rigorously reject machines is consistent manual work worthwhile.
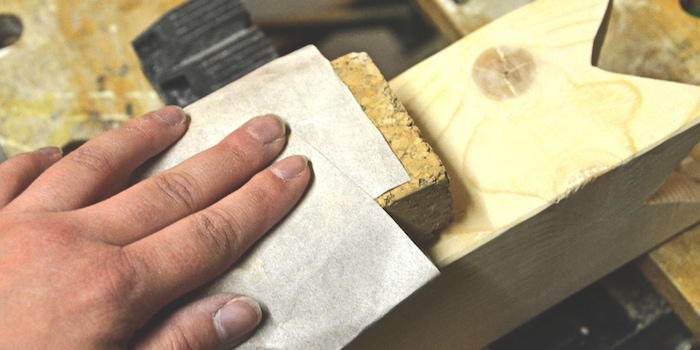
It's best to use a sanding block and wrap your sandpaper around it. This will make your wooden surface even and smooth. The block must have a certain hardness, otherwise it will adapt to the unevenness. Wood, cork or plastic are best suited. The larger the surface to be worked on, the larger the wooden block can be. Alternatively, a sanding sponge, the outer layer of which already acts as an abrasive, is also suitable. Always sand with the grain of the wood, otherwise you will end up with ugly scratches and splinters that are almost impossible to remove.
For the final sanding, I always advise you to work by hand. This makes it easier to control the process and you run little risk of messing up your product just before the finish.
Machine support
Sanding is much faster than by hand with a sanding machine. But beware, these things are powerful and can remove too much wood if used carelessly. It's best to practise on a piece of scrap wood when using a machine for the first time. Switch on your machine first and wait a few seconds until it has reached its torque. If the machine is already on the wood, you will have your first notch straight away. Otherwise, the same rule applies as for hand sanding: Always go with the grain direction.
This brings us to the essentials. But not all sanders are the same. They come in a wide variety of shapes and sizes. There is a reason for this, as each model has a different area of application. I have put together three products per category for you. They are all relatively popular in our shop, but have different price levels.
Belt sander
With a belt sander, a sanding belt rotates around a drive roller. Use this model if you want to sand large areas. The belt sander is therefore not suitable for finer sanding. The power file is also a belt sander. Its sanding belt is much narrower, which is why you can also get into smaller gaps.


Black & Decker Power file KA900E with Cyclonic Action dust extraction
Belt sanders, 350 W

Delta sander
This device is powered by a vibration mechanism that is transmitted directly to the triangular sanding sheet. This allows you to work with great attention to detail. You can work on corners, edges and even hard-to-reach areas
Eccentric sander
The sanding paper on the random orbital sander is attached to an oscillating plate. The sanding movement is both rotating and oscillating at the same time, which means this device can be used in a variety of ways. You can not only use it for fine sanding, but also for polishing. Even curved surfaces are no problem for the random orbital sander.


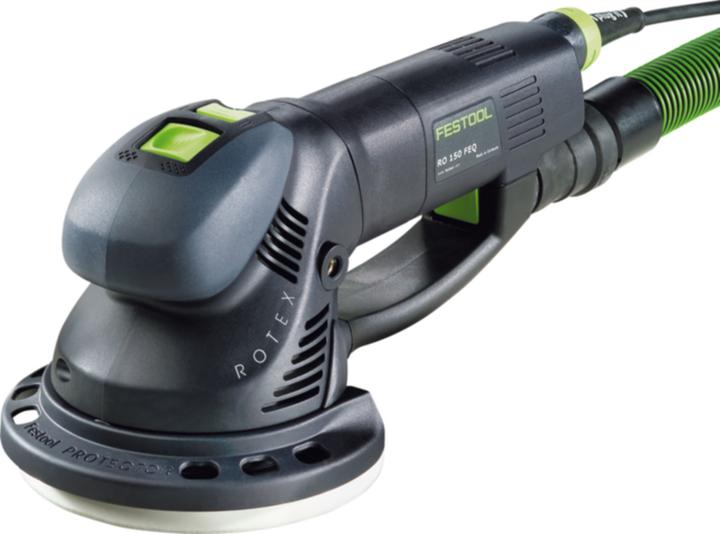
Festool Geared random orbital sander RO 150 FEQ-Plus CH
Eccentric grinder, 720 W
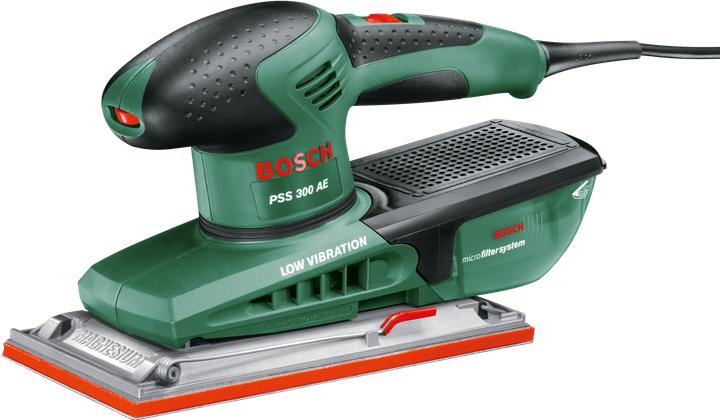
Occentric sander
The square oscillating plate of the orbital sander performs small, circular movements. This allows large, straight surfaces to be sanded quickly and finely. However, pre-sanding work and paint stripping are also part of its range of applications.
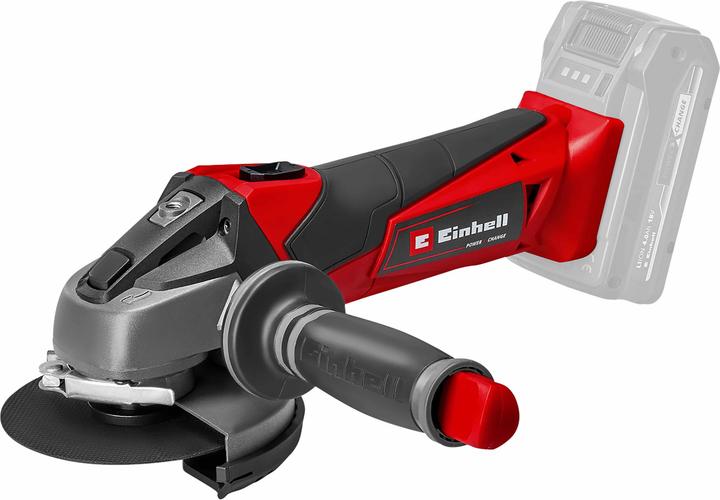
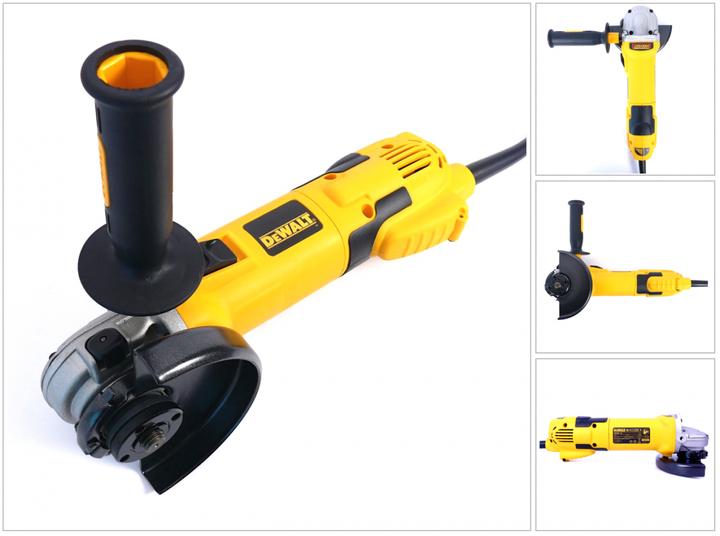
Angle grinder
The angle grinder, better known as a Flex, can not only grind your wood, but also cut through it. The fast-rotating round grinding disc is driven by an angular gear and has a speed of up to around 13,000 revolutions per minute.
Multi-sander
Don't fancy buying a different tool for every sanding job? Then try a multi-sander. This all-rounder combines delta and orbital sanders, making it extremely versatile. This allows you to sand corners as well as larger surfaces, even though the orbital sander attachment is smaller than that of a conventional device.
Oscillating tool
If you don't just grind something every leap year, but not much now either, the oscillation tool could be something for you. It combines various functions, such as sanding, sawing and milling. The advantage is that you don't have to buy each tool separately, which saves you a lot of money. The sanding attachment transforms the multifunction tool into a delta sander. So good for small areas and details, not for large-scale coarse sanding.
Conclusion
There are a few simple rules when sanding. I advise you to follow them for a good result. So remember:
- Always go from coarse to fine. So start with coarse-grained sandpaper and work your way up to fine-grained sandpaper.
- Sand in the direction of the wood grain
- If possible, do the final sanding by hand.
- Choose your sanding machine to suit the area of application.
The choice of tool largely depends on how often you sand and how high your requirements are. Do you sand a lot, from small corners to large surfaces, and have high quality standards? Then it's probably worth buying a few different tools. Do you sand once in a while, don't feel like working by hand and don't necessarily need a perfectly harmonised device? Then go for a multi-sander or oscillating tool. Do you only sand in extreme emergencies or when you are forced to? Get a sanding block, suitable paper and get to work yourself.
My life in a nutshell? On a quest to broaden my horizon. I love discovering and learning new skills and I see a chance to experience something new in everything – be it travelling, reading, cooking, movies or DIY.
Practical solutions for everyday problems with technology, household hacks and much more.
Show all


