
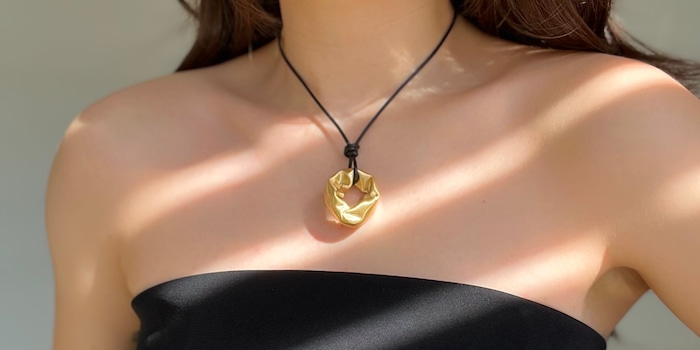
90s cord necklaces are back – and this is the easiest way to make your own
The late 90s called again and it wants its jewellery back. No big deal – we’ll just make our own. Keep reading to find out how.
Remember those ever-so-slightly tacky necklaces with dolphins, crystals, hearts and the like dangling from a simple black cord? The ones you’d get as freebies with teen magazines? Yep, just like low-cut jeans, cargo pants and velvety tracksuits, cord necklaces have been resurrected from the depths of the ’90s and have blazed back onto the scene in a new, more sophisticated form.

Source: Spotlight,
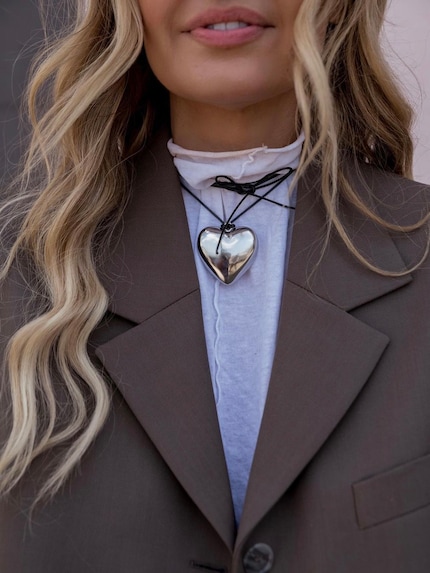
Source: Instagram: @elle_ferguson

Source: Instagram: @brooketcallahan/@geishagrl
The best thing about them? Cord necklaces are probably the easiest DIY creations ever. All you need is a cord, a pendant of your choice and a smidge of knotting know-how.
Leather bands, macramé yarn and velvet ribbons are all suitable materials for the cord, and you can opt for colourful versions if you’d like. The cord can be knotted to form a long pendant, short necklace or choker. You also have the option of wrapping it around your neck several times and tying it into a decorative bow at the front. One thing to be aware of is that thinner cords sit better as a bow. Thicker ribbons, on the other hand, are more stable and are well-suited to large charms.
You’ll find pretty charms in second-hand stores, jewellery stores, arts and crafts stores or even in your old jewellery box. Especially popular examples of charms are chunky hearts and organic circles. Charms in silver and gold are classics, but crystal and glass variants can look great as well.
How to attach the charm
If you have an ordinary pendant, you can simply thread the cord through it. However, attaching it to a simple loop referred to as an anchor stitch is usually nicer. This also works when using a charm with a large hole in the middle. If you’ve got one of these, you can tie an anchor stitch at the left and right instead of the top, allowing you to wear the necklace tight around your neck.
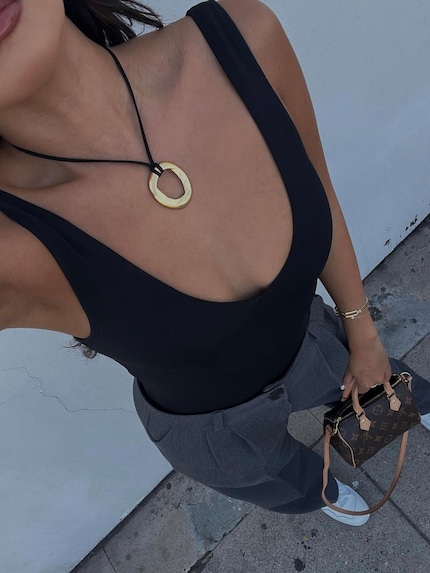
Source: Instagram: @piashah_

Source: Instagram: @brittanybathgate
A slightly more sophisticated option is a kind of triple overhand knot. Not only does it look pretty, but it’s also better suited when using tougher leather cords that can’t be tied tightly enough with an anchor stitch. Here are the three steps you need to follow to tie the knot.
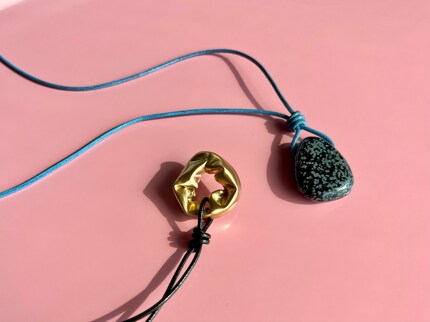
Source: Stephanie Vinzens
Step 1: Thread the cord through the opening of your pendant and grip both sides using your thumb and index finger. The cord should be a little longer on the right-hand side.
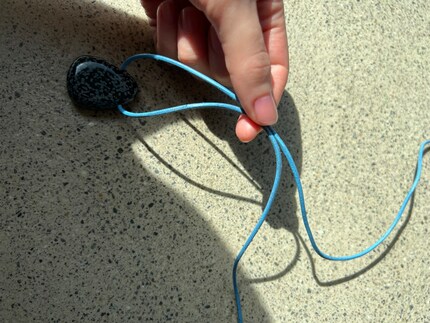
Step 2: Take the long right-hand side and wrap it around your left finger three times. Each new loop should be formed below the previous one.
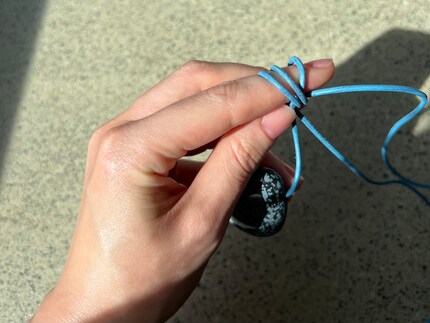
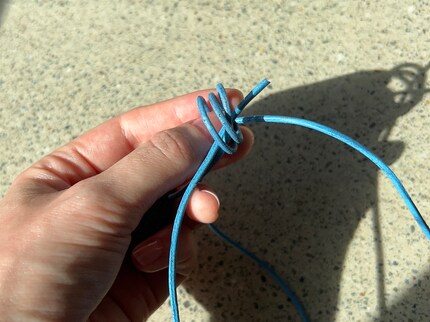
Step 3: Now, take the end that you were just looping, and thread it through the loops, moving from the bottom up. When tightening the knot, make sure the loops stay in the same order to create a neater result.
How to fasten the necklace
Now to fasten the necklace. You can tie a bog-standard double knot or bow, but sliding knots prove to be especially handy here. On the internet, there are dozens of tutorials for different types, ranging from simple to complex. I like the one below because it’s particularly easy. The process is similar to the triple overhand knot.
**Step 1: Place the ends of the cord over the top of one another so that the left side is underneath. Pinch both ends between your thumb and index finger.
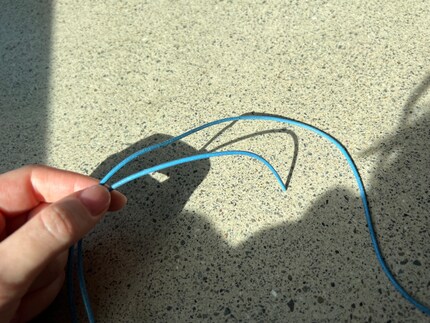
Step 2: Wrap the bottom end around your finger twice. Thread the end through these two loops and tighten the knot.
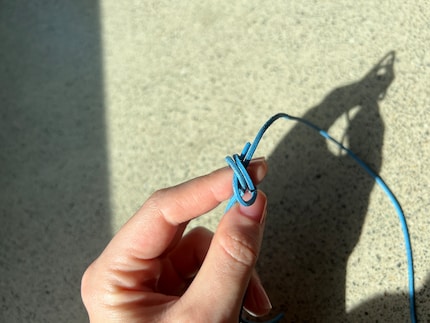
Step 3: Flip the whole thing over and repeat Step 2. You can adjust the length of the cord by pulling the two knots apart and tightening them.
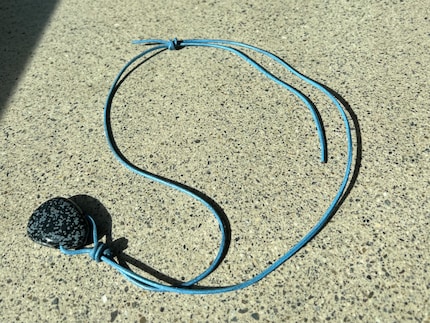
Header image: Stephanie Vinzens
Has endless love for shoulder pads, Stratocasters and sashimi, but a limited tolerance for bad impressions of her Eastern Swiss dialect.
Practical solutions for everyday problems with technology, household hacks and much more.
Show all


