
5 beauty blender hacks: how to blend your make-up like a pro
Beauty blenders are an absolute godsend, but only when you know how to use them properly. I’ve got 5 beauty blender tricks that will completely change the way you look at these little sponges.
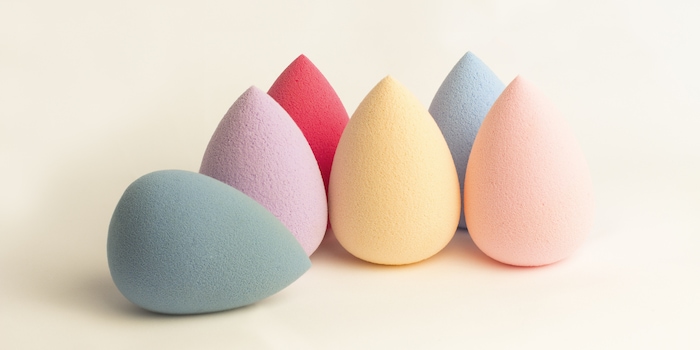
It’s rare to see a new make-up tool dethrone established methods – in this case, the trusty brush. But that’s exactly what beauty sponges have managed to pull off over the last few years. These brightly coloured, little egg-shaped things are so versatile. It’s hard to imagine a make-up bag without one.
So what’s all the fuss about? The main benefit of these sponges is they let you apply your foundation without it looking streaky. Because you’re tapping on the product, beauty blenders are ideal for make-up that needs to be layered.
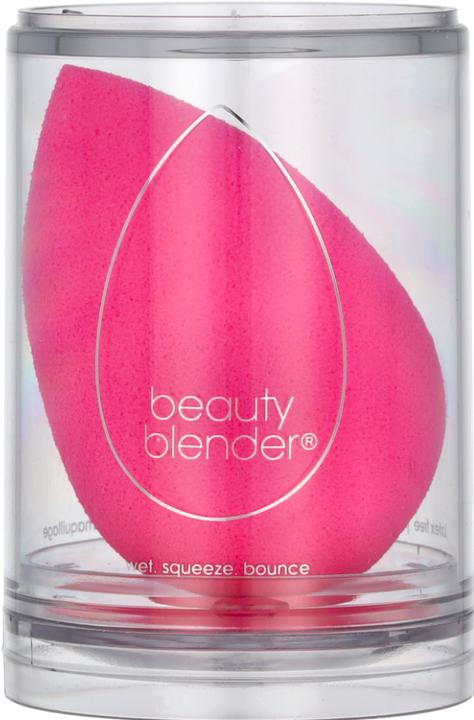
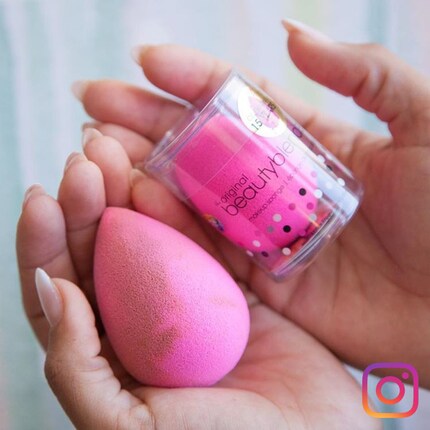
The most popular example everyone has heard of is the pink sponge from «Beautyblender». It’s so well-known the brand name is often used to talk about beauty sponges in general.
Time for a bit of controversy… these aren’t my favourite make-up blenders. But most people seem to love them. And you’re not going to get out of trying one if you really want to find your perfect match in beauty blender heaven.

Whichever beauty sponge you choose, these five tips and tricks will help you achieve the best look with your make-up.
Hack 1: keep your beauty blender wet
This might sound quite trivial, but the key to achieving a smooth, airbrushed look with a beauty blender is keeping it damp.
Important: it’s not enough to just run the sponge under the tap once before you start applying your foundation. You need to keep it moist with a setting spray or use a simple spray bottle that you fill with water. The latter works just as well, is incredibly practical and has the advantage of saving you some moolah.
Hack 2: microwave your beauty blender to keep it clean
Ever wondered how to keep your beauty blender squeaky clean? Here’s how: run it under the tap until it’s wet through. Add washing-up liquid and water to a microwave-safe container and stir to combine. Pop the beauty blender in the soapy water mixture. Stick the container in the microwave for one minute.
When you take the container out the microwave, let it stand for a bit as it will be very hot. Once it has cooled down, squeeze the beauty blender out under running water until you don’t see any excess make-up.
For stubborn stains, it’s a good idea to rub a bit of baby shampoo into the blender once you’ve taken it out the microwave. Then you wash it out until the water runs clear through the blender.


Hack 3: apply your powder with a damp beauty blender
You’ve just got your skin all glowy so you probably think adding a damp sponge to the mix is the last thing you need. Wet sponge plus dry powder?! I’m sure it’s got all the alarm bells ringing. But seriously, ignore them or better still, switch them off.
Believe it or not, using your beauty blender wet with powder will give your make-up better hold and prevent that cakey, powdery look. As long as your sponge isn’t sopping wet, your powder will survive (whether it’s loose or pressed).
Hint: this technique also works with powder highlighter and blusher.
Hack 4: stop your beauty blender being a product thief
A lot of people complain beauty blenders soak up the majority of their product. It can be particularly trying when your sponge isn’t damp enough for one brief moment. Rather than blending in your foundation or concealer, the greedy little thing gobbles up the make-up and «removes» it from your face. Nice. Now you look all patchy.
The good news is there’s something else you can do to avoid this faux-pas apart from just applying product with a damp sponge. Pat your foundation or concealer on to select areas with your finger. Before you go wild blending, put a bit of product on the back of your hand and dab the sponge into it a few times. That way you can be sure the beauty blender already has enough product (or is well enough coated) before you start working it in. No more stealing it off your face!
Hack 5: look mum, no hands
You’ve almost finished your make-up and all that’s left is the finishing touch of tight-lining your waterline. Rather than holding the lower lid down with their finger, make-up artists use a beauty blender. This stops you getting any finger marks in your foundation.
Did you like this article? Click the little black «Follow author» button below so you don’t miss the next one.
As a massive Disney fan, I see the world through rose-tinted glasses. I worship series from the 90s and consider mermaids a religion. When I’m not dancing in glitter rain, I’m either hanging out at pyjama parties or sitting at my make-up table. P.S. I love you, bacon, garlic and onions.
Practical solutions for everyday problems with technology, household hacks and much more.
Show all