
How to carve spooky ‘n’ sweet pumpkins with your kids – and how not to
There’s no way around the annual Halloween arts and crafts session. Thankfully, this year has shown me that carving pumpkins with my kids doesn’t have to end in sweat and tears. It can be easy and fun.
I hate doing arts and crafts. And I mean all forms of it. I lack any semblance of talent at it. In fact, the sheer mention of arts and crafts triggers my flight reflex. But as a mother of two, I’ve really no way around it. There are at least three occasions each year that call for crafting:
- Parent-teacher conference.
- Christmas.
- Halloween – i.e. now.
By now, my eldest daughter knows exactly what the sudden plethora of glowing orange grimaces in town means: Halloween is nigh. And that, in turn, means one thing: it’s time to carve some pumpkins.
The kids are cursing, and so is mum
«Just go for it,» I thought to myself last year as I spontaneously packed my girls into the bike trailer and pedalled to the nearby farm. My thought was that choosing the pumpkin is an important part of the pumpkin-carving experience. The idea was good, my implementation less so: the kids were cursing because they now had to share their already cramped trailer with bulky pumpkins. I was cursing about the extra pounds I had to pull – and the fact that my kids were cursing.
This year, not only did I take the car out to the pumpkin patch, but I also took a more prepared approach in other ways. My goal was to keep the entire procedure as laid-back as possible. Here are my six personally tried and tested do’s and don’ts. Spoiler: it really can be uncomplicated and pain-free.
1. Spoilt for choice
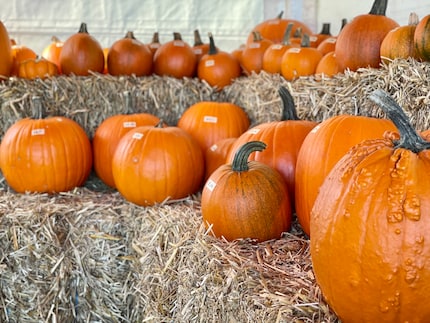
Large, small, round, oval, yellow, green, orange... I was lost in the jungle of pumpkins last year. Before we could get picking, I had to take the time to do some research. Precious time, as it was just enough for my kids to get restless.
This year, I’m doing said research ahead of time. There are tons of different varieties of pumpkins. While I read that all of them can be carved, some can apparently be carved more easily than others. The easier the better is what I think, so I go classic: the Ghost Rider aka Halloween Pumpkin. It’s large, round, bright orange and decorative. In addition, its pulp can be further used – for example, to make soup. I use the knock test to ensure the pumpkin is ripe; the rind should be hard and produce a hollow sound.
2. Off with its head! Zigzag style
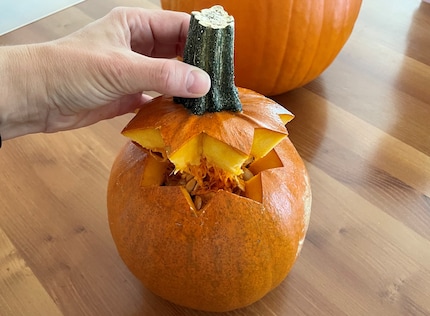
Should I carve first, then scoop out the insides? Or should I scoop out the insides first, and then carve? The how-tos are united on this: hollow out the pumpkin before carving. But first: cut off the top. It’s best to do so by cutting a zigzag shape. That way, the top won’t fall into the pumpkin as it shrivels. A few jabs, and off goes its head!
3. Hello carving set, goodbye kitchen knives
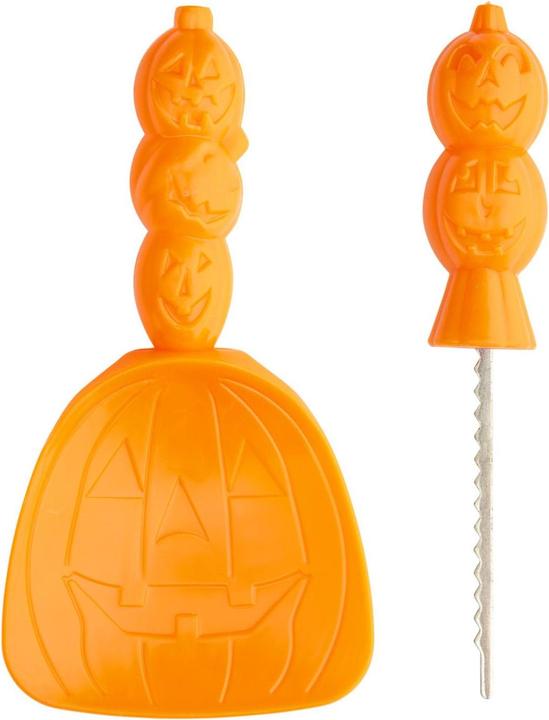
Why buy extra tools when you can use the kitchen utensils you already own? I learned my lesson the hard way last year. So this year, I’m trying my luck with a carving set. It comes with a mini saw knife, drill, cookie cutter and scoop. And it’s totally worth it. These tools are a real revelation in the art of pumpkin carving. Even my eldest daughter has fun scooping out the goop, which is arguably the most boring step. Soon enough, our pumpkins are ready for the fun part: carving.

4. Stencils are key
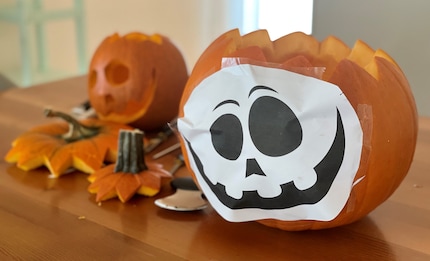
Last year, I googled «easy pumpkin faces» so as not to overwhelm my modest drawing and carving skills. I then used a felt-tip pen to draw the face on our pumpkins. If I had known back then that there were pumpkin face stencils you could print out, perhaps I wouldn’t have been stuck enviously sneaking glances at my neighbours’ whimsical jack-o’-lanterns.
Unfortunately, my daughters absolutely refuse to go for anything creative. Not only do they both insist on a friendly, smiling pumpkin face, they both demand to use the same template. Resistance is futile.
5. Let there be light!
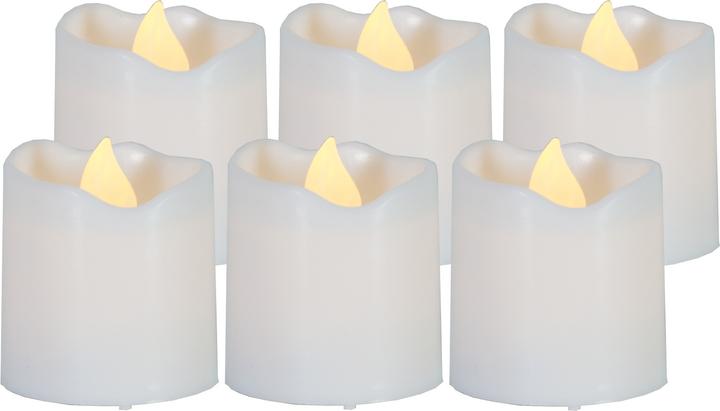
Speaking of neighbours: last year, I did already solve the mystery of the undying little flame next door that literally weathered any storm. Fake candles. Our puny tea lights were only in use once. Namely, when we were admiring our newly completed works of art.
Fake candles, or LED lights, are also available with a flickering effect. But that’s a little too over the top for me.
6. Long live the pumpkin!
This year, I want our jack-o’-lanterns to last longer. I find some tips and tricks online to keep the carved faces looking crisp. Storing the pumpkin in a dry, cool room for several weeks before carving is supposed to be optimal. But I have neither the time nor patience for that.
Alternatively, you can smear petroleum jelly onto the cut edges. Or spray the whole pumpkin with varnish – my method of choice. I dry the finished masterpieces with paper towels and spray them with my hairspray, both on the inside and outside. You should repeat this from time to time to keep the mould away for as long as possible.
The result: good to go
Let’s take stock of the project:
- Two hours of work
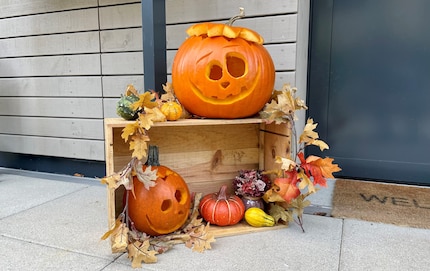
- Two pumpkins in front of the door
- Two happy daughters
And one proud mother. The only downer: my kitchen and dining table look like the set of a pumpkin massacre. Next time, I’ll be sure to cover the counters with newspaper first.
I doubt that our two jack-o’-lanterns will last until Halloween at the end of the month. But hey, we’re the first ones on the block to put out pumpkins. That's unheard of. And it wasn’t even stressful. I consider this a win.
Mom of Anna and Elsa, aperitif expert, group fitness fanatic, aspiring dancer and gossip lover. Often a multitasker and a person who wants it all, sometimes a chocolate chef and queen of the couch.
Practical solutions for everyday problems with technology, household hacks and much more.
Show all